Swipe through all 23 ideas
See every idea at a glance, then jump to the one you like.
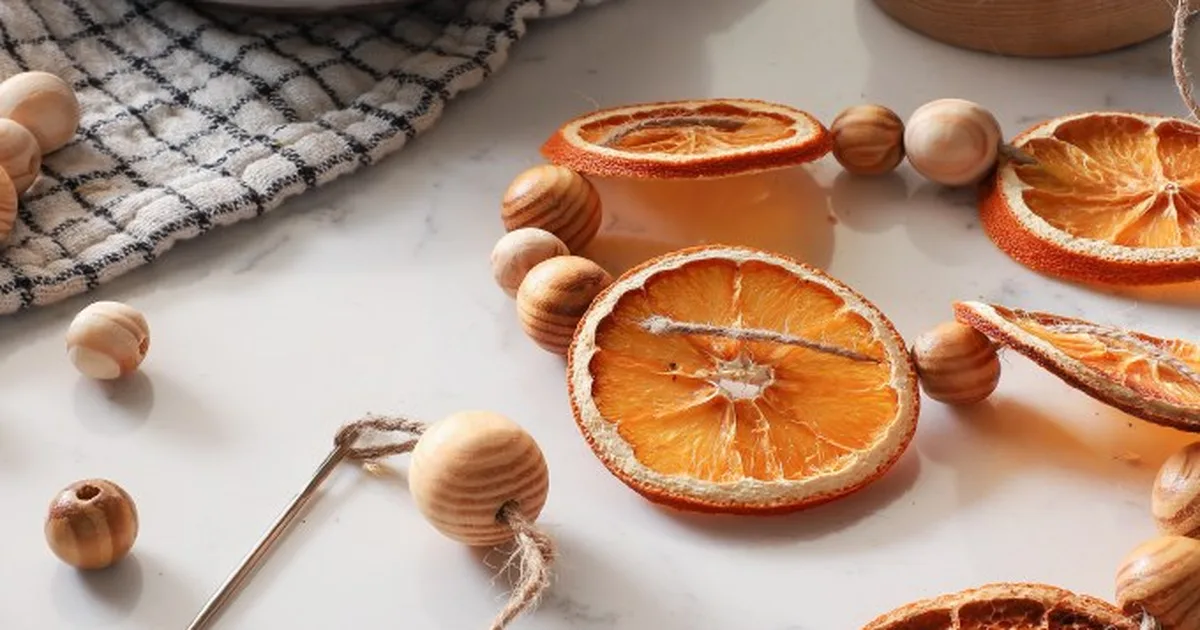
Some of my favorite things on our tree cost nothing at all. A pinecone from the back field, an orange slice from the oven, a salt dough star a child made years ago. Handmade ornaments are what make a tree feel like it belongs to your family.
Here are 22 DIY Christmas ornaments I gathered from crafters and bloggers who make them beautifully, with the steps for each one. You will find natural ones like dried oranges, birch bark and pinecones, kitchen ones like cinnamon and salt dough, and cozy ones in felt, yarn and old sweaters. Each idea links to the person who made it, so you can see their full tutorial. If you are crafting with little ones, our easy Christmas crafts for kids has more to try, and our Christmas tree ideas for 2026 shows where to hang them.
1. Stamped air dry clay ornaments
 Save
Credit: On Sutton Place
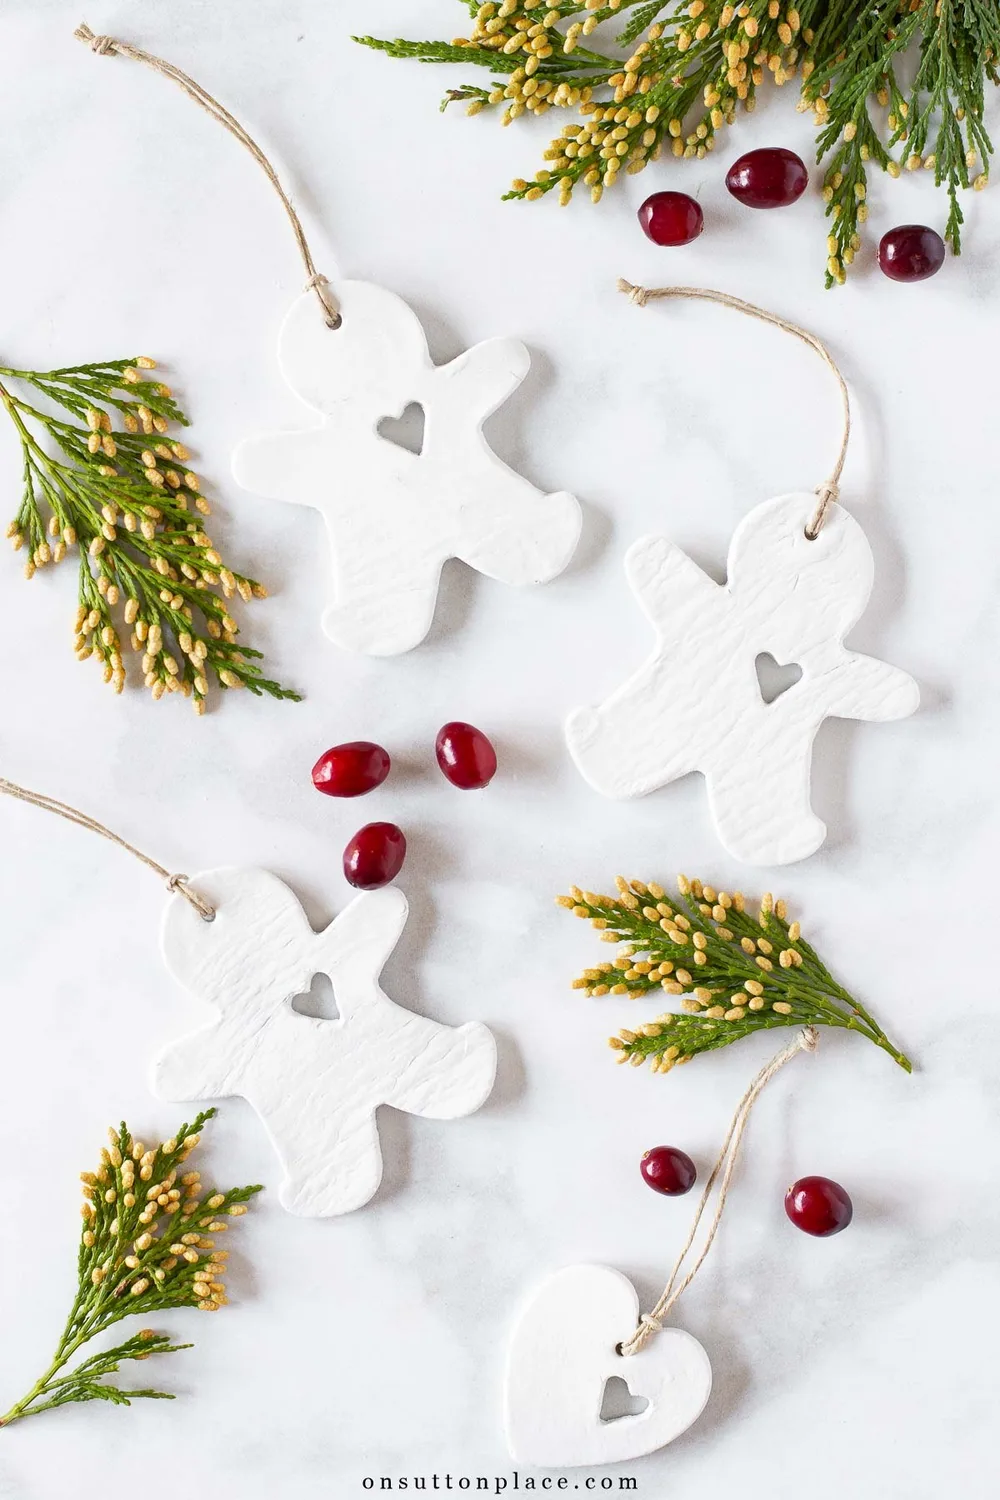
White clay ornaments look like old fashioned porcelain, and you never have to turn the oven on. I like them because they match any tree and make a sweet gift tag too.
To make them, tape two skewers to the counter about six inches apart and roll a palm sized lump of air dry clay between them so every piece comes out the same thickness. Cut three or four shapes at a time with cookie cutters, smooth the edges, stamp a short word while the clay is soft and poke a hanging hole with a sucker stick. Let them dry for 24 hours, flip them, give them another 24 hours, then tie on twine.
2. Cinnamon applesauce ornaments
 Save
Credit: On Sutton Place
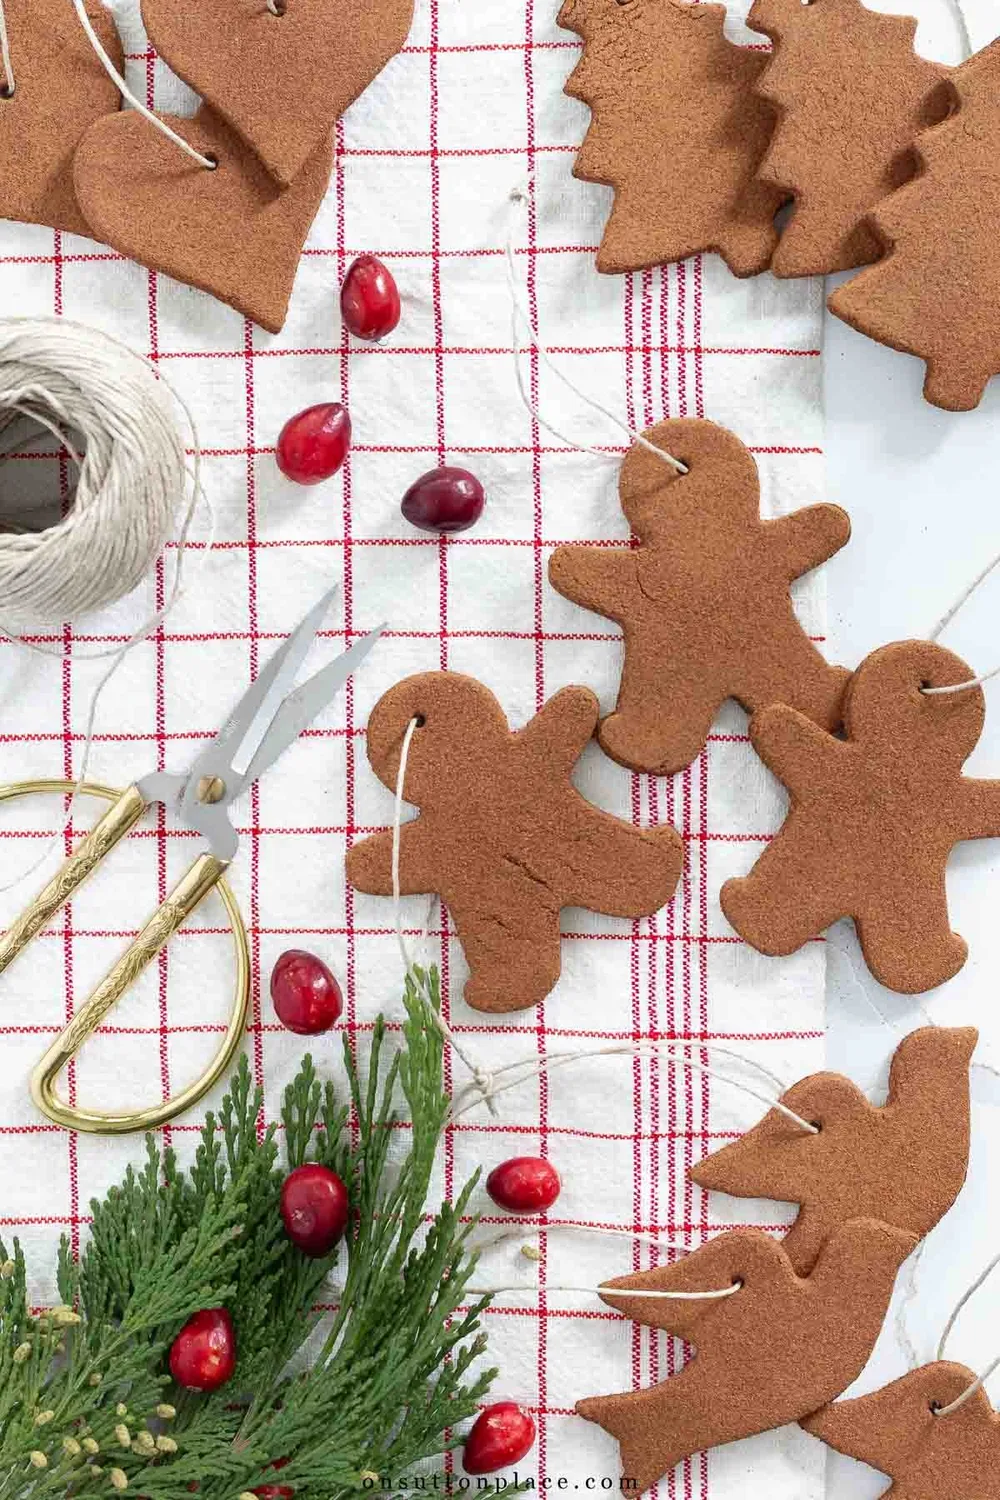
These are the ornaments my kitchen smells like every December. They come out a deep cinnamon brown, and they keep their scent for years if you store them in a sealed bag.
The recipe is 1 cup of ground cinnamon, 3/4 cup of applesauce, 2 tablespoons of white glue and 1 tablespoon of nutmeg or cloves. Knead it into a ball, roll it 1/4 inch thick on a cinnamon dusted board, cut your shapes and poke a hole with a straw. Let them air dry for two to three days, turning them now and then so they stay flat. One batch makes about 12 ornaments.
3. Gold dipped salt dough initials
 Save
Credit: Burlap and Blue
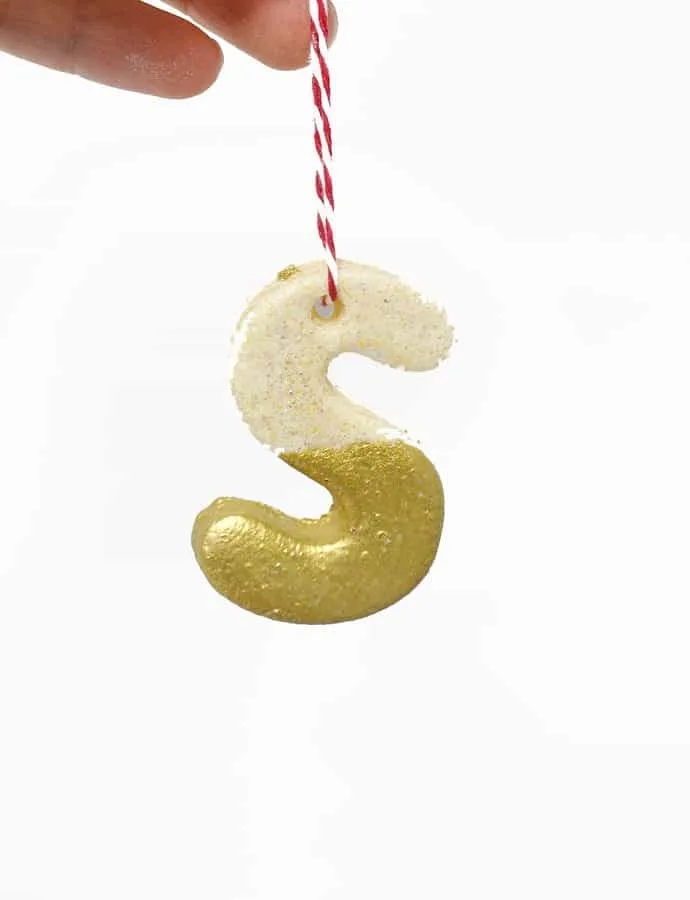
Salt dough is the first ornament most of us ever made, and it still holds up. Cutting letters instead of stars turns it into a keepsake with each person’s initial.
Mix 2 cups of flour, 1 cup of salt and 3/4 to 1 cup of water, then roll it out and cut your letters with alphabet cookie cutters. Poke a hole with the end of a skewer and bake at 250 degrees for two to three hours. Once they cool, dip the bottom half in gold craft paint thinned with a little water and seal them with Mod Podge.
4. Salt dough initials as gift toppers
 Save
Credit: Burlap and Blue
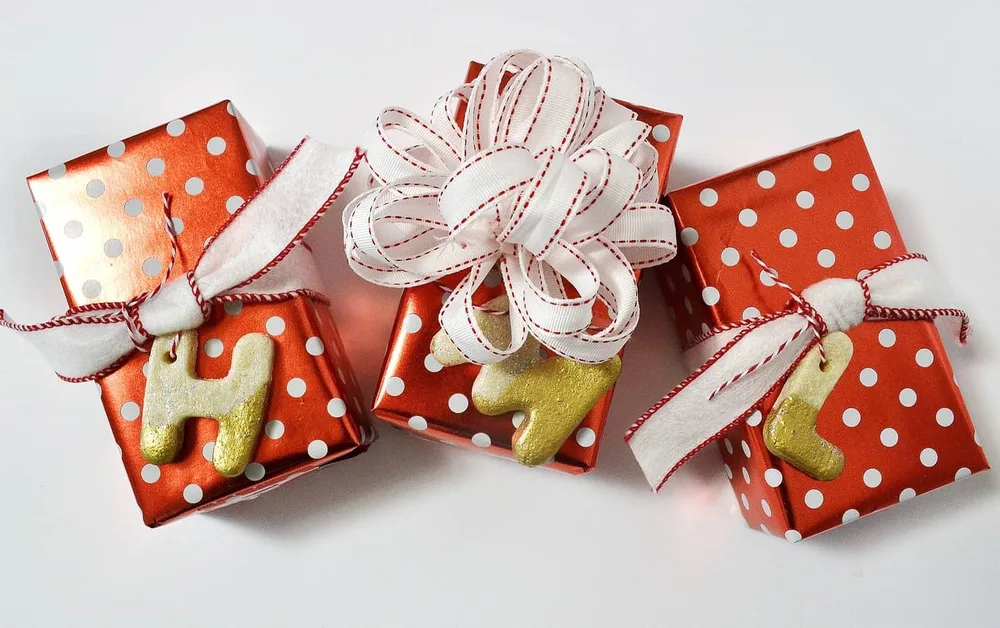
The same salt dough letters do double duty on presents. Tie one onto the bow instead of a paper tag and the gift comes with an ornament for their tree.
This is a nice job for kids, since salt dough is forgiving. If the dough feels dry, add a splash of water, and if it is sticky, add a little more flour.
5. Dried orange slices with red ribbon
 Save
Credit: It All Started With Paint
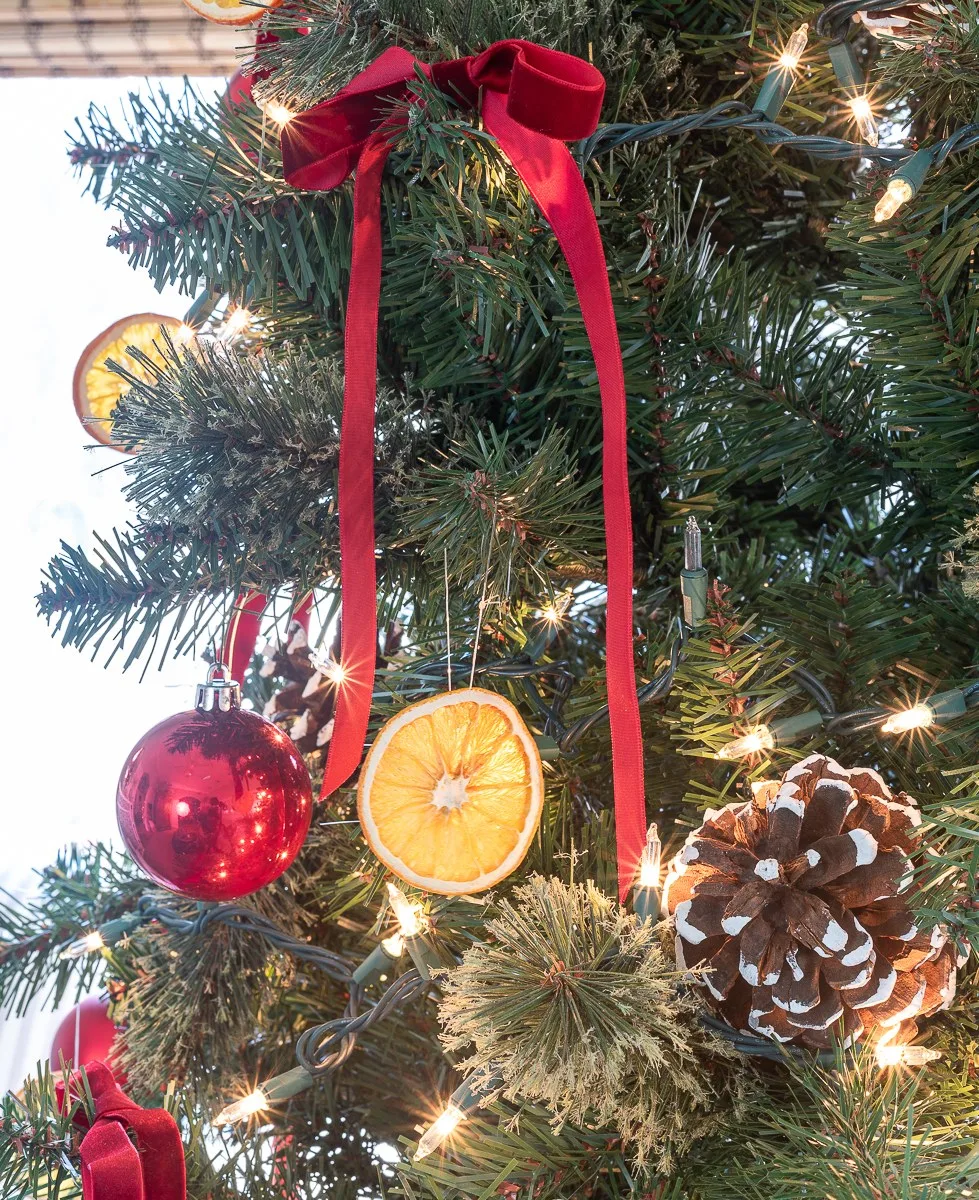
Dried oranges glow like stained glass when the tree lights shine through them. Paired with red velvet ribbon and pinecones, they look like an old country Christmas.
Slice small navel oranges 1/4 inch thick and blot them with paper towels. Dry them on a rack over a parchment lined pan at 175 degrees for about six hours, flipping every hour. A batch at 200 degrees dried faster but came out browner. Thread a loop of clear jewelry cord through each slice with an embroidery needle.
6. Orange slices with a cinnamon stick
 Save
Credit: Cottage on Bunker Hill
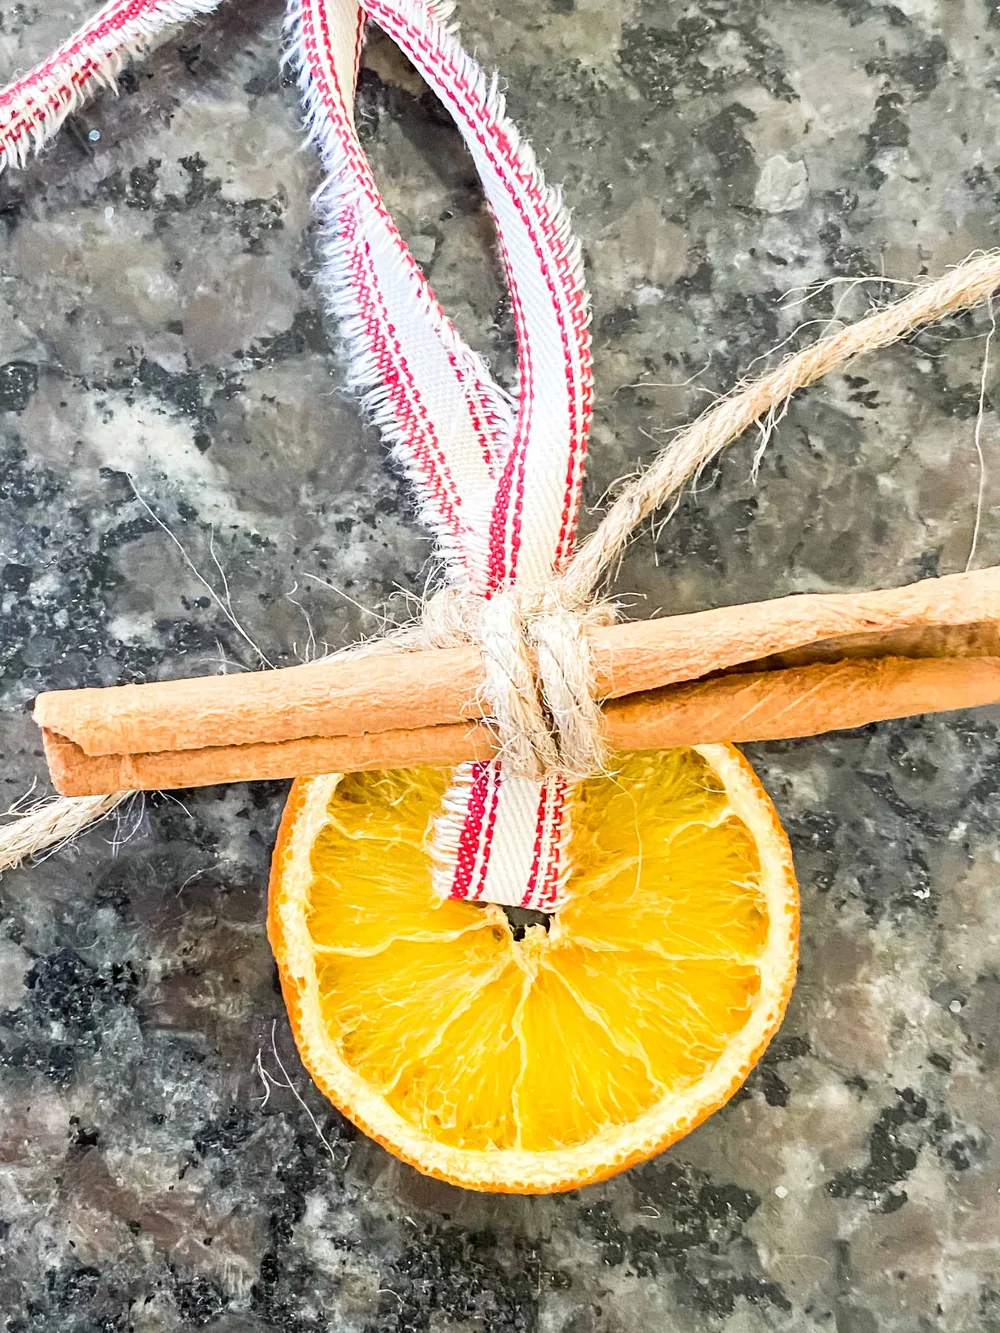
Adding a cinnamon stick to a dried orange is one small step that makes the ornament look finished. It smells wonderful too.
Poke a hole near the top of a dried slice with a pencil and pull a thin strip of torn ticking fabric through it, tying a loop at the end. Wrap a cinnamon stick in jute twine and tie it around the fabric so it sits right above the orange. Slices cut 1/8 to 1/4 inch thick and dried at 200 degrees took about three to four hours, flipping every 30 minutes.
7. Dried oranges with wood beads
 Save
Credit: I Spy DIY
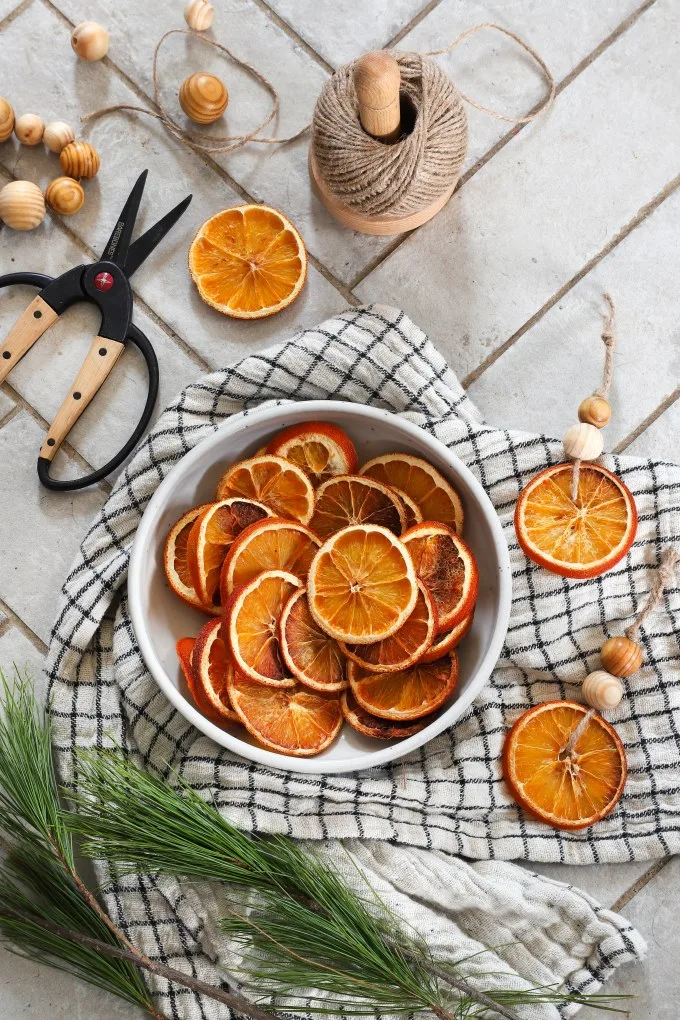
Wood beads and twine give dried oranges a simple Scandinavian look. This one costs almost nothing if you already have leftover oranges and beads.
Thread twine through the center of a dried slice and knot it. Slide two wood beads onto the doubled twine, knot right above them, then knot again an inch higher to make the hanging loop. Bake the slices at 200 degrees for two hours, flip them for one more hour and keep checking every 30 minutes, because any moisture left inside can mold.
8. Snow tipped pinecones
 Save
Credit: Frugal Farm Wife
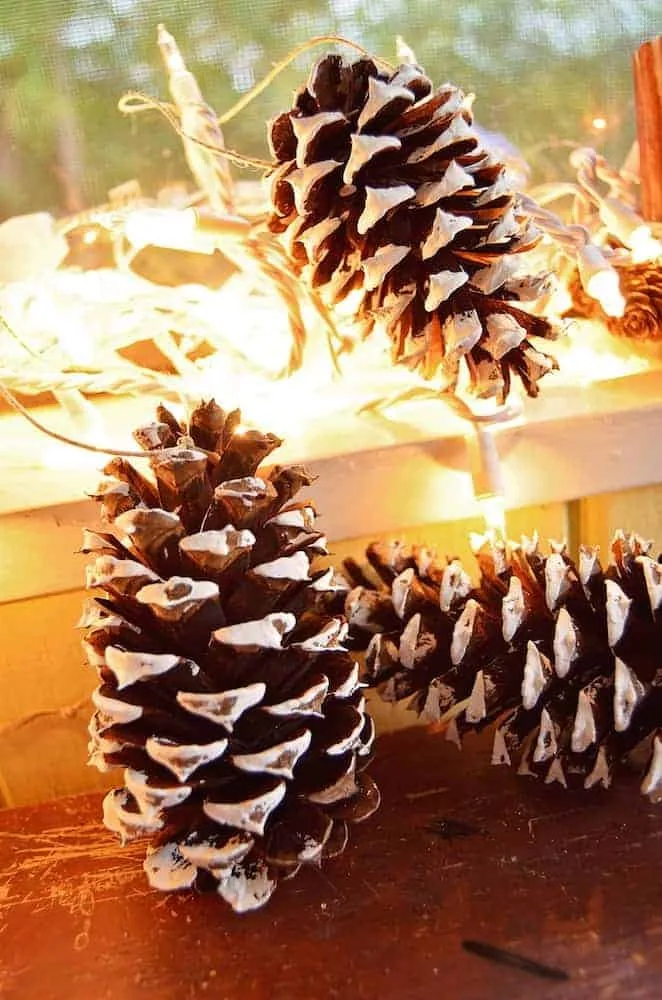
If you have pine trees, this ornament is free. White paint on the tips makes them look like they just came in from a snowy yard.
Bake foraged cones on the lowest oven setting for a couple of hours to dry them out first. Dab white acrylic paint onto the tips with a brush, piling it thicker in a few spots so it looks natural, and let them dry for at least four hours. Wrap twine around the top under a couple of scales and knot it for a hanger.
9. Sparkly Epsom salt snow pinecones
 Save
Credit: Homestead Acres
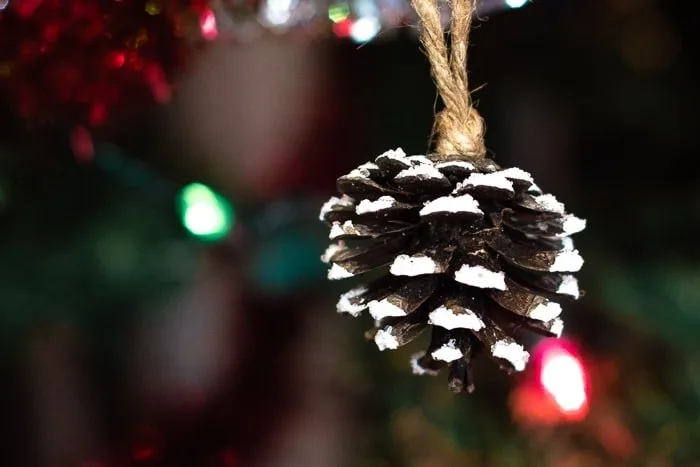
This version has a little more sparkle, but it is still subtle enough for a farmhouse tree. The secret is Epsom salt.
Mix 1 cup of Epsom salt with 1 to 3 tablespoons of silver glitter to make a faux snow. Dot white chalk paint on the tips of each cone and sprinkle the snow mix over it while the paint is still wet. Once dry, fold a length of twine into a loop, tie a slip knot and hot glue it to the top of the cone.
10. Wood slice with a snowflake
 Save
Credit: Cottage on Bunker Hill
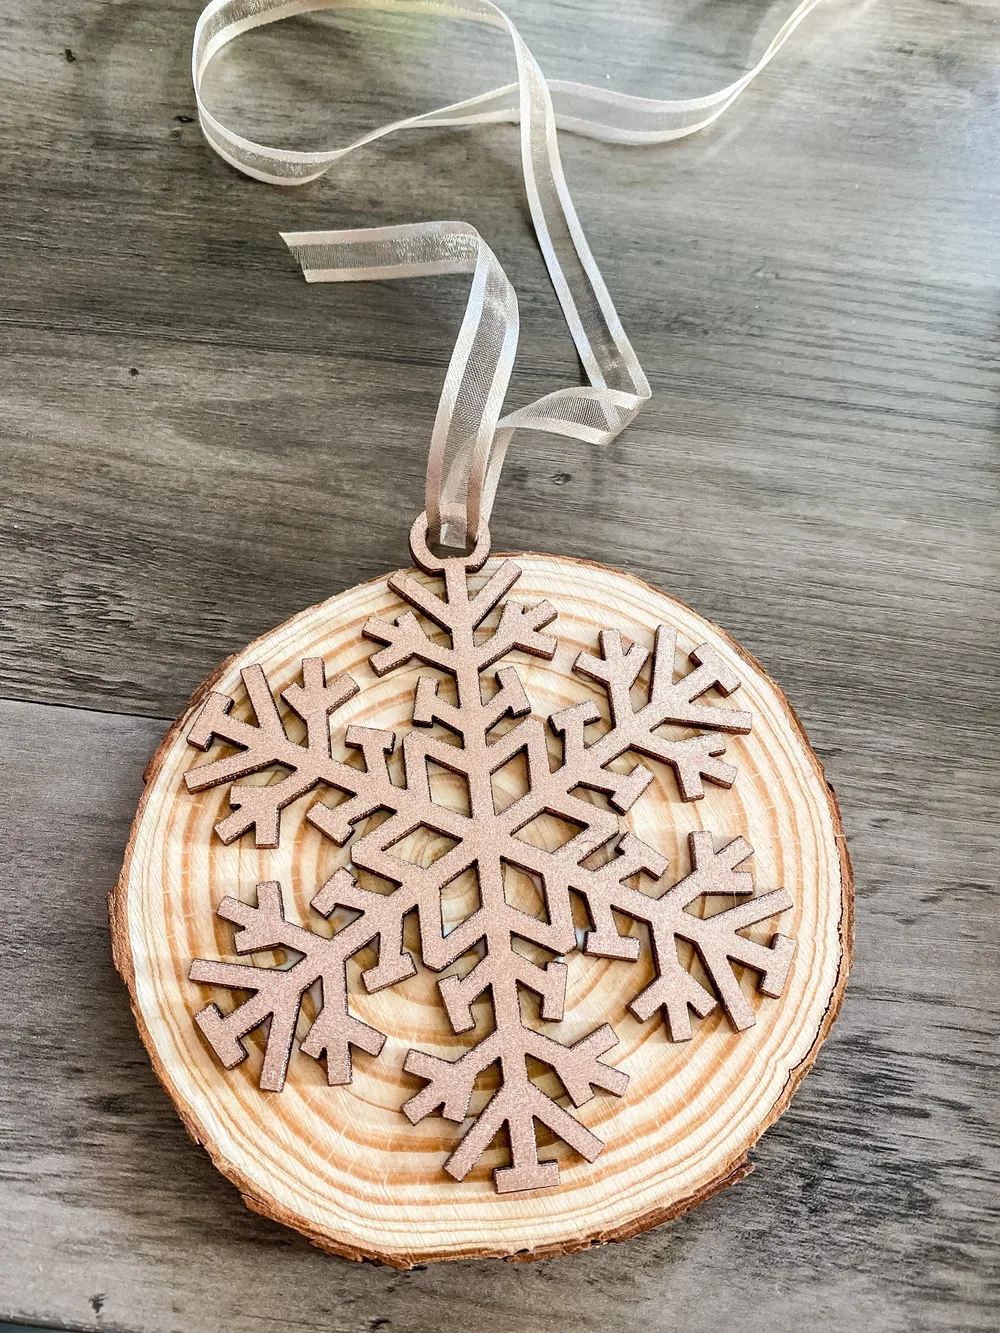
Layering a wood snowflake over a wood slice gives you a rustic ornament in about five minutes of hands on time. It fits right in with a woodland tree.
Paint an unfinished wood snowflake with spray paint, acrylic or chalk paint. When it dries, dab Mod Podge on the back with a sponge brush and center it on a round wood slice, leaving the snowflake’s hanging loop poking out the top. Let the Mod Podge dry completely and tie on a thin ribbon.
11. Hand painted wood slices
 Save
Credit: Mombrite
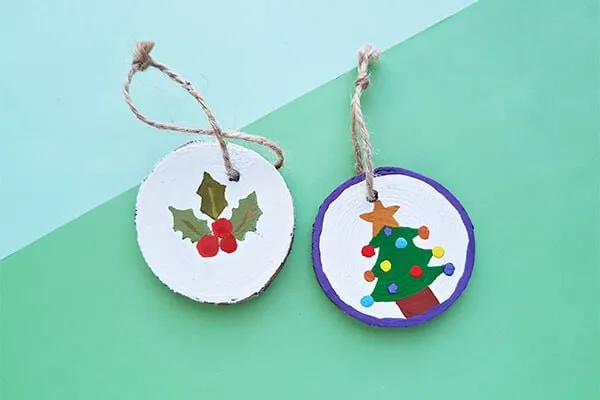
Painted wood slices are the ornament I hand to the kids while I work on something fussier. Every one turns out different, and that is the charm.
Clean a wood slice that already has a hole, or drill one near the top. Paint a white base coat, sketch a simple design like a tree or holly in pencil, then fill in the main shape and let it dry. Add small details with a fine brush, paint a colored border if you like, and tie twine through the hole once everything is dry.
12. A Christmas pudding wood slice
 Save
Credit: Pillarbox Blue
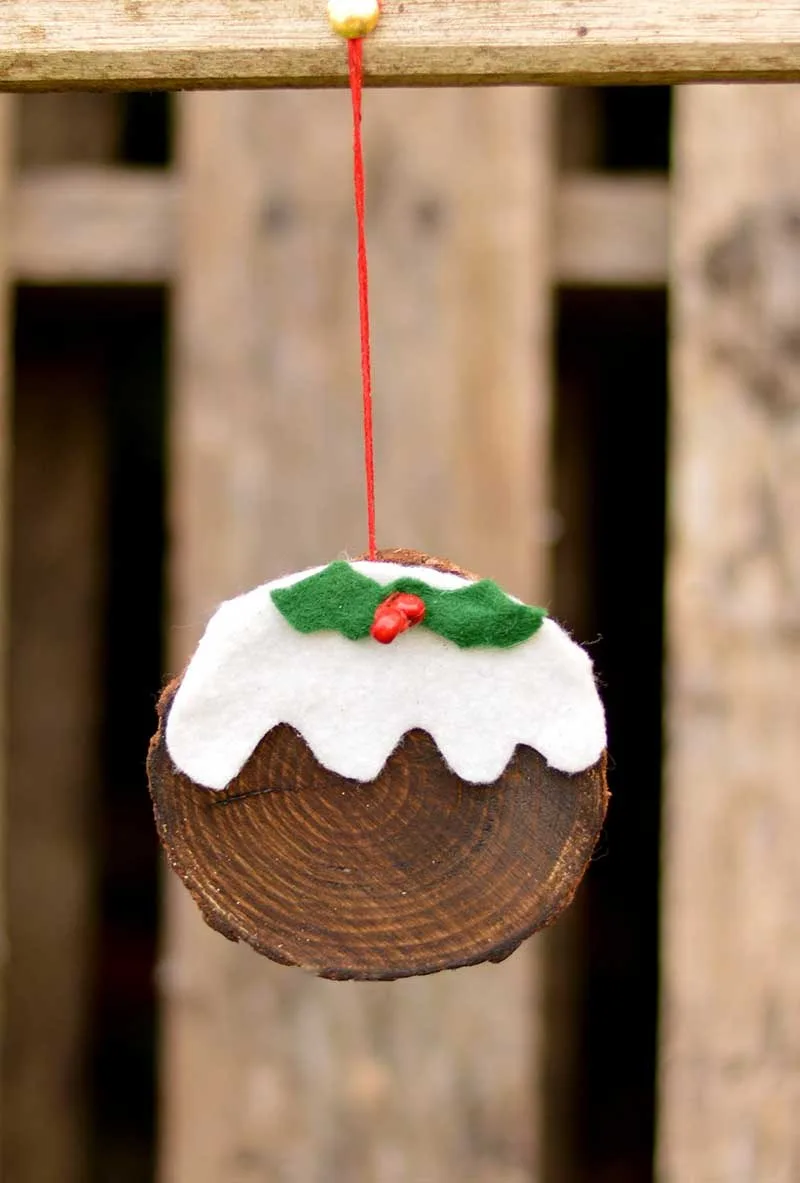
This little pudding takes about ten minutes and always gets a smile. A dark wood slice makes the perfect round, rich pudding.
Darken a wood slice with dark furniture wax or brown paint and drill a hanging hole if it needs one. Cut a piece of cream felt with a wavy edge so it looks like custard dripping down the top. Fold a strip of green felt, cut a holly leaf to get two matching leaves, and stitch or glue two red beads on for berries. Glue the cream felt to the slice and the holly on top.
13. Birch bark birds
 Save
Credit: Salt in My Coffee
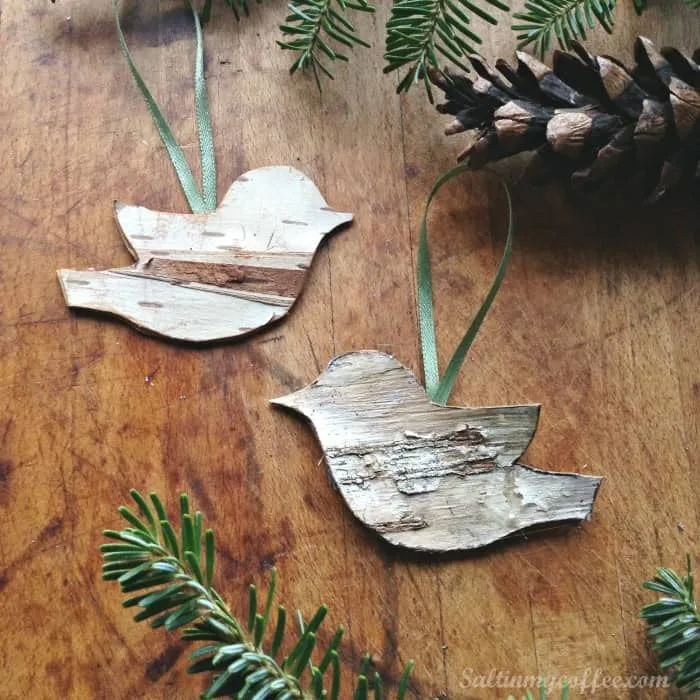
Birch bark birds are about as natural as an ornament gets, and they are unbreakable. They are perfect for the low branches where little hands and pets can reach.
Gather birch bark from fallen branches or firewood, never from a living tree. Trace a small bird template onto the bark with a marker, cut it out with sharp scissors and hot glue a loop of narrow ribbon to the back.
14. Birch bark hearts with gold leaf edges
 Save
Credit: Life is a Party
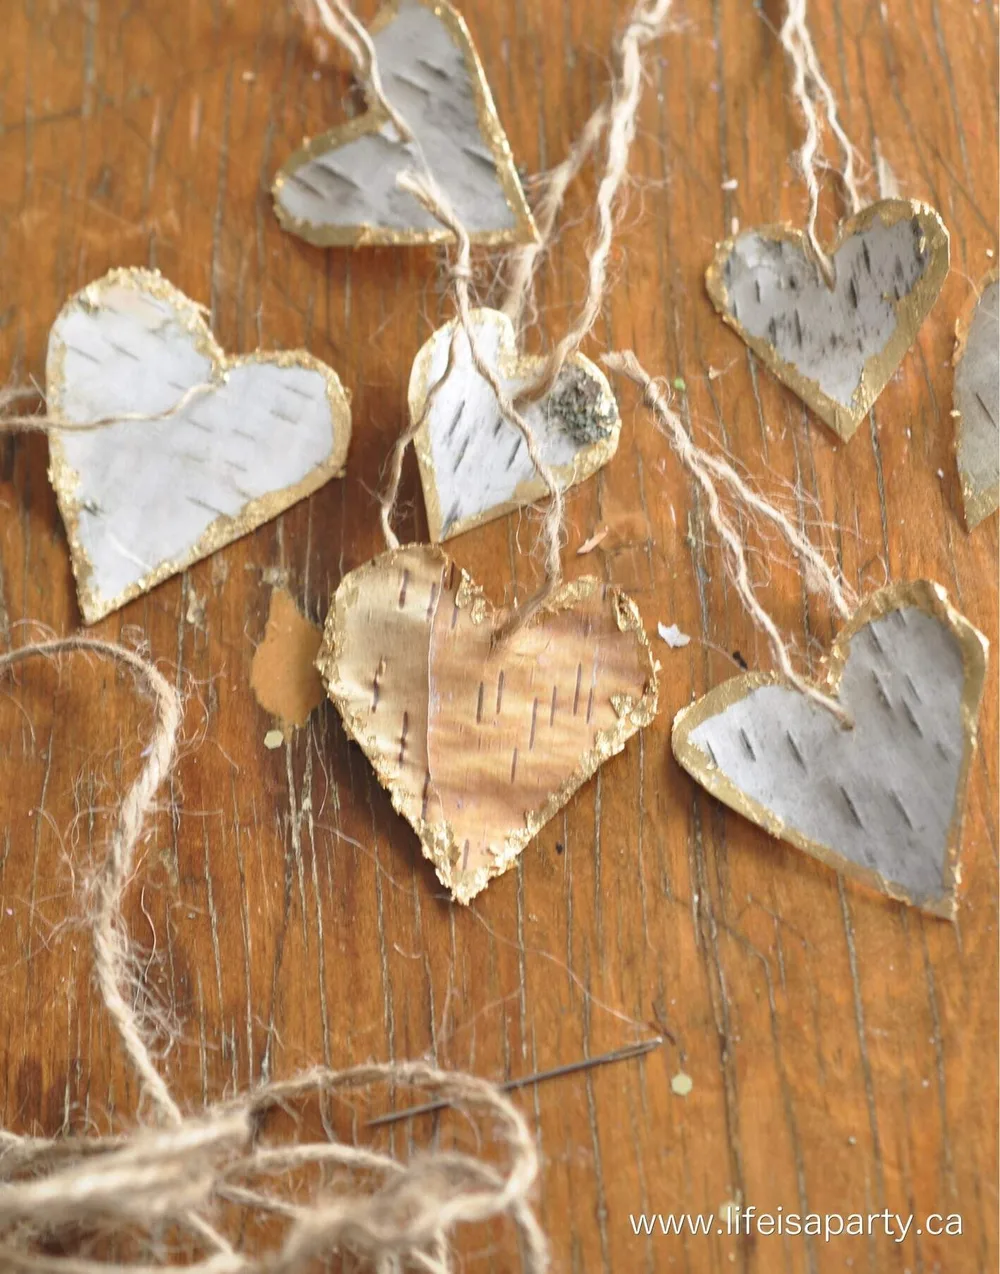
These hearts were first made for a Valentine’s Day branch tree, but gold edged birch looks just as pretty on a Christmas tree. The gold catches the light every time someone walks by.
Cut small hearts from birch bark, taking care because the bark tears easily. Brush gold leaf adhesive along the edges, wait until it gets tacky, then press on small pieces of gold leaf and rub off the extra. Thread one strand of unraveled twine through a darning needle and poke a hole well away from the edge for the hanger.
15. A sweater ornament in an embroidery hoop
 Save
Credit: Homemade Heather
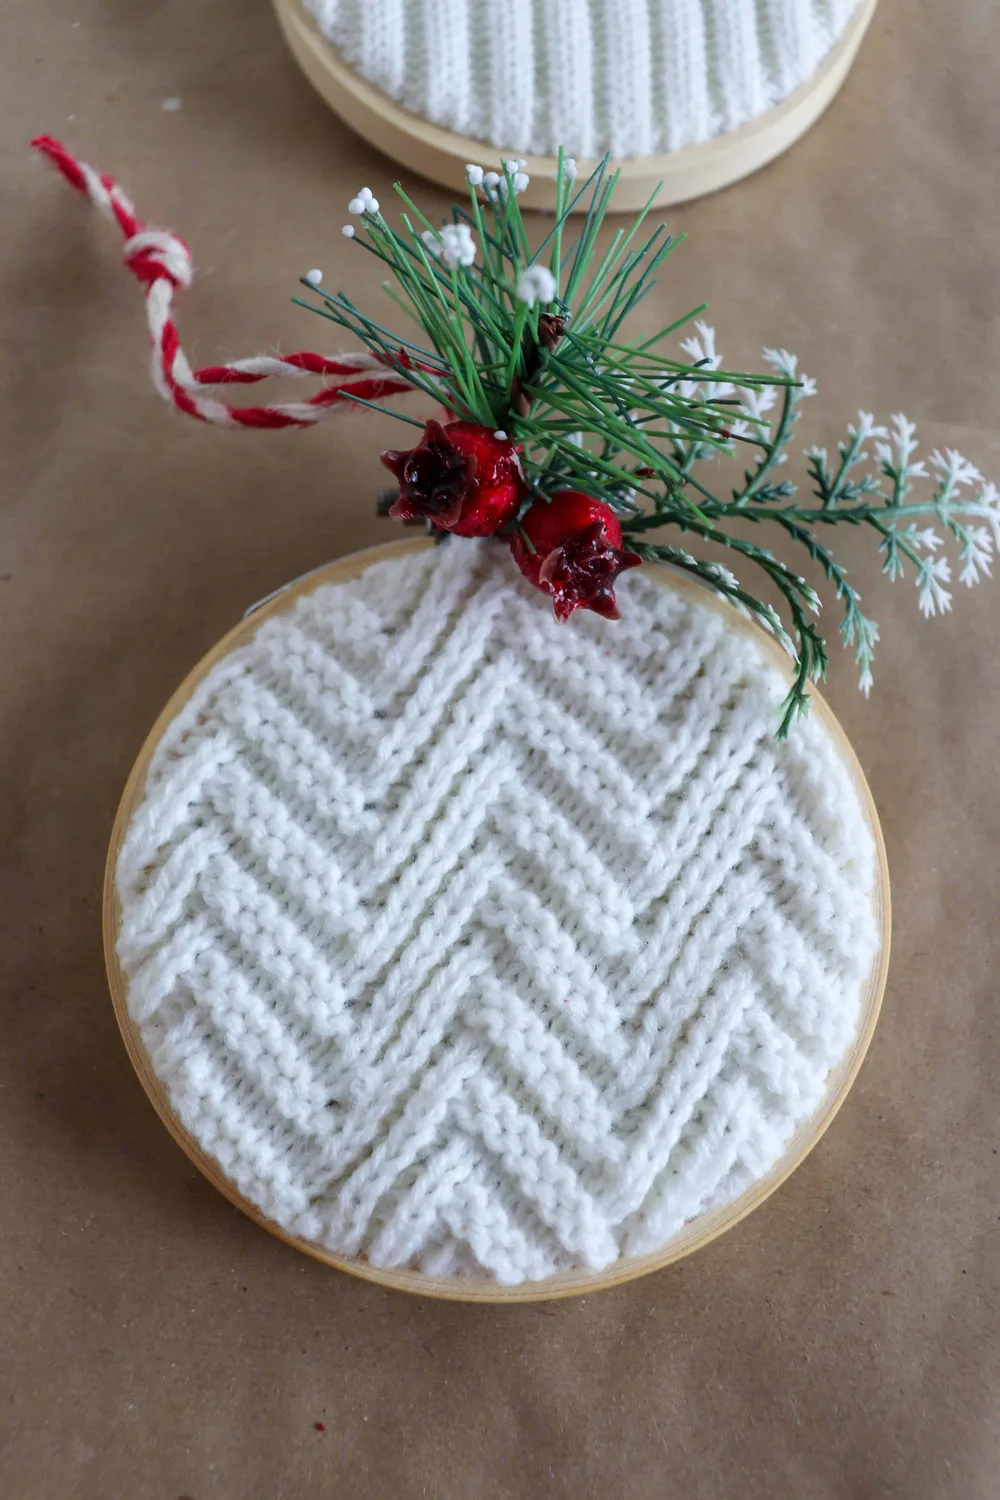
An old sweater or a hat with a hole in it can live on as an ornament. The knit texture looks so cozy on the tree.
Line the inner ring of a 3 inch embroidery hoop with double sided tape. Lay about 4 inches of sweater fabric over it, press the outer ring down and tighten the screw until the knit is snug, then trim the extra. Hot glue a bit of greenery and berries at the top and add baker’s twine for hanging.
16. Melting snowman ornaments
 Save
Credit: Homemade Heather
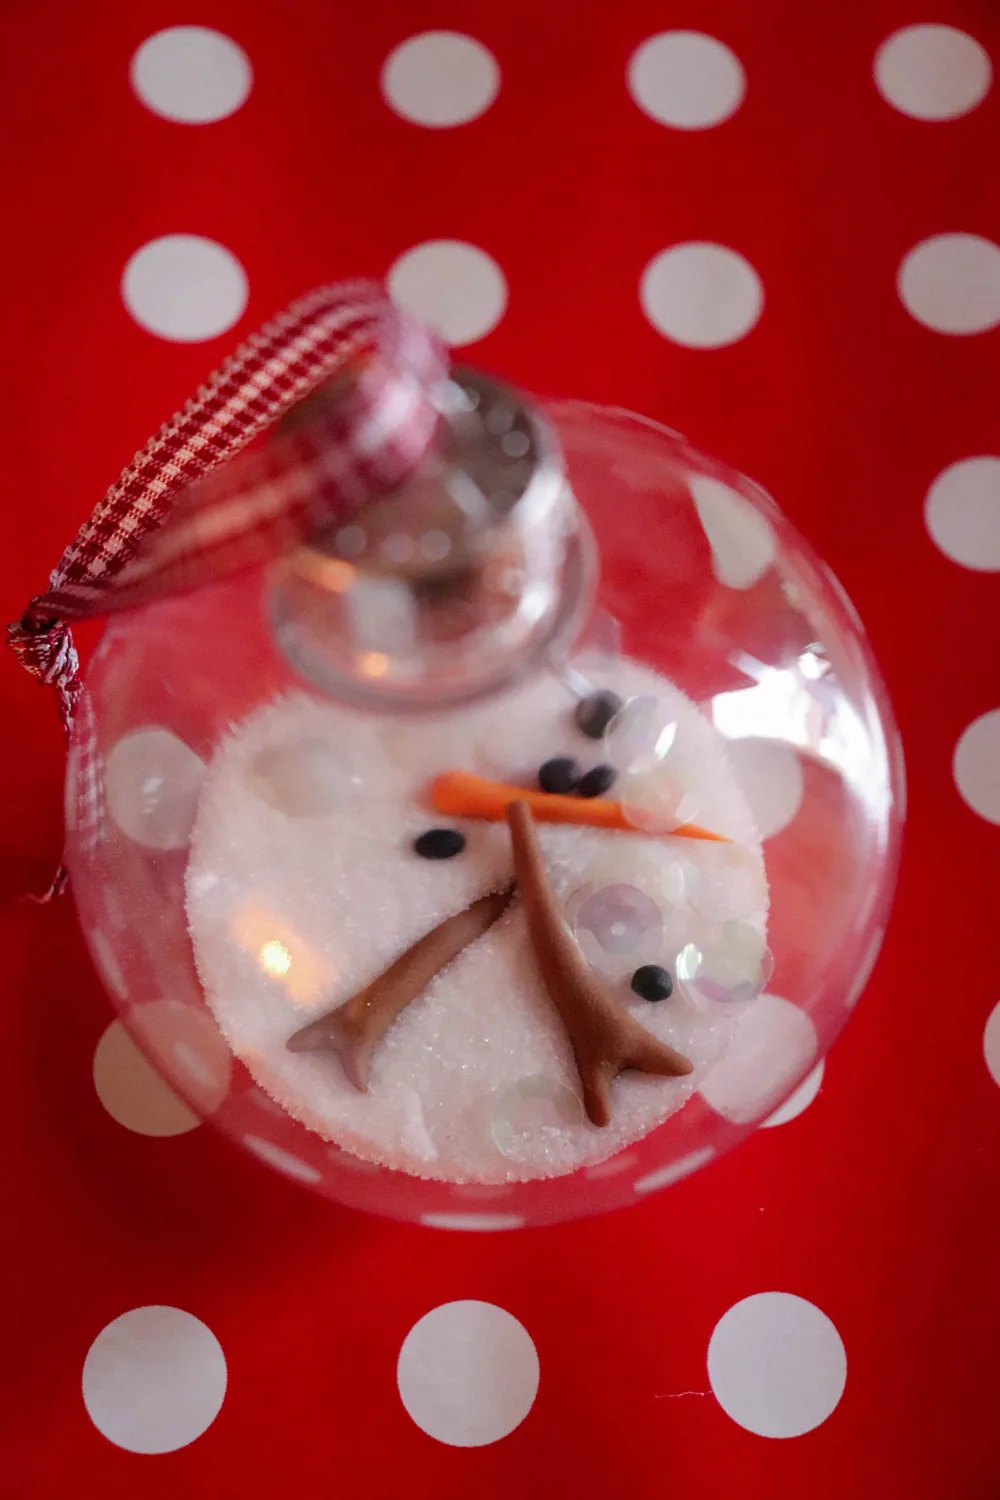
A melted snowman inside a clear ball is a classic kids’ ornament, and it is still one of my favorites. It is a good way to use up plain clear ornaments.
Shape tiny carrot noses from orange polymer clay, arms from brown clay and lots of small black dots for eyes and mouths, then bake them as the package directs, usually around 30 minutes at 275 degrees. Pour 2 to 3 tablespoons of table salt or Epsom salt into a clear plastic ornament and drop in the face pieces. Tie a ribbon scarf around the neck and add twine to hang it.
17. Embroidered felt star ornaments
 Save
Credit: Lia Griffith
Felt stars with a tassel look like something from a Christmas market. They are also a gentle first embroidery project.
The Lia Griffith pattern is a paid premium project with templates, so you buy it for a few dollars or use your own star shape. Each star is two pieces of wool blend felt joined with a blanket stitch, decorated with French knots in metallic gold floss and lightly stuffed before you close it. Tie them onto packages or hang them on the tree.
18. Crochet jute stars
 Save
Credit: Persia Lou
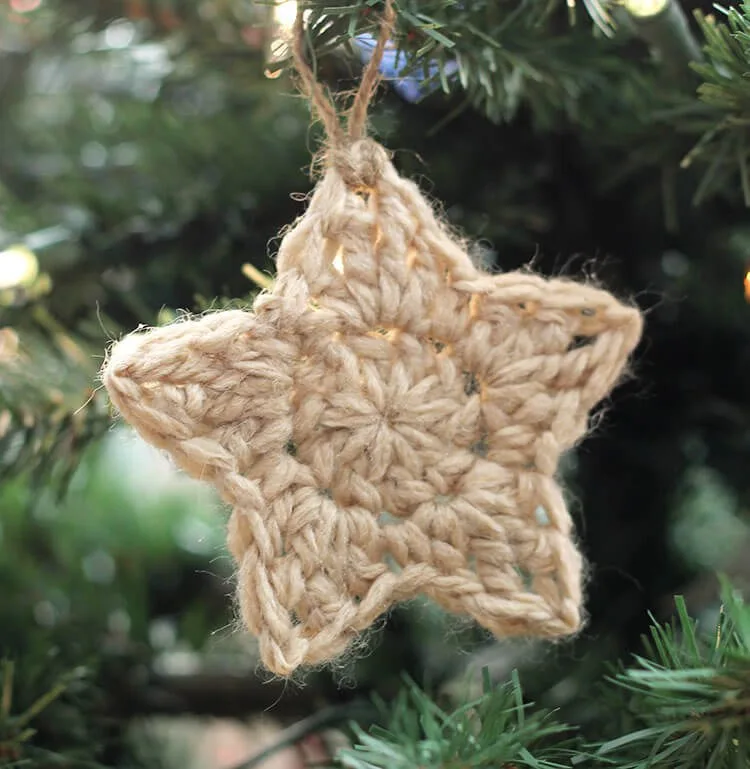
This crochet star takes only two short rounds, so you can make a whole bowlful in an evening. In a natural jute color they look right at home with pinecones and wood.
Make a magic loop with 10 double crochet stitches, then work a round of single crochet and star points with bulky yarn and a size K hook. Dip the finished star in thinned fabric stiffener, squeeze out the extra, and pin the points out on plastic wrapped cardboard until dry. A jute cord loop finishes it.
19. A macrame snowflake
 Save
Credit: Persia Lou
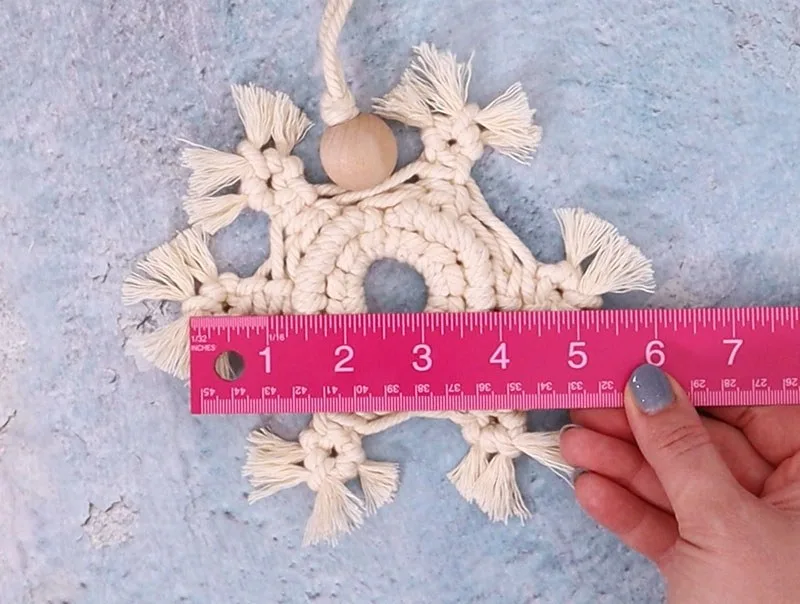
If you have a cone of macrame cord left over from a plant hanger, this snowflake is a nice way to use it up. The fringe ends look like real frost.
Cut twelve pieces of 4mm twisted cotton cord about a yard long and one piece 6 inches longer. Attach the cords to a center cord with lark’s head knots, form the ring with double half hitches and tie square knots for the arms. Comb out the ends with a fine toothed comb, trim them and add a wooden bead at the top.
20. A clothespin angel with crochet wings
 Save
Credit: Make and Takes
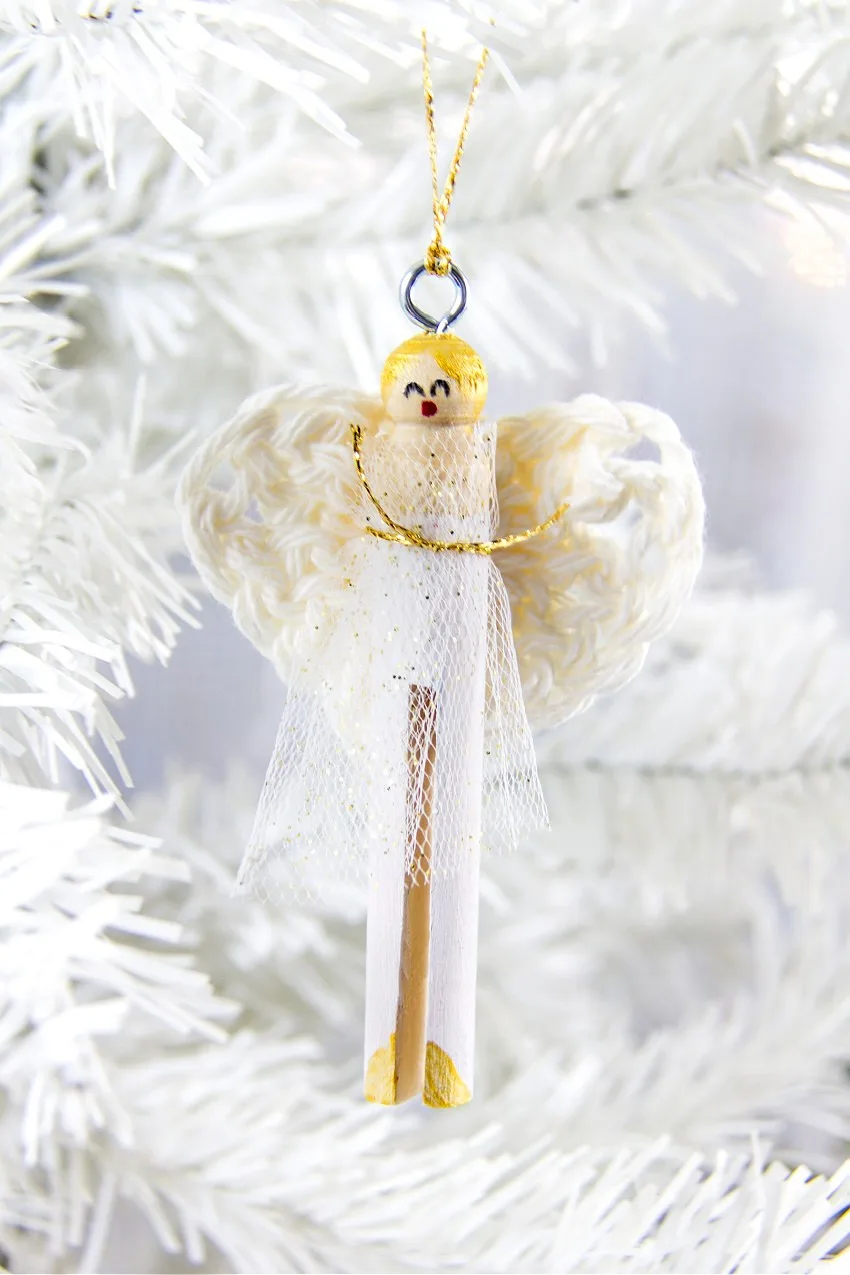
Old wooden clothespins make the sweetest little angels. This one has crochet heart wings and a tulle skirt.
Crochet a small heart with white yarn and a size 6.5 hook for the wings. Paint a wooden clothespin white, add gold hair and shoes, and draw on a face with fine markers. Wrap a strip of tulle around the body and tie it with gold embroidery thread, hot glue the wings to the back and twist a small eye screw into the top to hang it like a halo.
21. Peppermint popsicle stick snowflakes
 Save
Credit: Glued to My Crafts
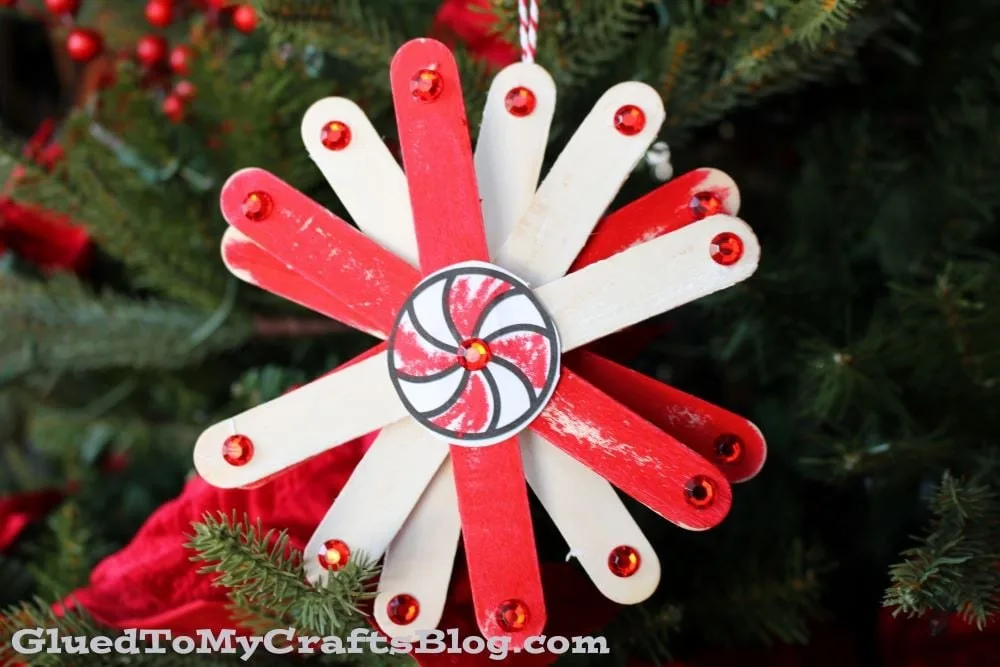
Red and white popsicle sticks make a snowflake that looks like a peppermint candy. It is a cheerful kids’ craft for a snow day.
Paint four jumbo popsicle sticks red and four white, then hot glue them in crossing pairs to make an eight point snowflake. Glue a round peppermint candy picture in the center and a small red rhinestone on each tip. Glue a loop of string to the back for hanging.
22. Mini framed vintage tree prints
 Save
Credit: Thistlewood Farms
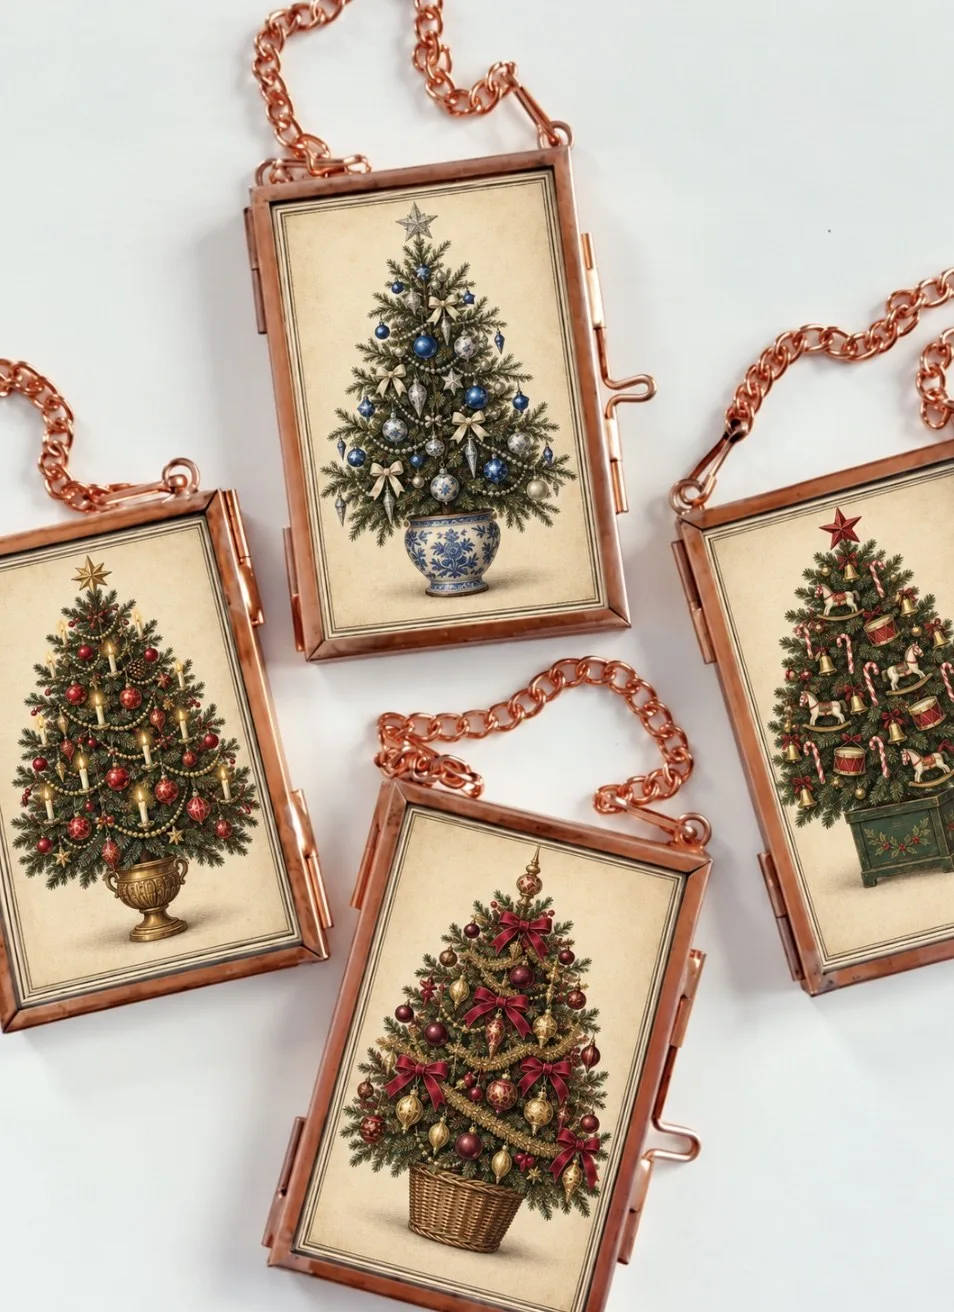
Tiny glass frames on a chain look like heirlooms on the tree. They are one of the quickest ornaments on this list.
Print the free Christmas tree printables from Thistlewood Farms on heavy cream cardstock and cut them out to fit 3 inch by 2 inch hinged ornament frames. Attach the chain to the frame, slip a print into each side so it is double sided and slide the little lock shut.
Tips for making ornaments that last
Dry everything completely. Orange slices, cinnamon dough and salt dough can all mold if any moisture is left inside, so give them extra time when in doubt.
Seal the kitchen ornaments. A coat of Mod Podge or clear sealer helps salt dough and painted pieces hold up in a damp basement or attic.
Use what you have first. Leftover ribbon, twine, an old sweater, firewood birch bark and pinecones from the yard make a lot of these ornaments almost free.
Store them flat in a box with tissue paper. Dried oranges and cinnamon ornaments keep their color and scent longer in a cool, dry spot out of sunlight.
DIY Christmas ornaments FAQ
What is the easiest DIY Christmas ornament to make? Painted pinecones, dried orange slices and painted wood slices need only a few supplies. Kids can make all three with a little help.
How do you dry orange slices for ornaments? Slice the oranges about 1/4 inch thick, blot them with paper towels and dry them in a low oven on a rack or parchment, flipping them as they dry. The tutorials above used 175 to 200 degrees for about three to six hours, so check them often.
How long do cinnamon ornaments take to dry? The air dried cinnamon applesauce ornaments above take two to three days at room temperature. Turn them now and then so they stay flat.
What can I use instead of buying ornament supplies? Look for pinecones, birch bark from firewood, leftover ribbon, old sweaters, wooden clothespins and kitchen staples like flour, salt and cinnamon.