Swipe through all 28 ideas
See every idea at a glance, then jump to the one you like.
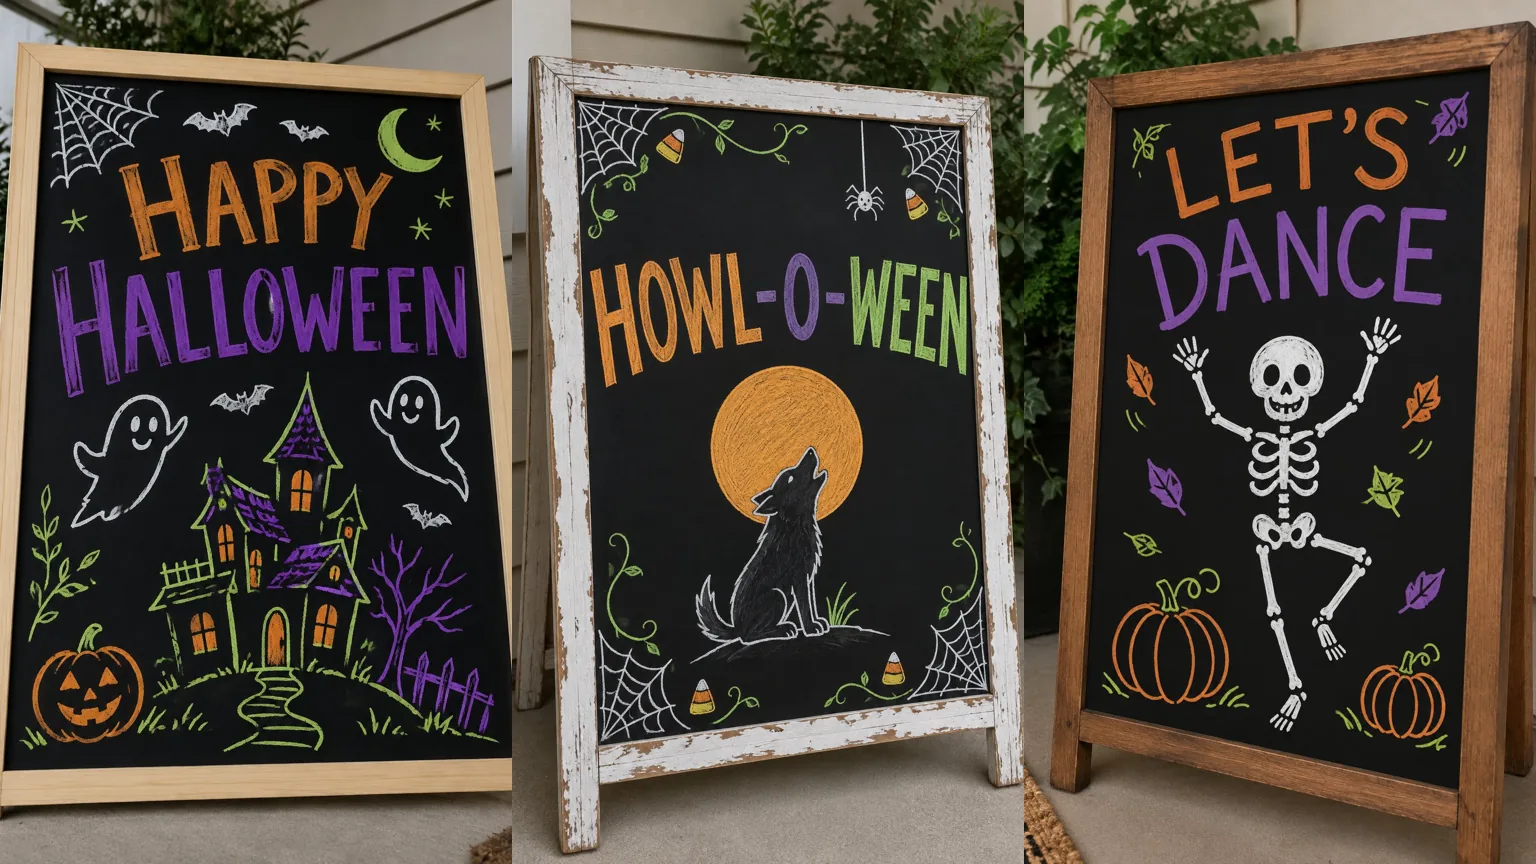
Halloween chalkboard art is one of the cheapest ways to decorate, and you do not need to be an artist. A black board, a few chalk markers and about twenty minutes will get you a sign that makes people stop and smile.
I keep a small board in our kitchen and redraw it every season, so this one gets used all year. Wipe it clean in November and draw something new for Thanksgiving.
Below are 24 Halloween chalkboard art ideas, from a two minute spider to a fancy witch’s cauldron. Each one says what to draw and how to build it. After the list you will find a short supply list, a five step method that works for every board, lettering and chalk marker tips, and a quick FAQ.
Credit: Living Tickled
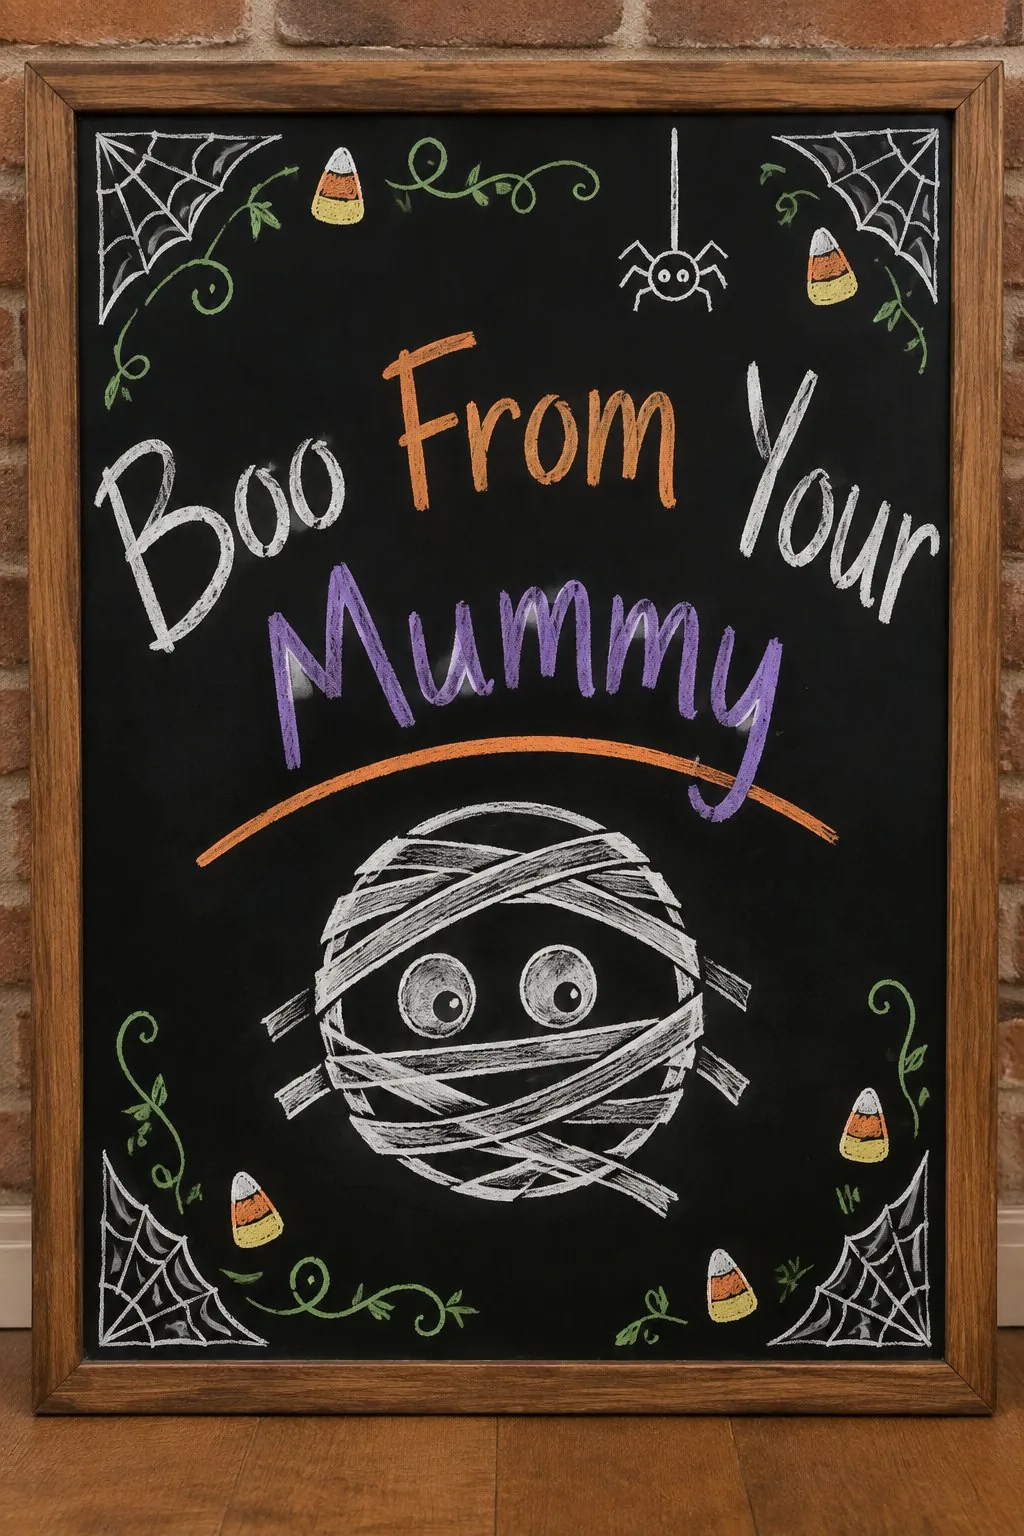
1. A peeking mummy face
 Save
Credit: Living Tickled
A round mummy face with wide eyes looks out from behind crisscrossed bandage lines. Write a short greeting above it in white chalk and add a pumpkin orange arc under the words.
Draw the bandages as loose white lines that cross over the face, and leave two gaps for the eyes. It suits a nursery door or a kid’s room.
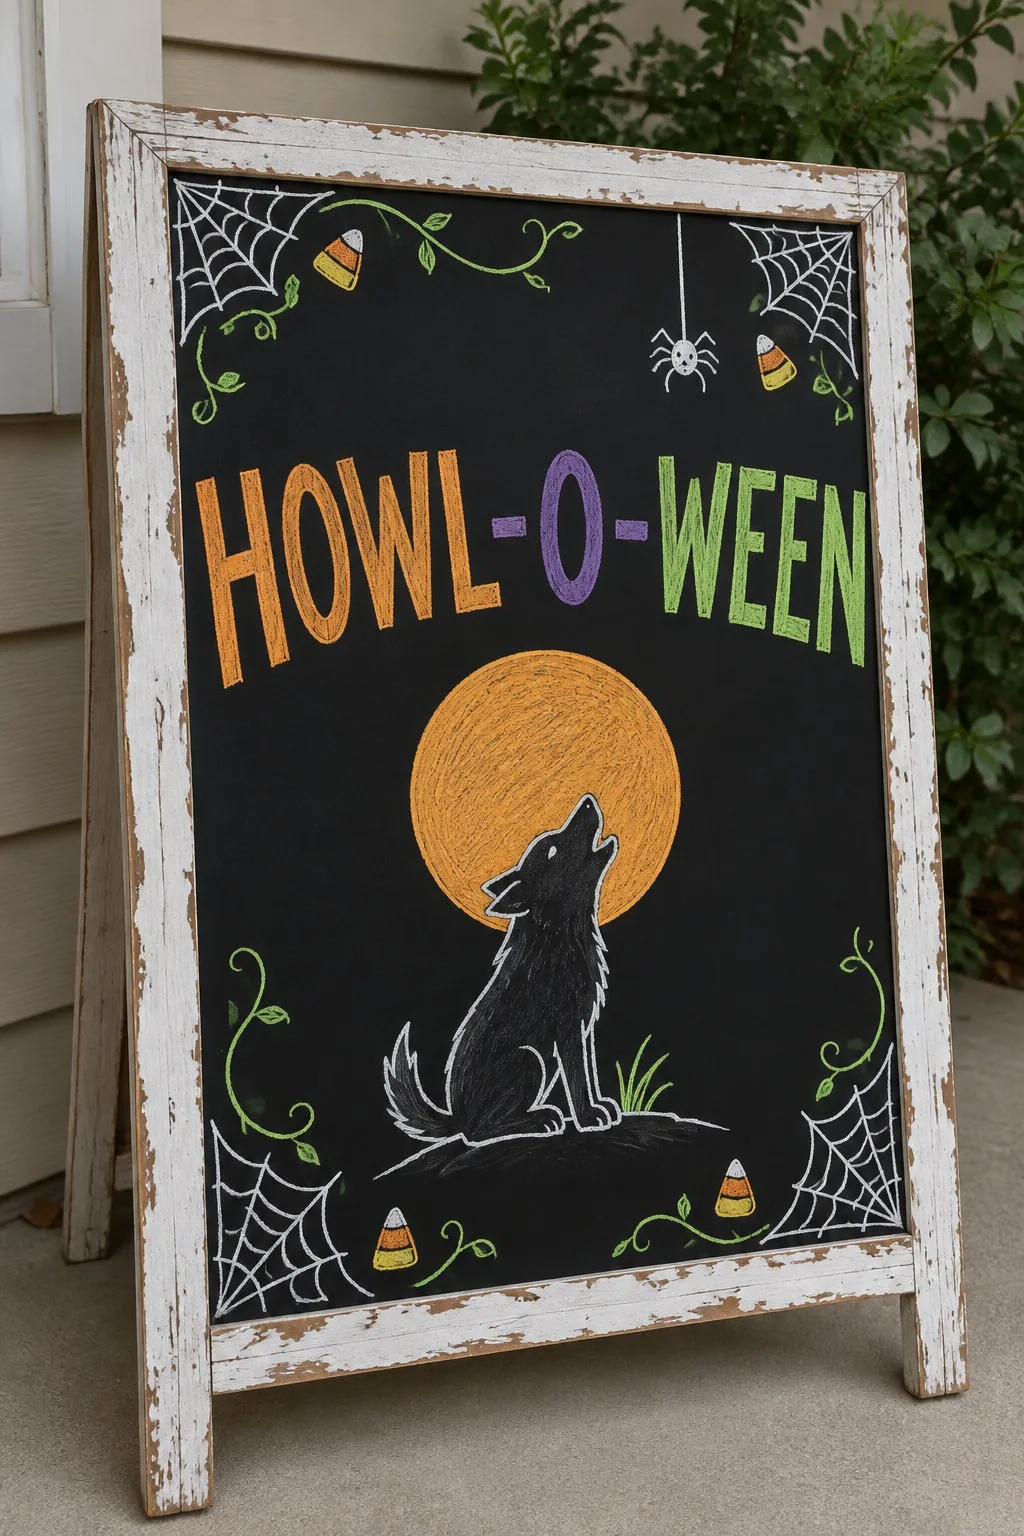
2. A howling wolf under a harvest moon
 Save
Credit: Living Tickled
A big orange circle makes the moon, and a small black wolf sits below it with its head thrown back. Bold block letters across the top spell a silly greeting.
Trace the moon with a round lid first so the circle stays even. This one stands nicely on an easel by the front door.
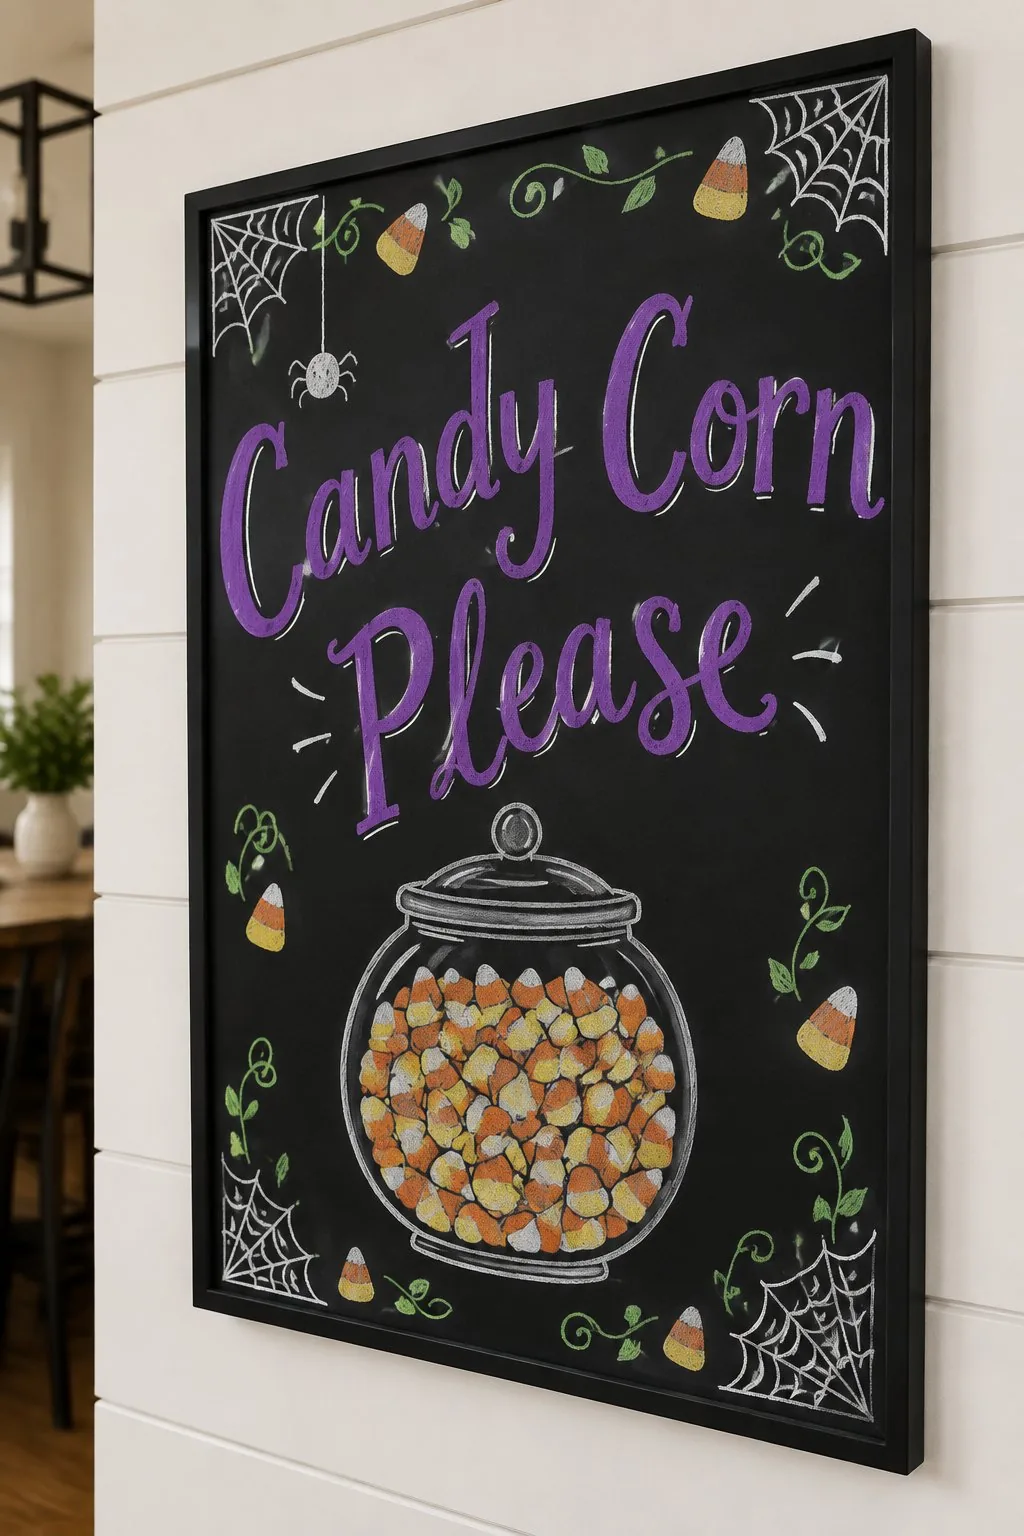
3. A jar of candy corn
 Save
Credit: Living Tickled
Draw a round glass jar and fill it to the brim with orange and white candy corn triangles. Purple script above it makes the sign look sweet and a little fancy.
Outline the jar in white, then fill it row by row from the bottom so the pieces line up. Set it on the snack table or kitchen counter.
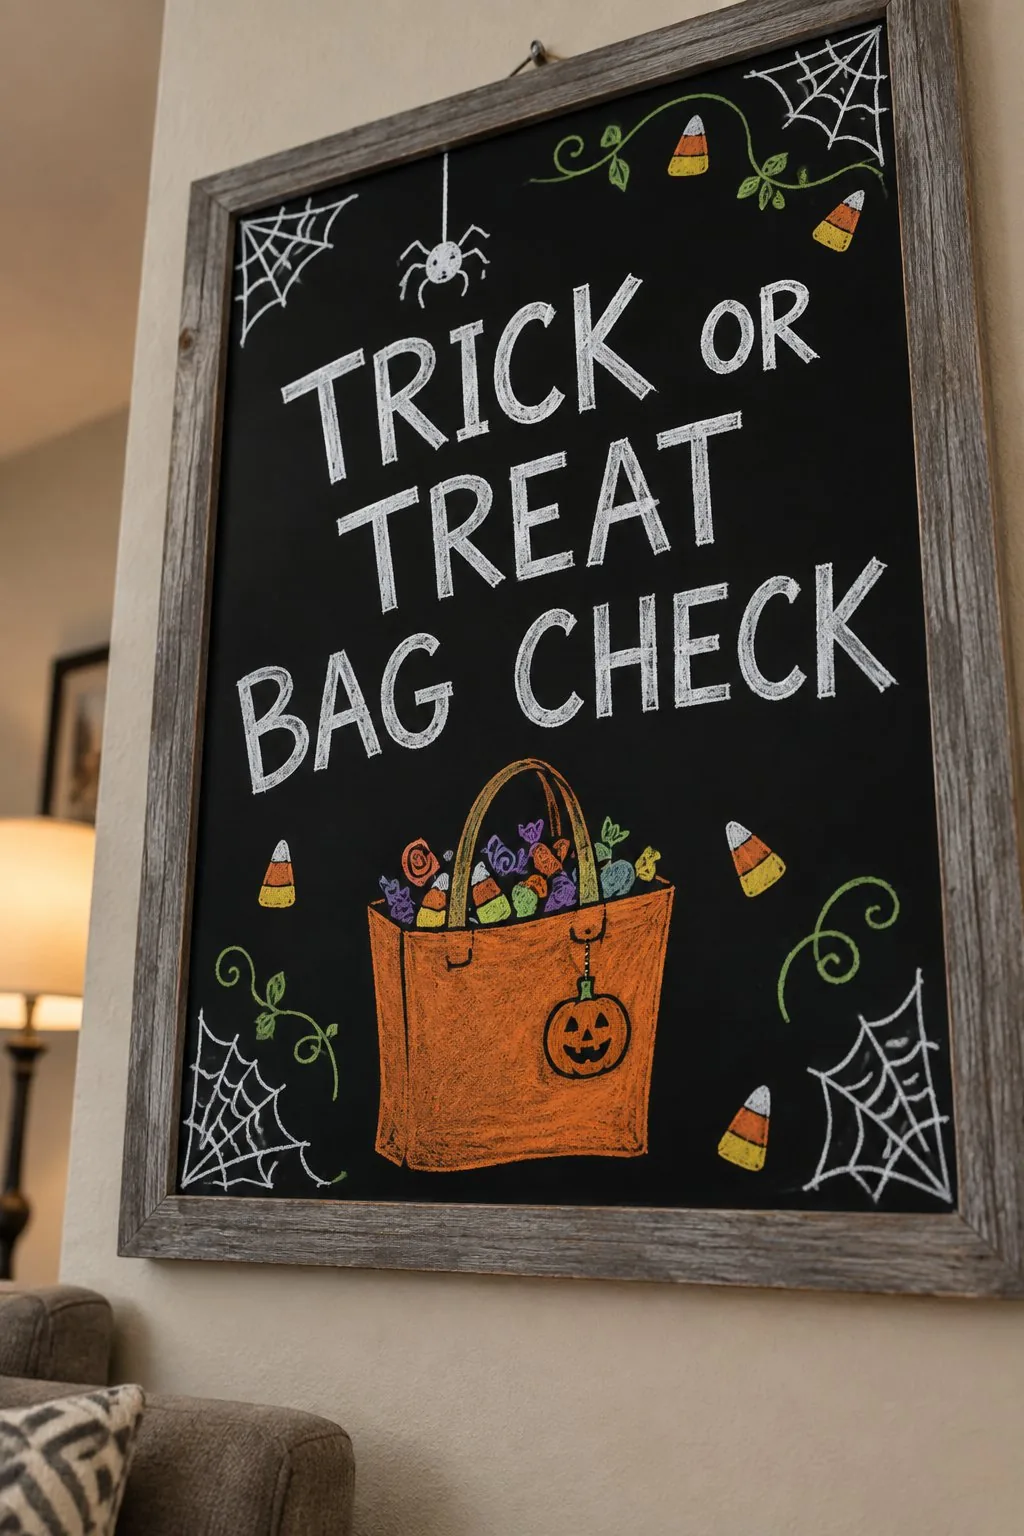
4. A trick or treat bag check sign
 Save
Credit: Living Tickled
An orange tote bag spilling candy sits under three lines of crisp white capitals. A tiny jack-o’-lantern on the bag adds a smile.
Keep the letters all the same height by lightly drawing two guide lines first, then wipe them away. Lean it by the door so trick or treaters know where to line up.
5. A trail of purple bats
 Save
Credit: Living Tickled
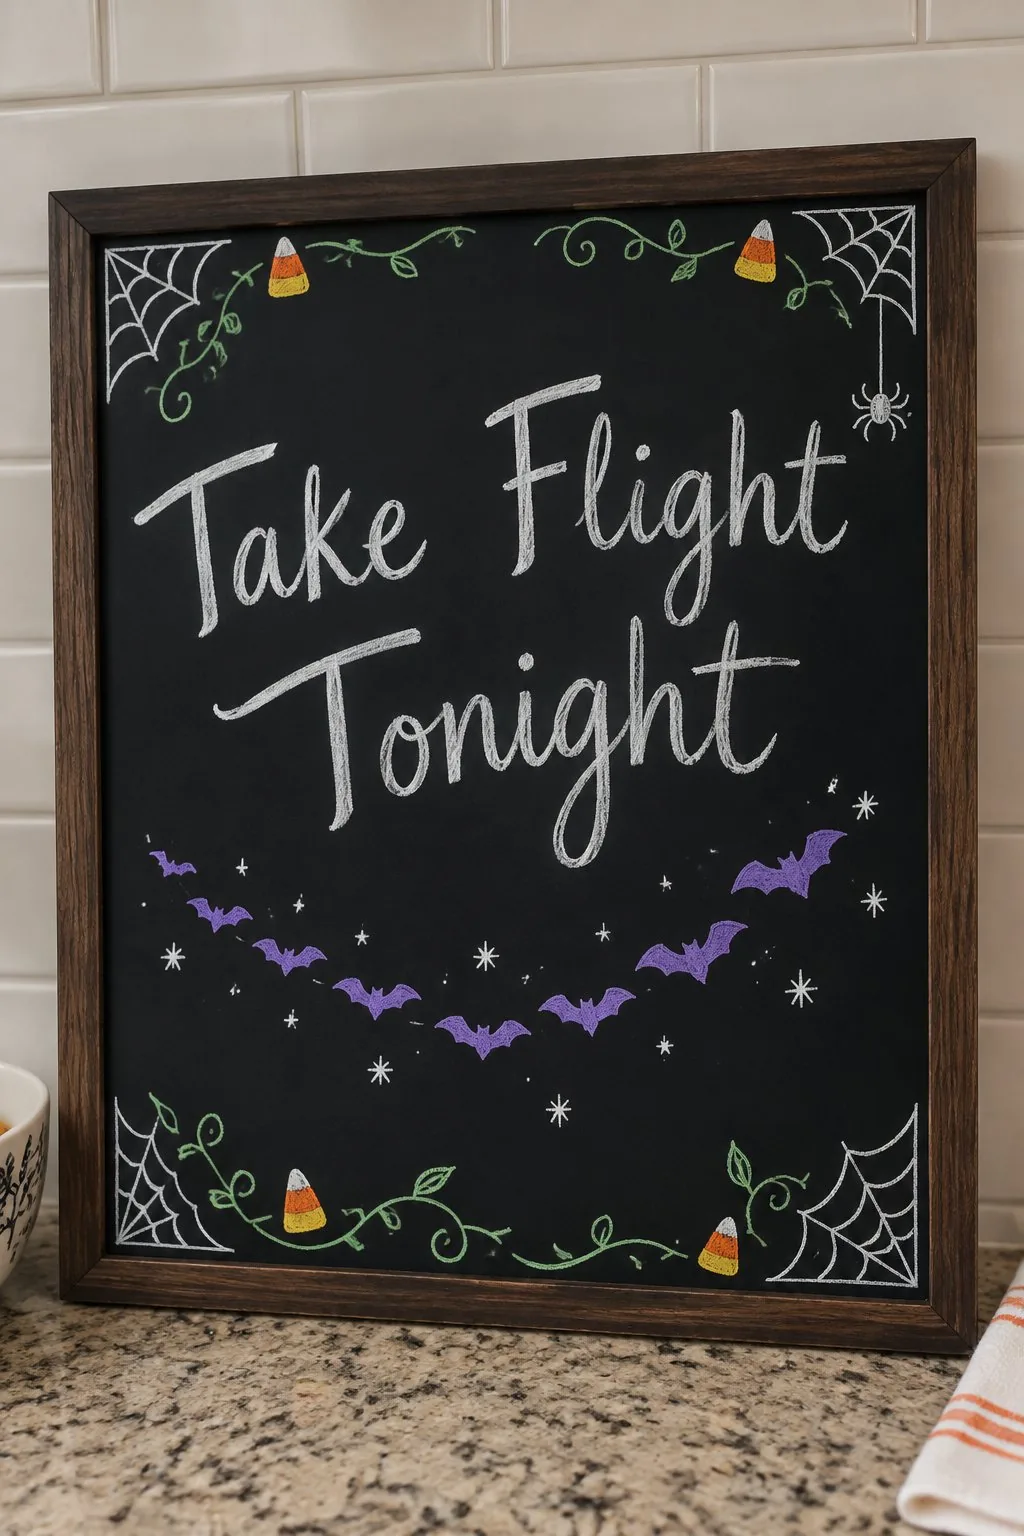
A curving line of small purple bats flies under a few words of white script. A scatter of tiny stars fills the empty space.
Draw each bat as a simple wide letter M with a tiny round head, and vary the sizes. Hang it on a porch rail or in a window.
6. A pumpkin patch family
 Save
Credit: Living Tickled
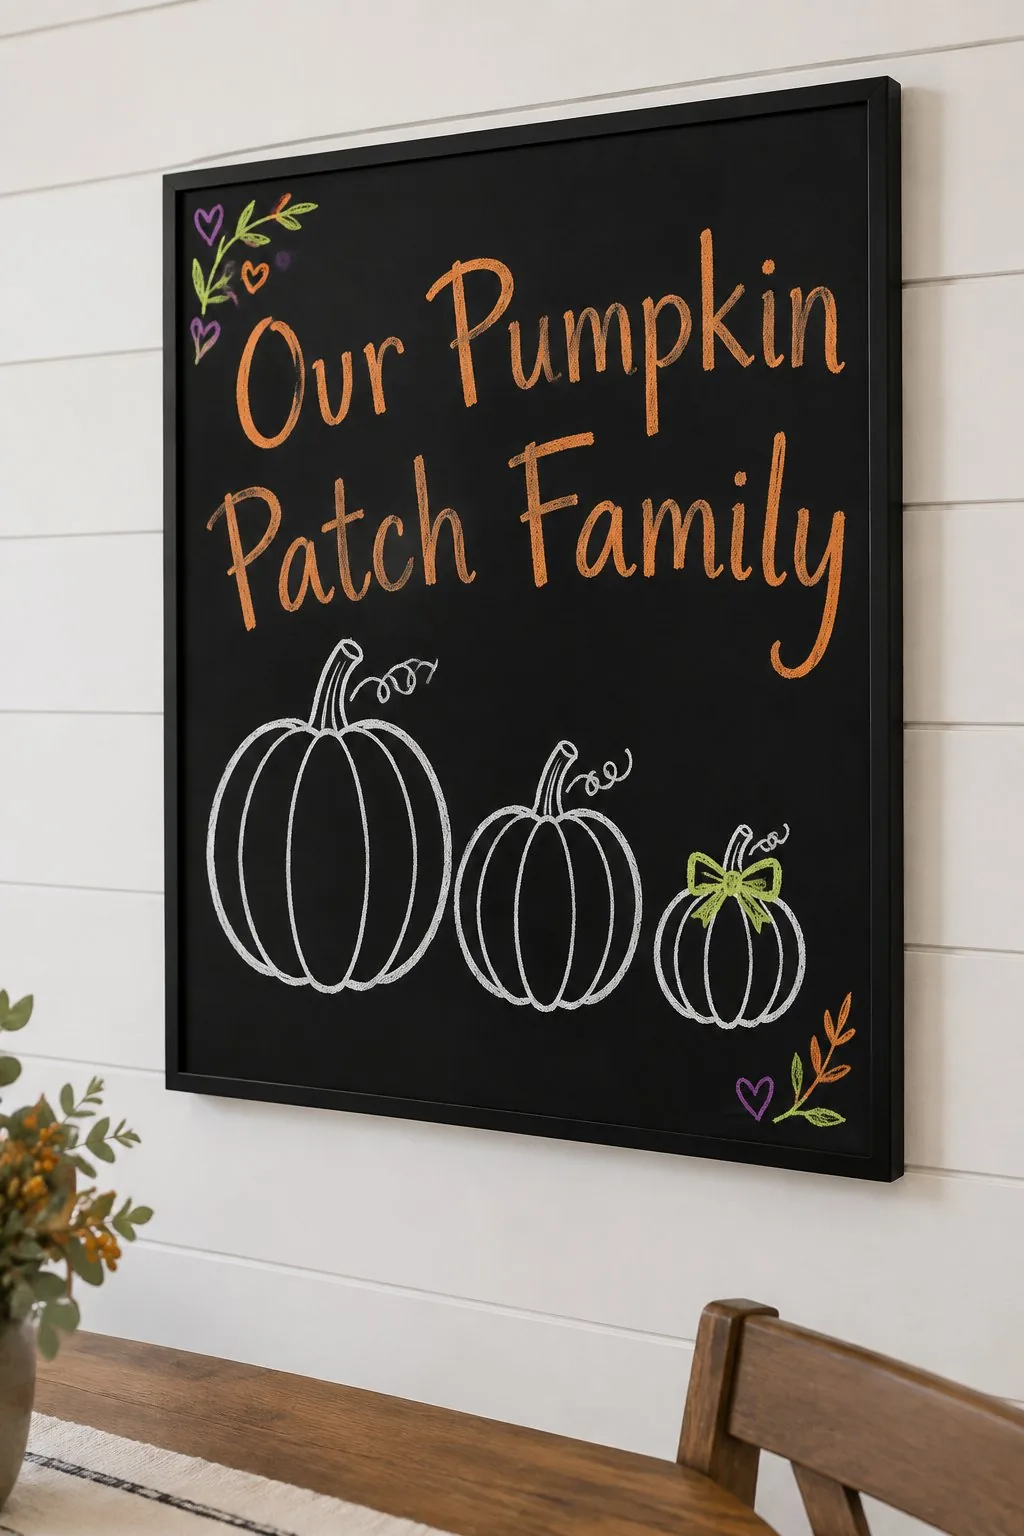
Three white outlined pumpkins stand in a row from biggest to smallest, and the little one wears a green bow. Warm orange script above them names the family.
Use only a white chalk marker for the pumpkins so it stays quick and easy. This is a good first board for beginners.
7. A friendly Frankenstein face
 Save
Credit: Living Tickled
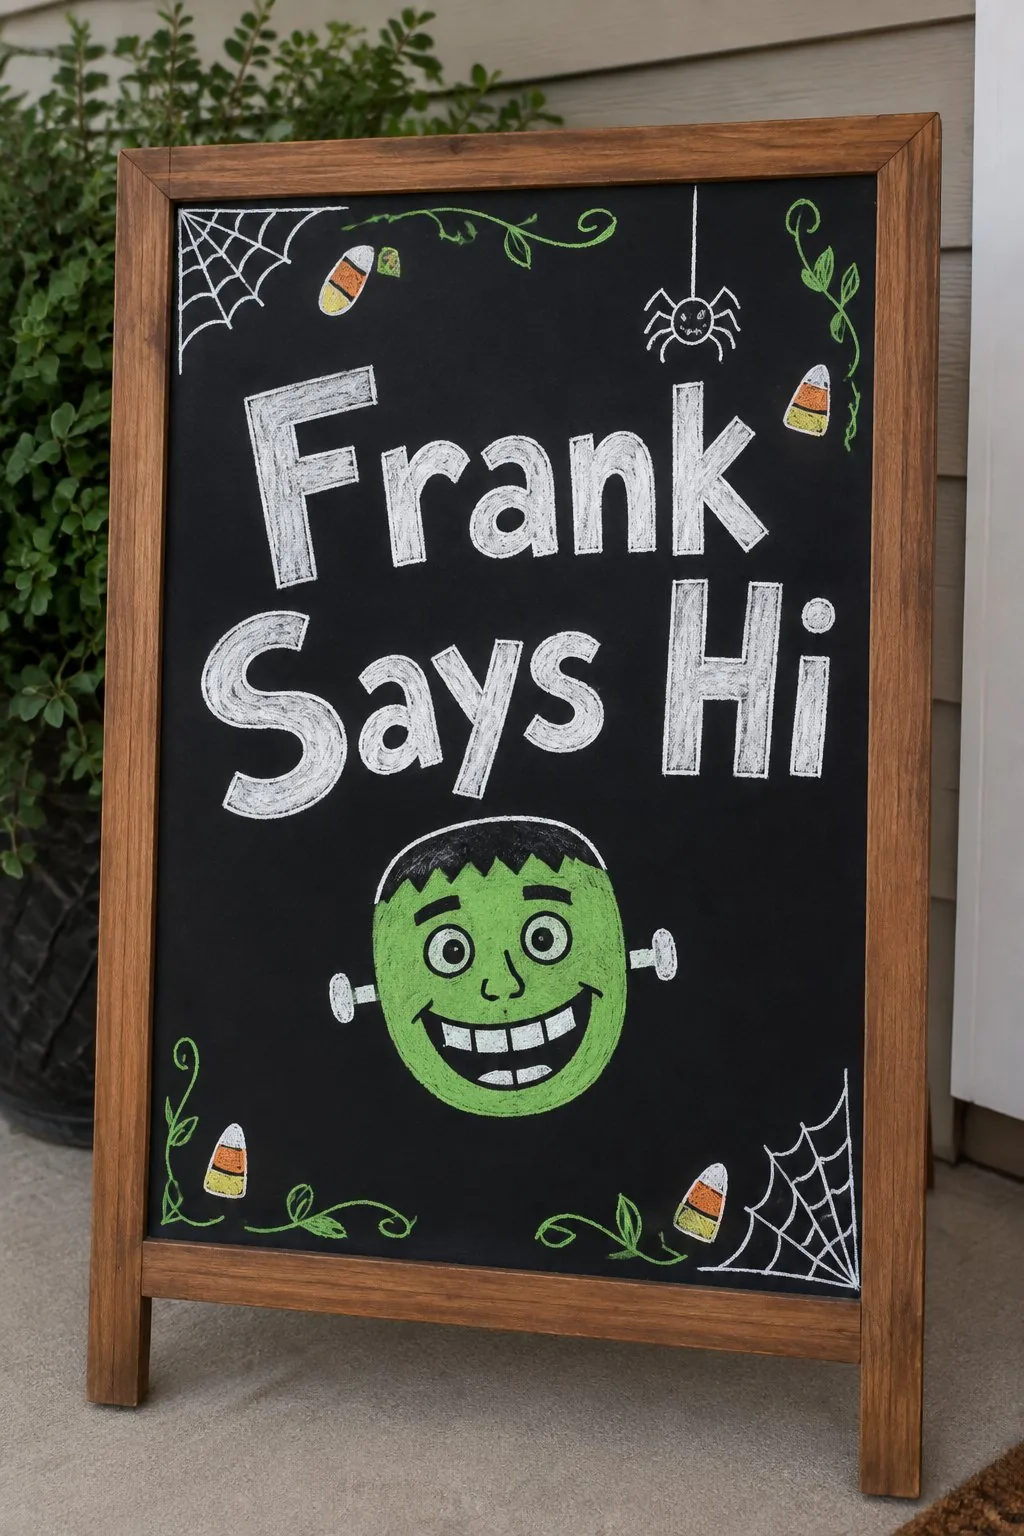
A bright green face with a wide grin and two gray bolts is all you need. Big white letters above it say hello in a spooky but cheerful way.
Fill the face with the side of the marker for a solid green, then add the hair and the grin on top. Kids love this one for a playroom door.
8. An owl on a pumpkin
 Save
Credit: Living Tickled
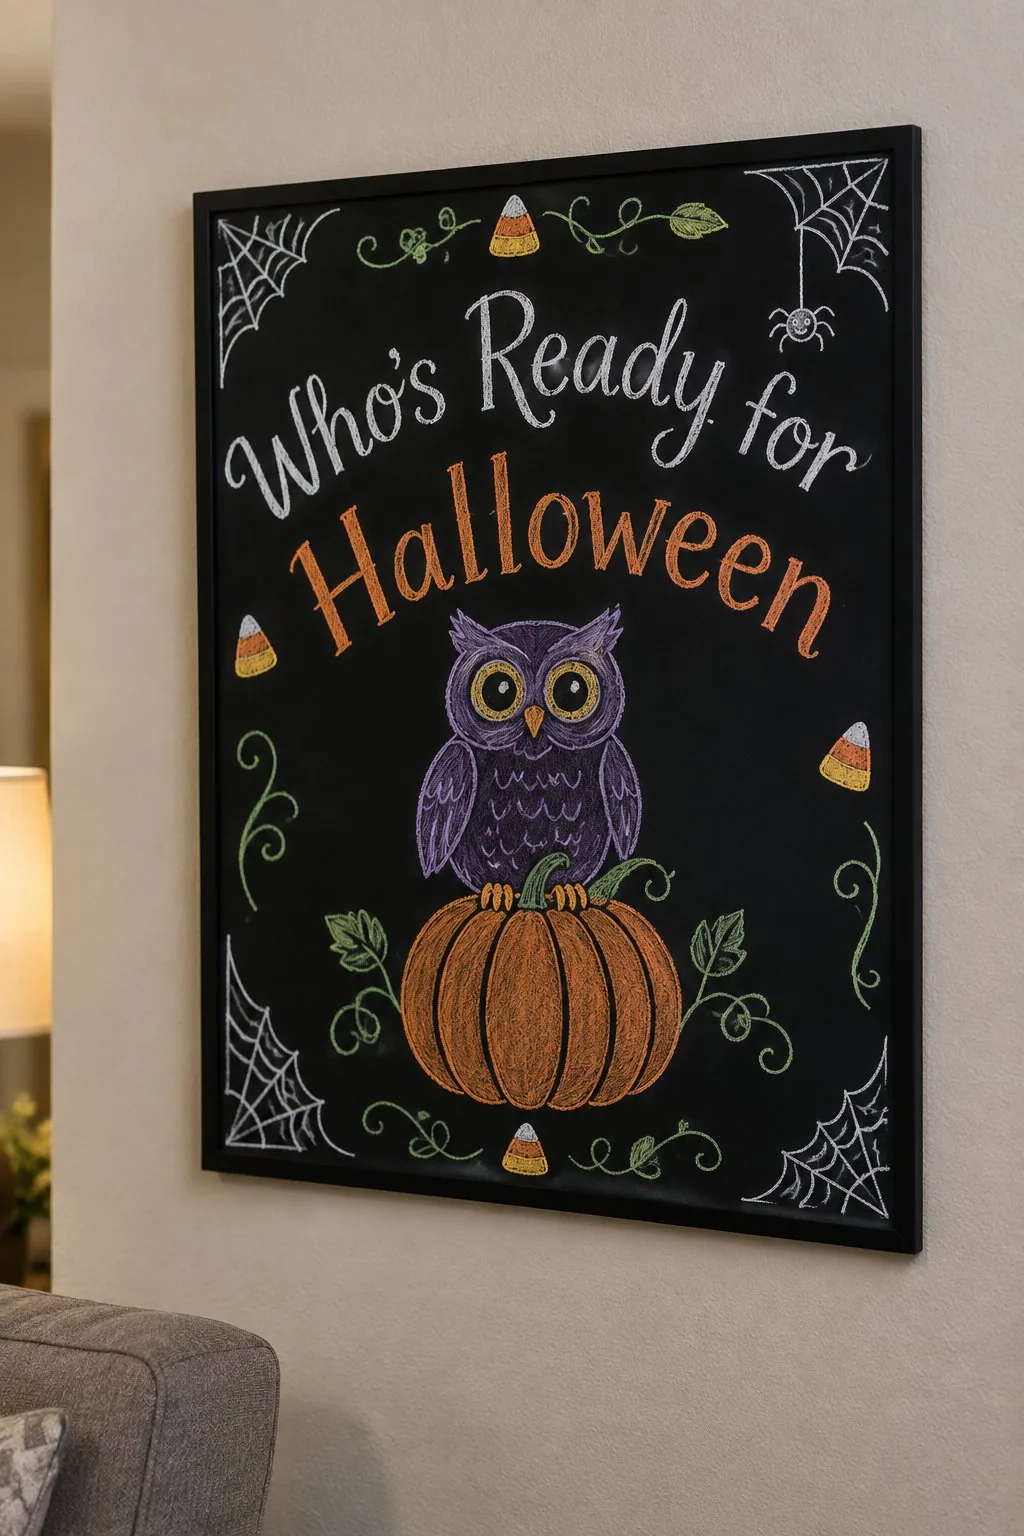
A purple owl perches on a big orange pumpkin, and a line of white script asks who is ready for Halloween. Little cobwebs in the corners finish the frame.
Draw the owl with two big round eyes first, then add the feathers as short lines. It fits a kitchen or a classroom wall.
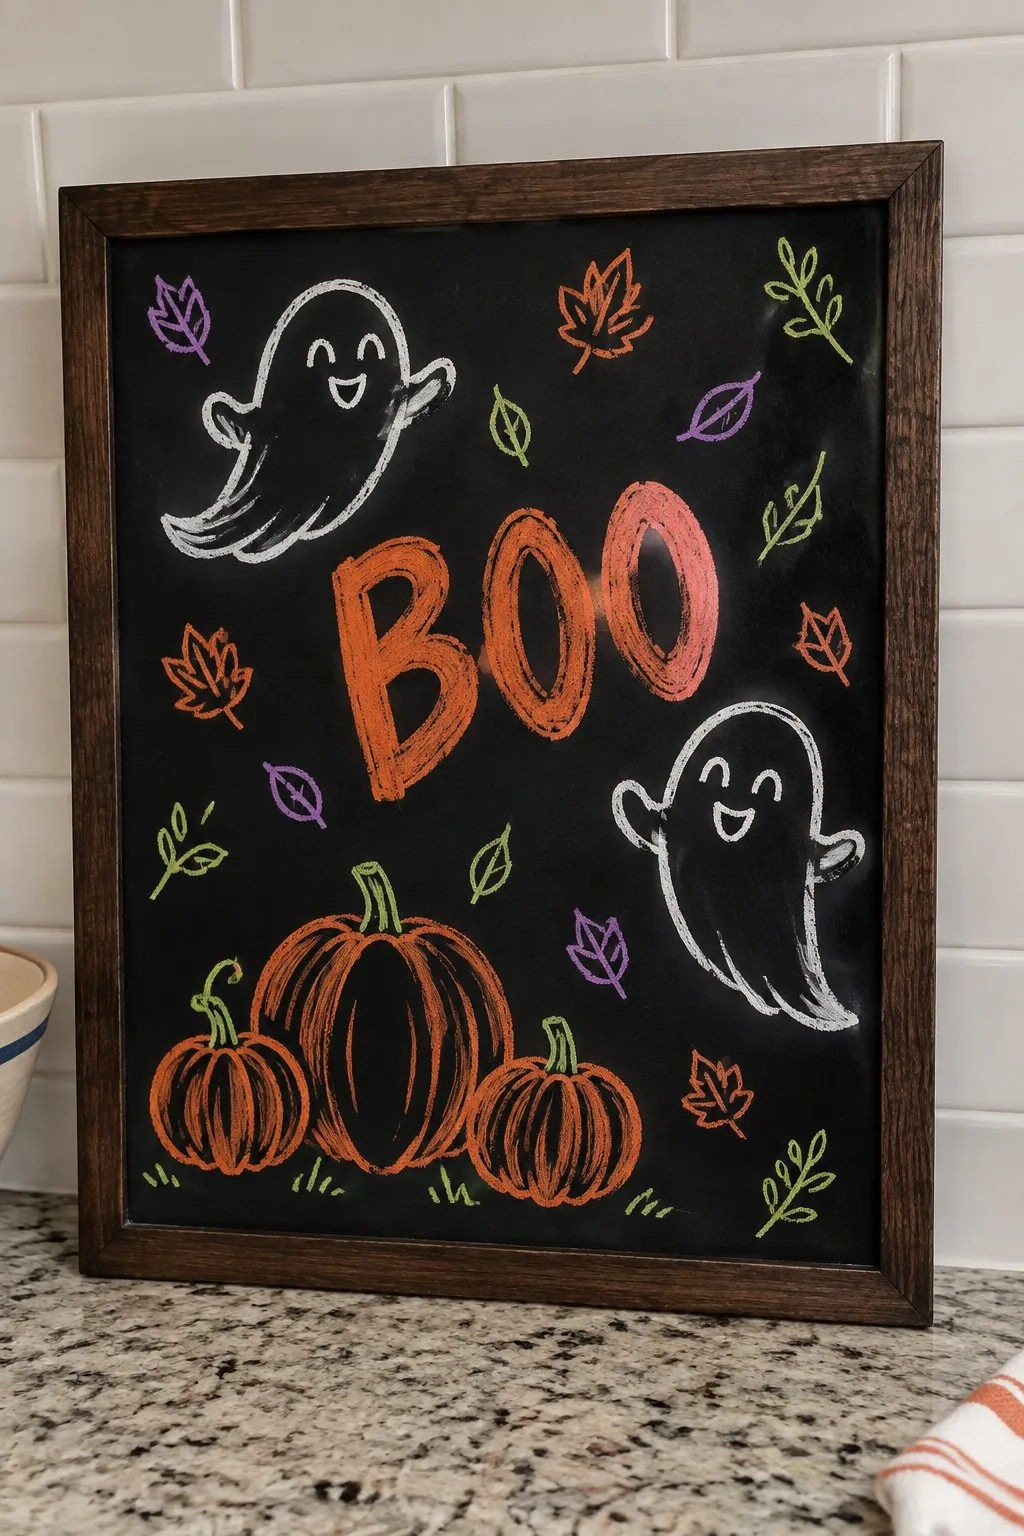
9. Ghosts and pumpkins around a bold BOO
 Save
Credit: Living Tickled
Two white ghosts float on either side of a huge orange BOO, with a small pumpkin patch along the bottom. A few fall leaves drift down the board.
Letter the BOO first so everything else can fit around it. Let the ghosts overlap the edges of the board for a playful feel.
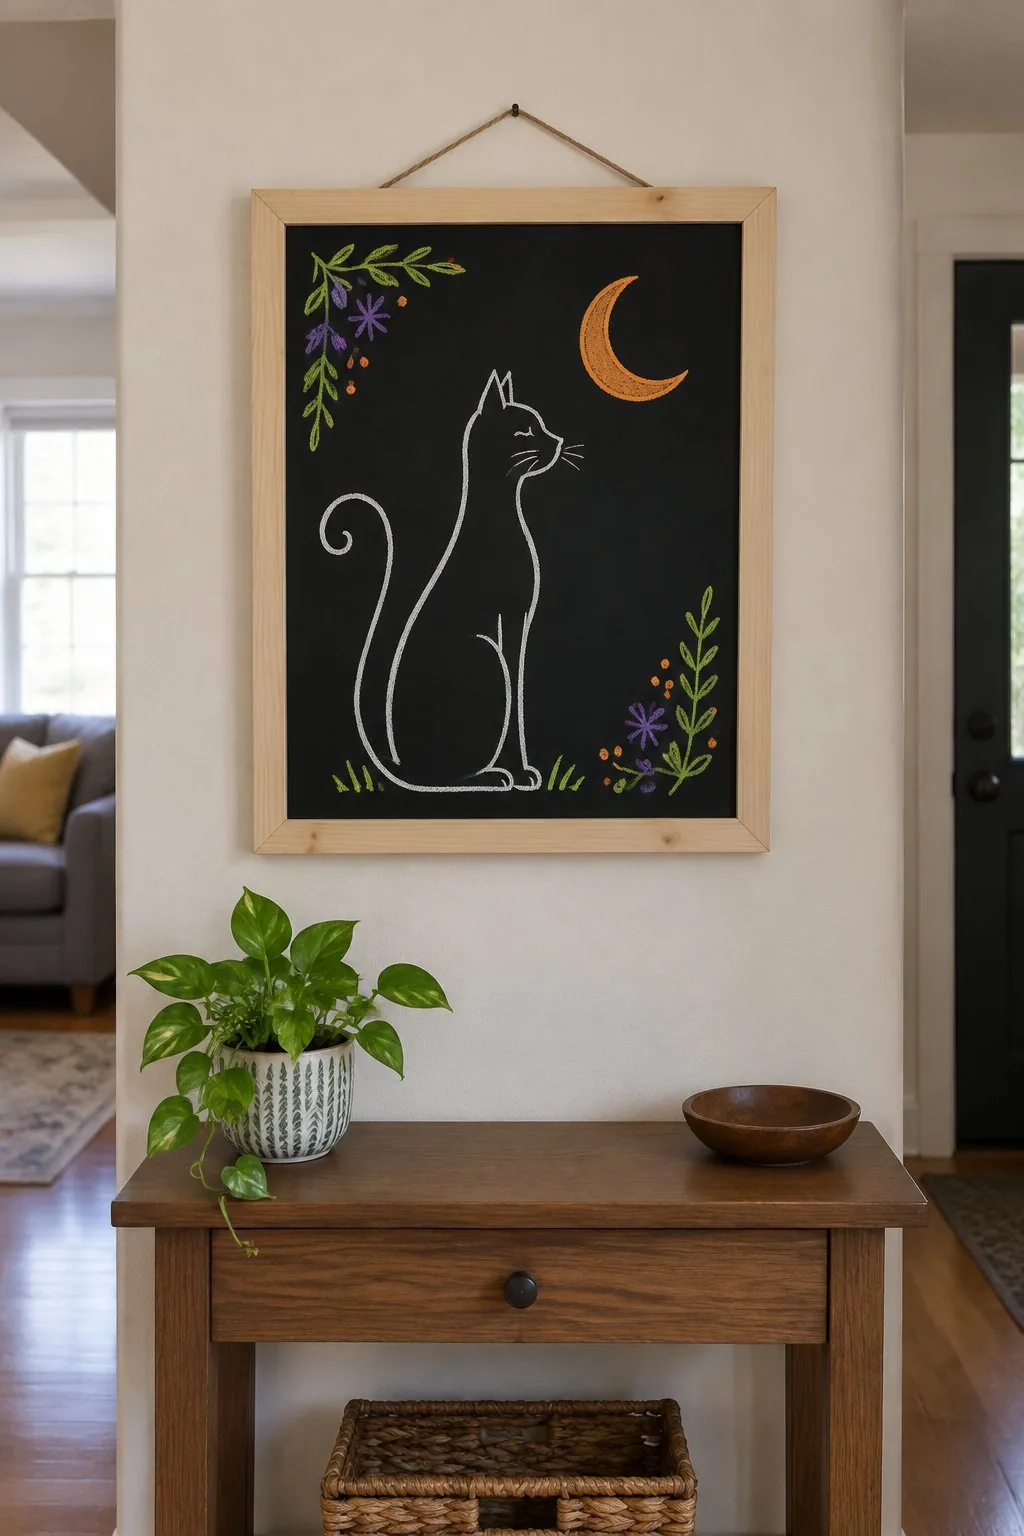
10. A quiet black cat under the moon
 Save
Credit: Living Tickled
A single white line cat sits under a small orange crescent moon, with a few purple leaves in one corner. Plenty of empty space makes it feel calm and modern.
Draw the cat as one flowing line and keep the lines thin. This design looks great in a hallway or on an entryway table.
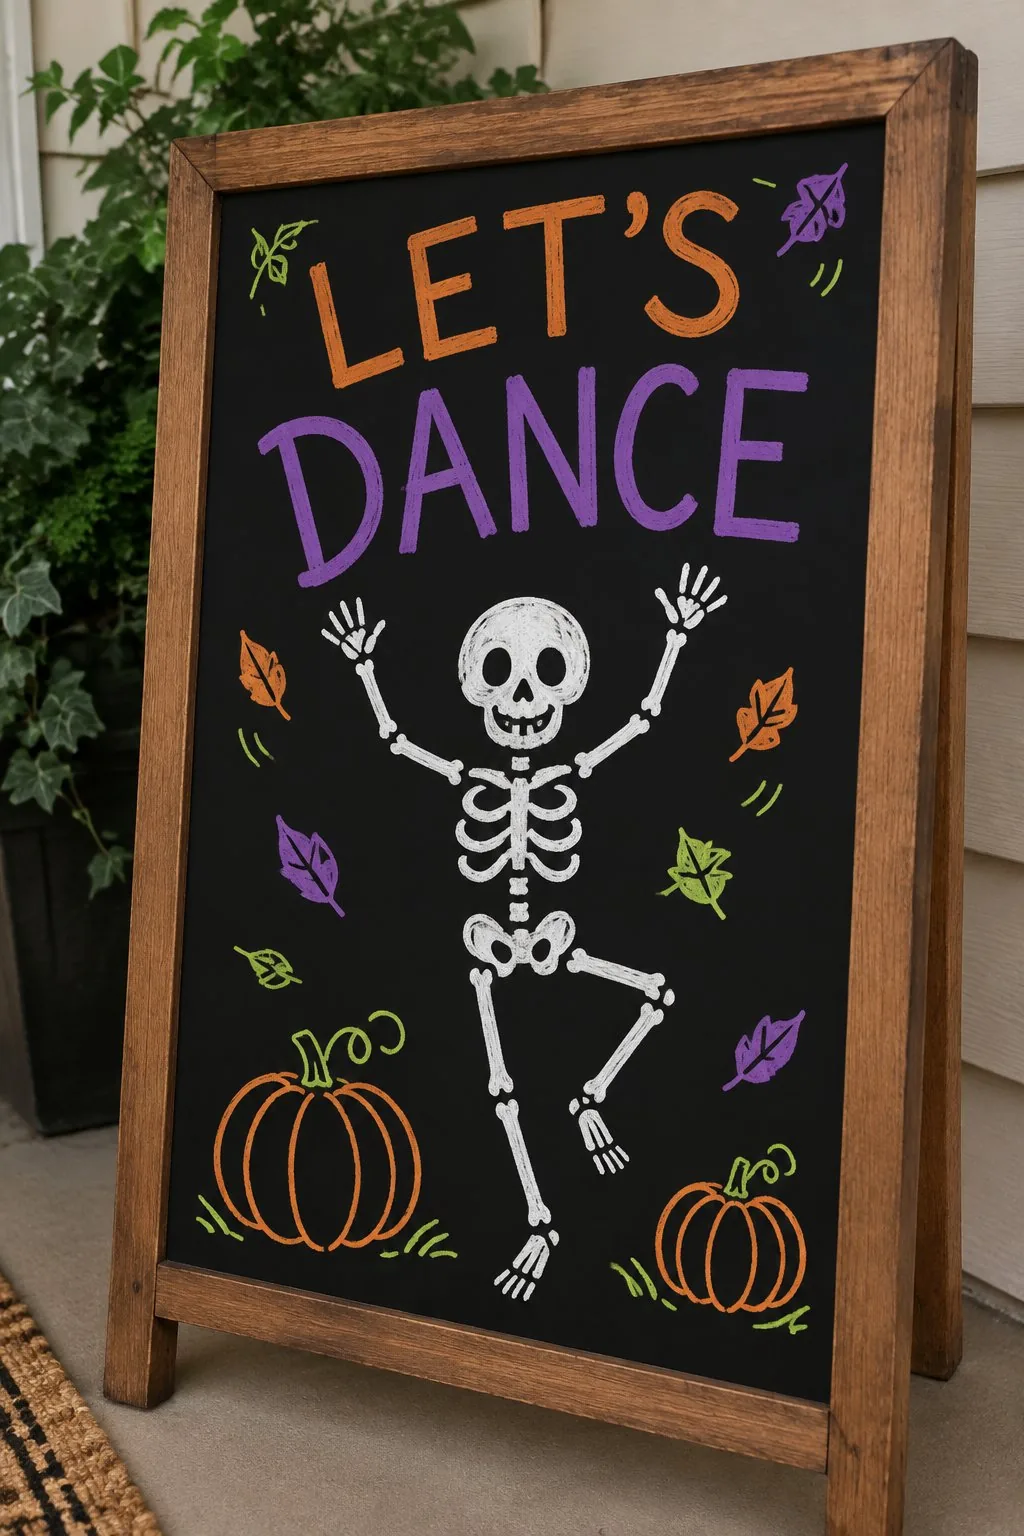
11. A dancing skeleton
 Save
Credit: Living Tickled
A white skeleton kicks up its heels beside two pumpkins, under big purple and orange letters that say let’s dance. It is lively and easy to read from far away.
Build the skeleton with a short line for the spine, then add ribs, arms and legs as thin lines with small joints. Stand it on the porch for a party.
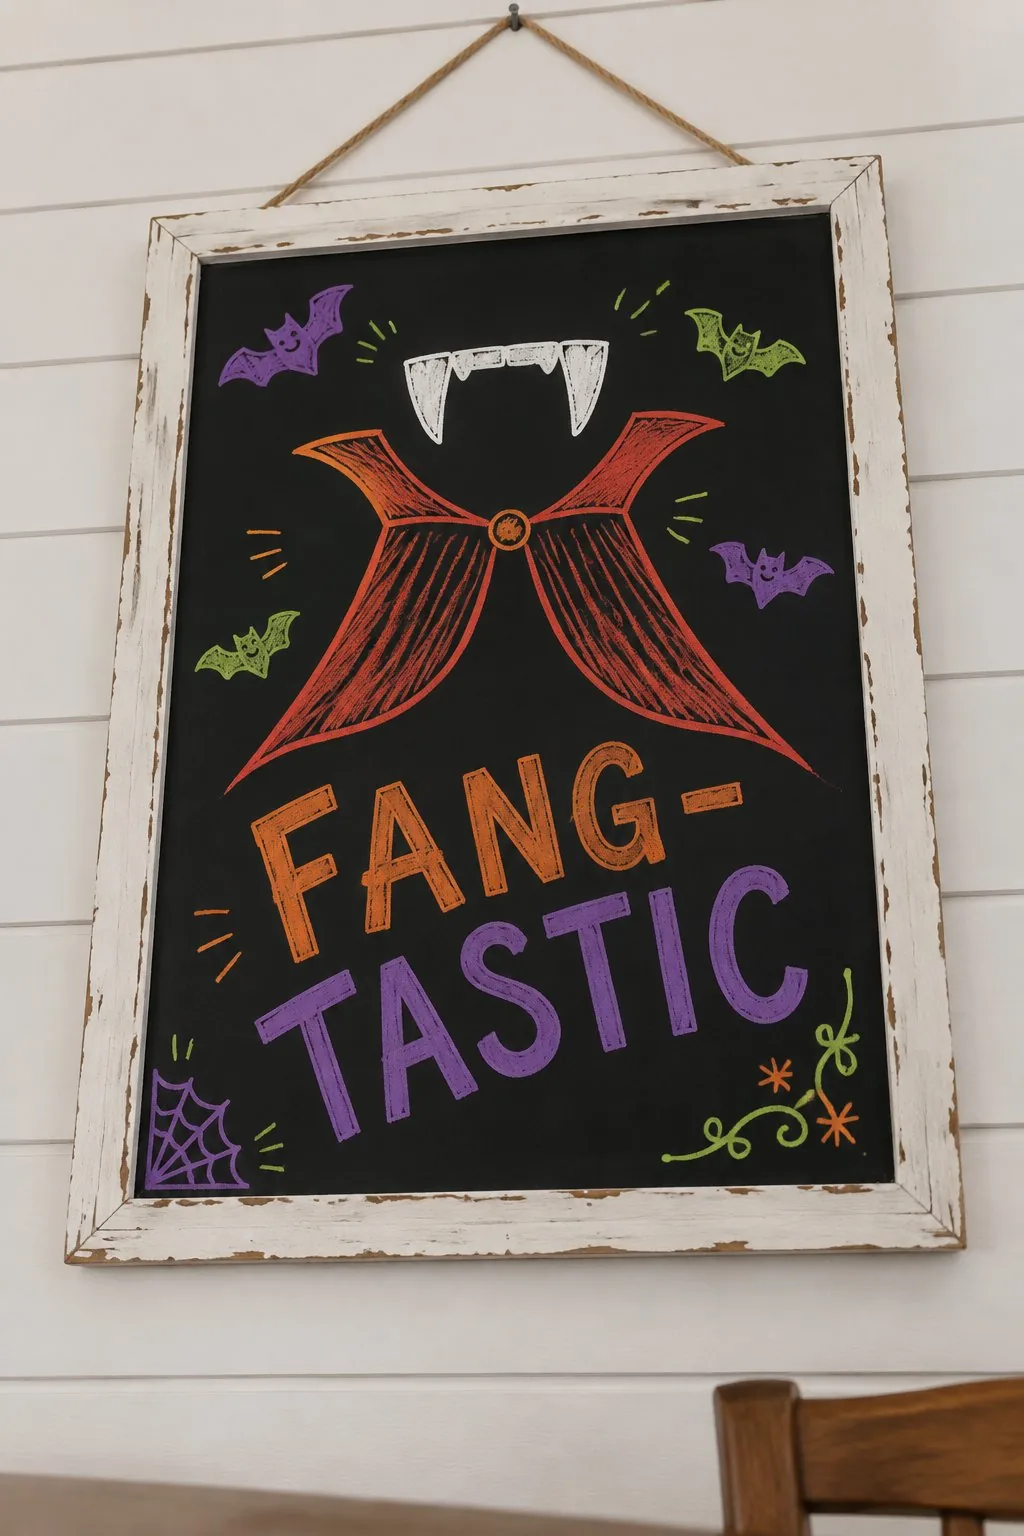
12. A caped vampire
 Save
Credit: Living Tickled
A red collar and two sharp white fangs are enough to say vampire. Orange and purple capitals underneath play on the word fang-tastic.
Draw a wide V for the cape, add a tall collar, and finish with the fangs. A rustic white frame makes the colors pop.
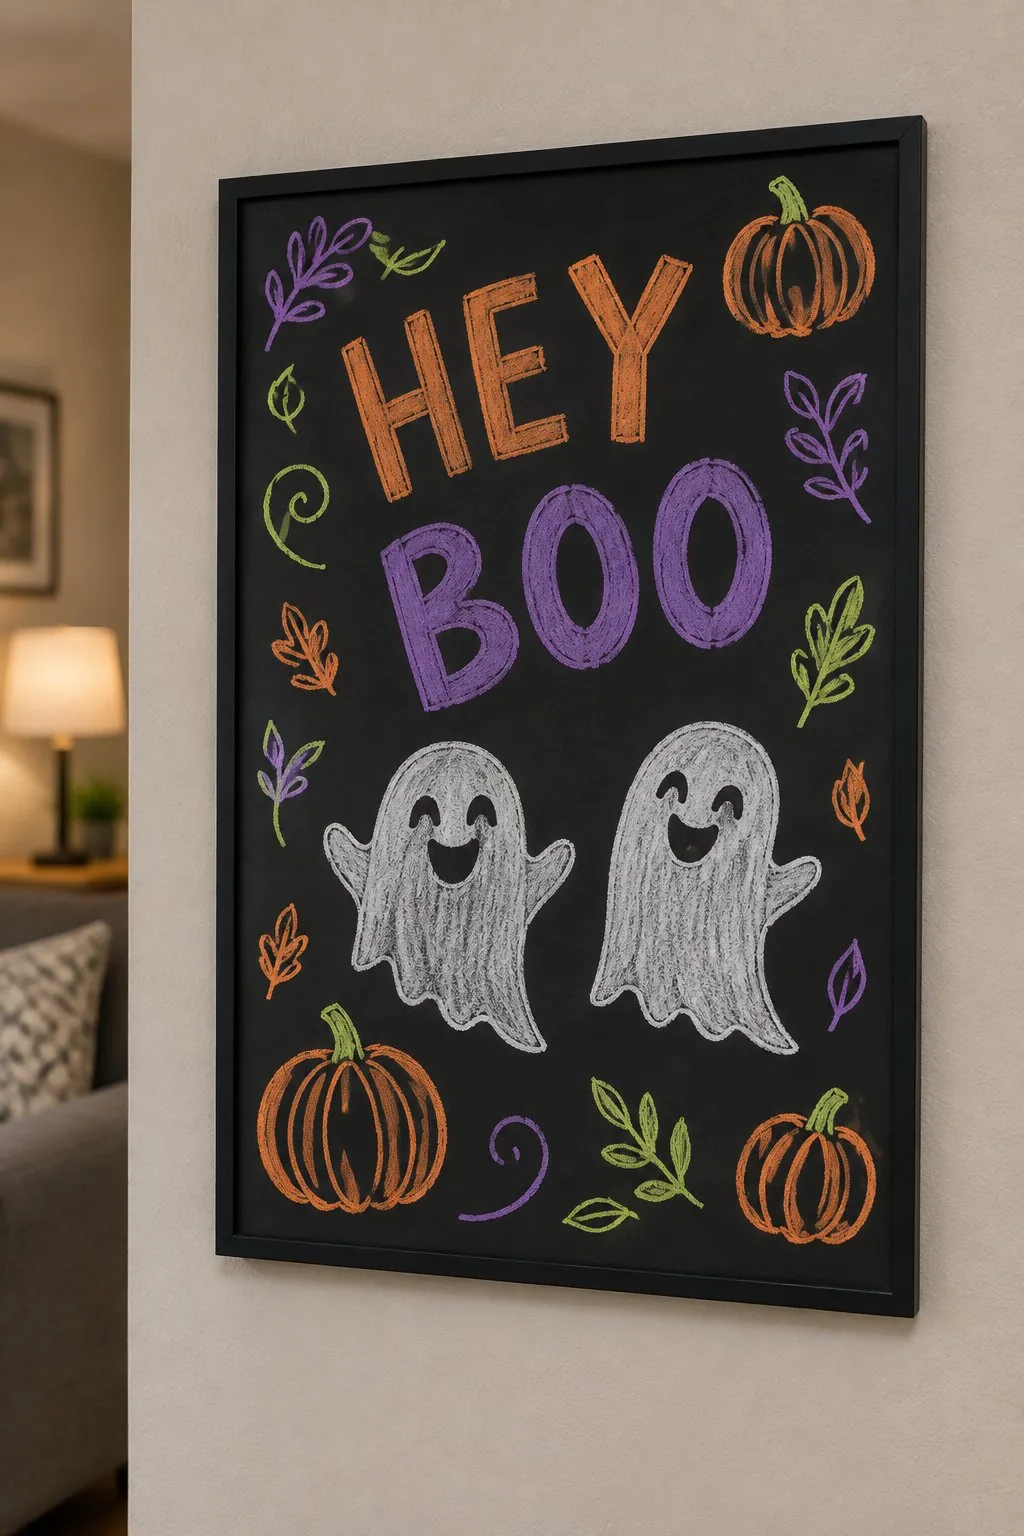
13. A pair of happy ghosts
 Save
Credit: Living Tickled
Two soft gray ghosts smile side by side under the words hey boo. Little pumpkins and leaves sit at their feet.
Smudge a little white chalk with your finger to give the ghosts a soft glow. It is a sweet pick for a dining room or entry.
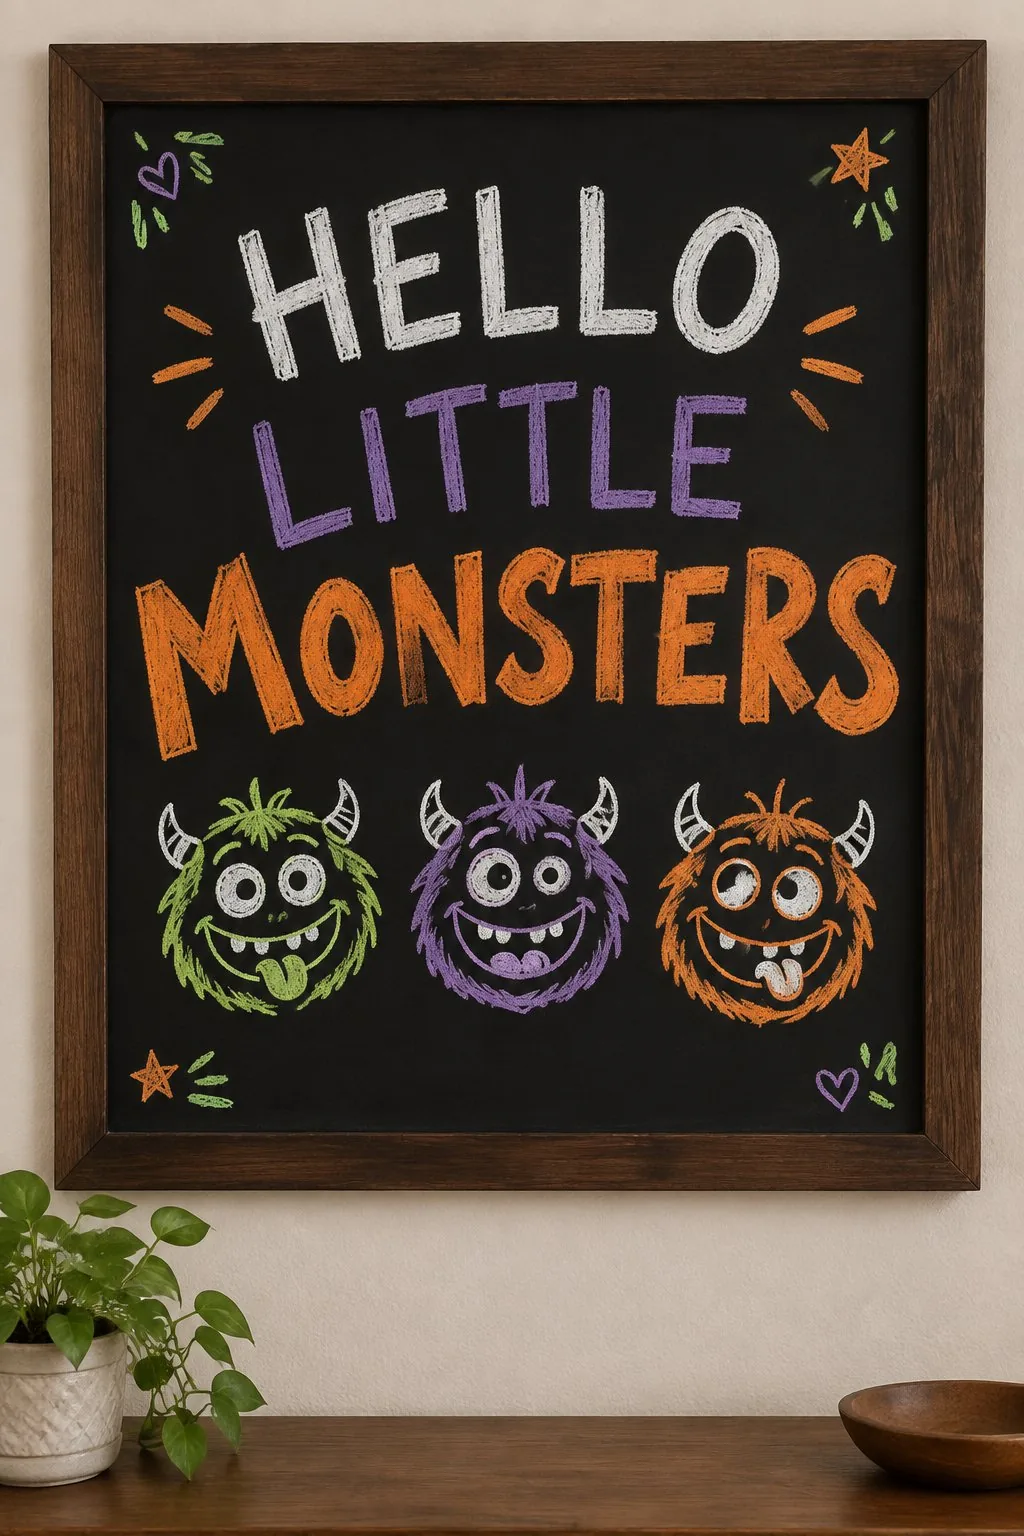
14. Three friendly monsters
 Save
Credit: Living Tickled
A green, a purple and an orange monster grin in a row under a hello little monsters headline. Their round bodies and silly teeth are easy to copy.
Start each monster with a circle and give them different numbers of eyes. A classroom or kids party table is the perfect spot.
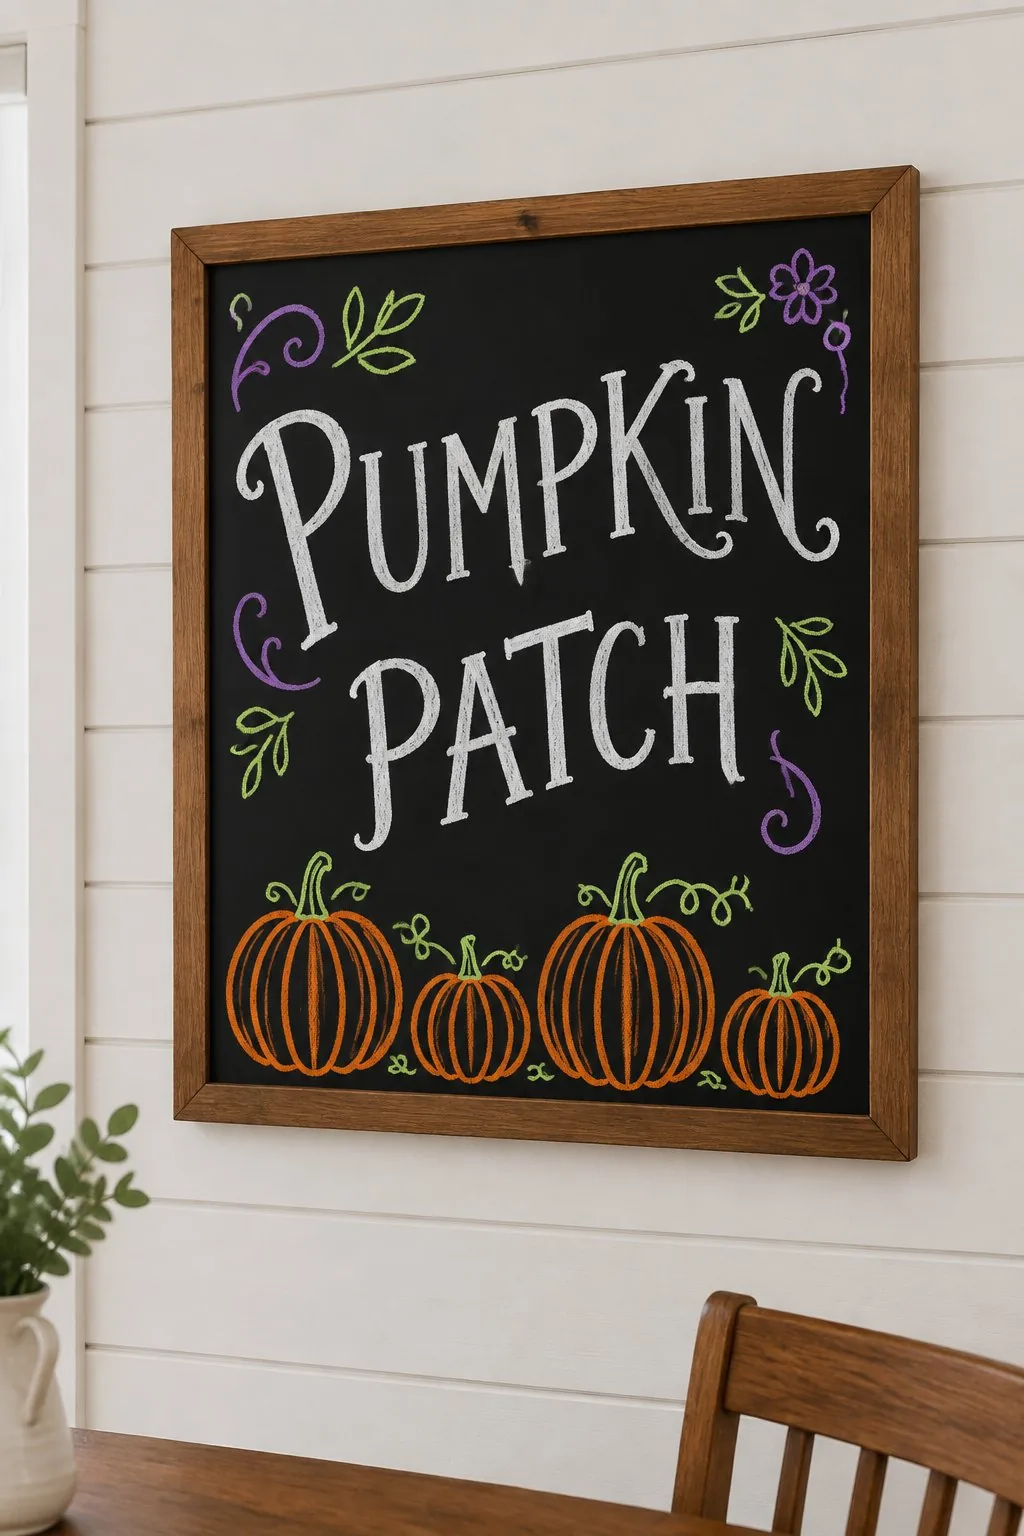
15. A classic pumpkin patch sign
 Save
Credit: Living Tickled
White chalk lettering and a row of orange pumpkins along the bottom make a timeless fall board. Purple vines curl around the words.
Keep to two or three colors so it stays clean. It works for a farm stand, a school hallway or a mantel.
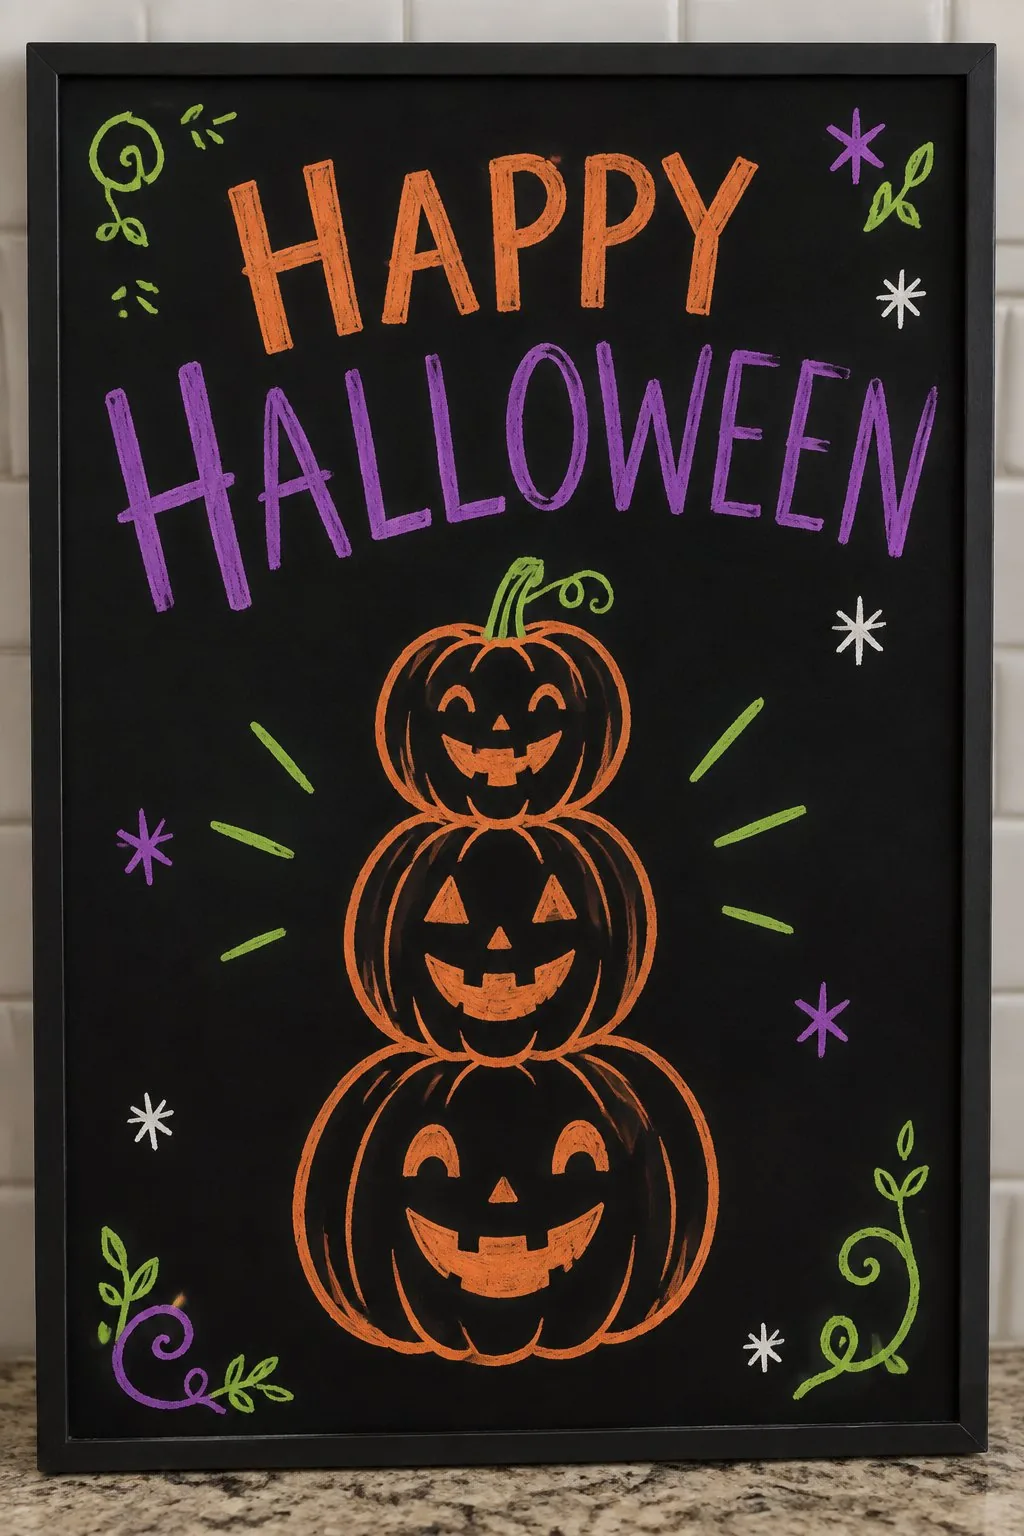
16. A stack of jack-o’-lanterns
 Save
Credit: Living Tickled
Three carved pumpkins sit on top of each other, each with a different grin. Happy Halloween in orange and purple runs above them.
Draw the biggest pumpkin at the bottom and work up so the sizes feel right. This is a great pick for a porch step.
17. A jack-o’-lantern candy bucket
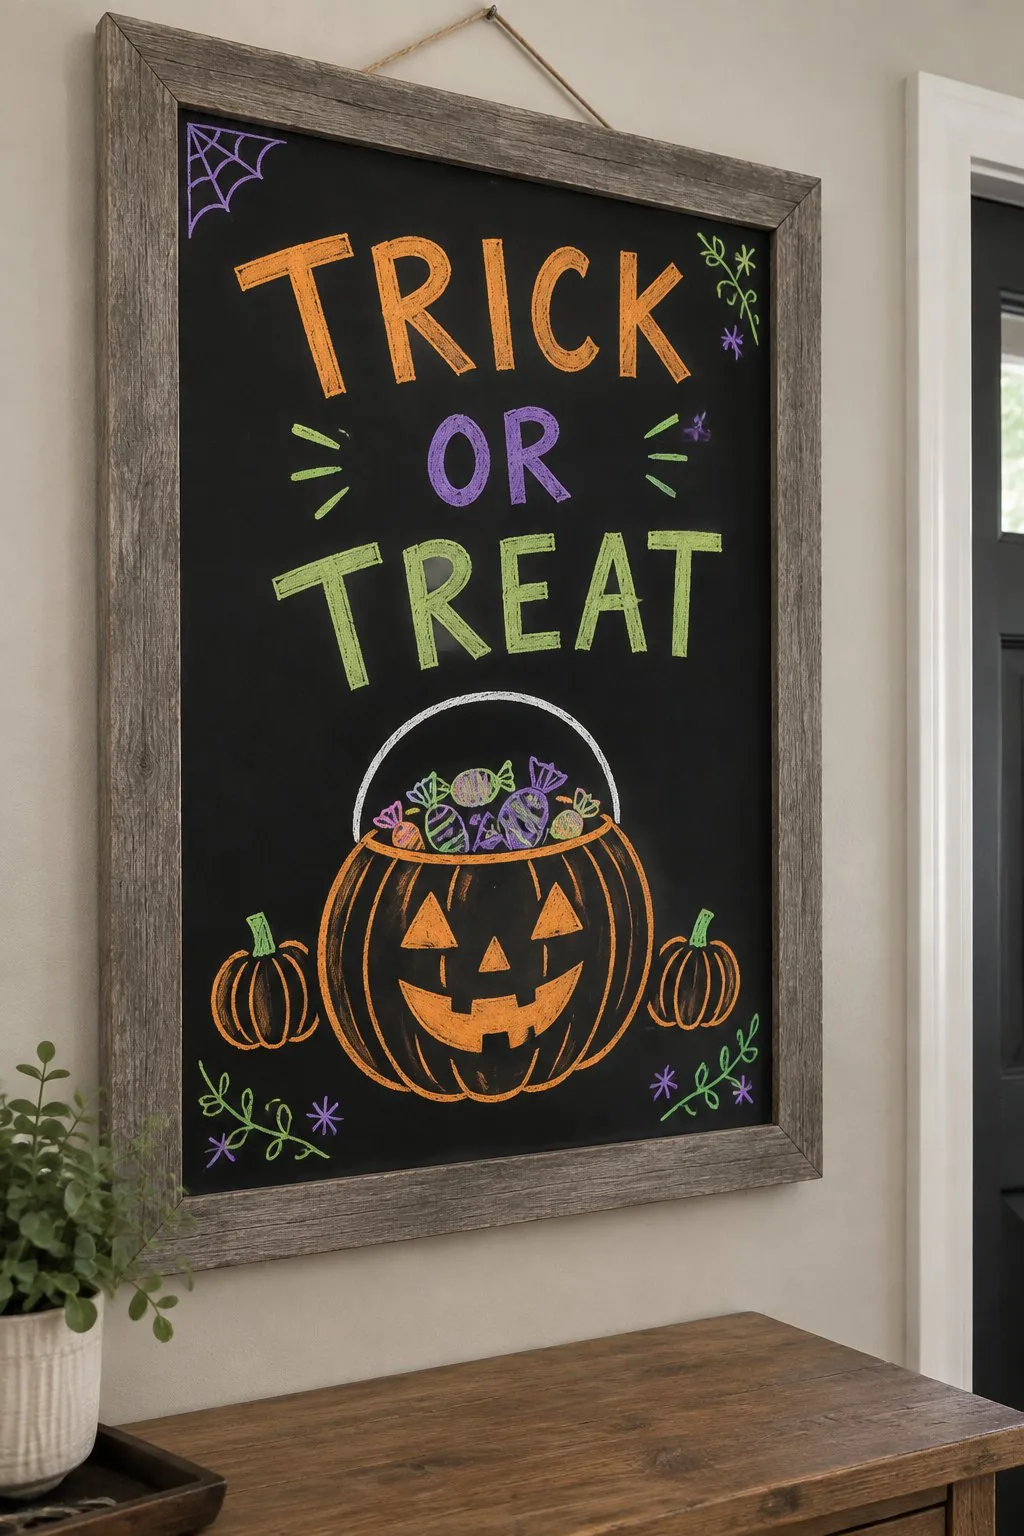 Save
Credit: Living Tickled
A bucket shaped like a smiling pumpkin overflows with candy under a trick or treat headline in orange and green. Small pumpkins sit on either side.
Draw the candy as tiny wrapped rectangles in different colors. Hang it near the candy bowl so it points the way.
18. A swarm of midnight bats
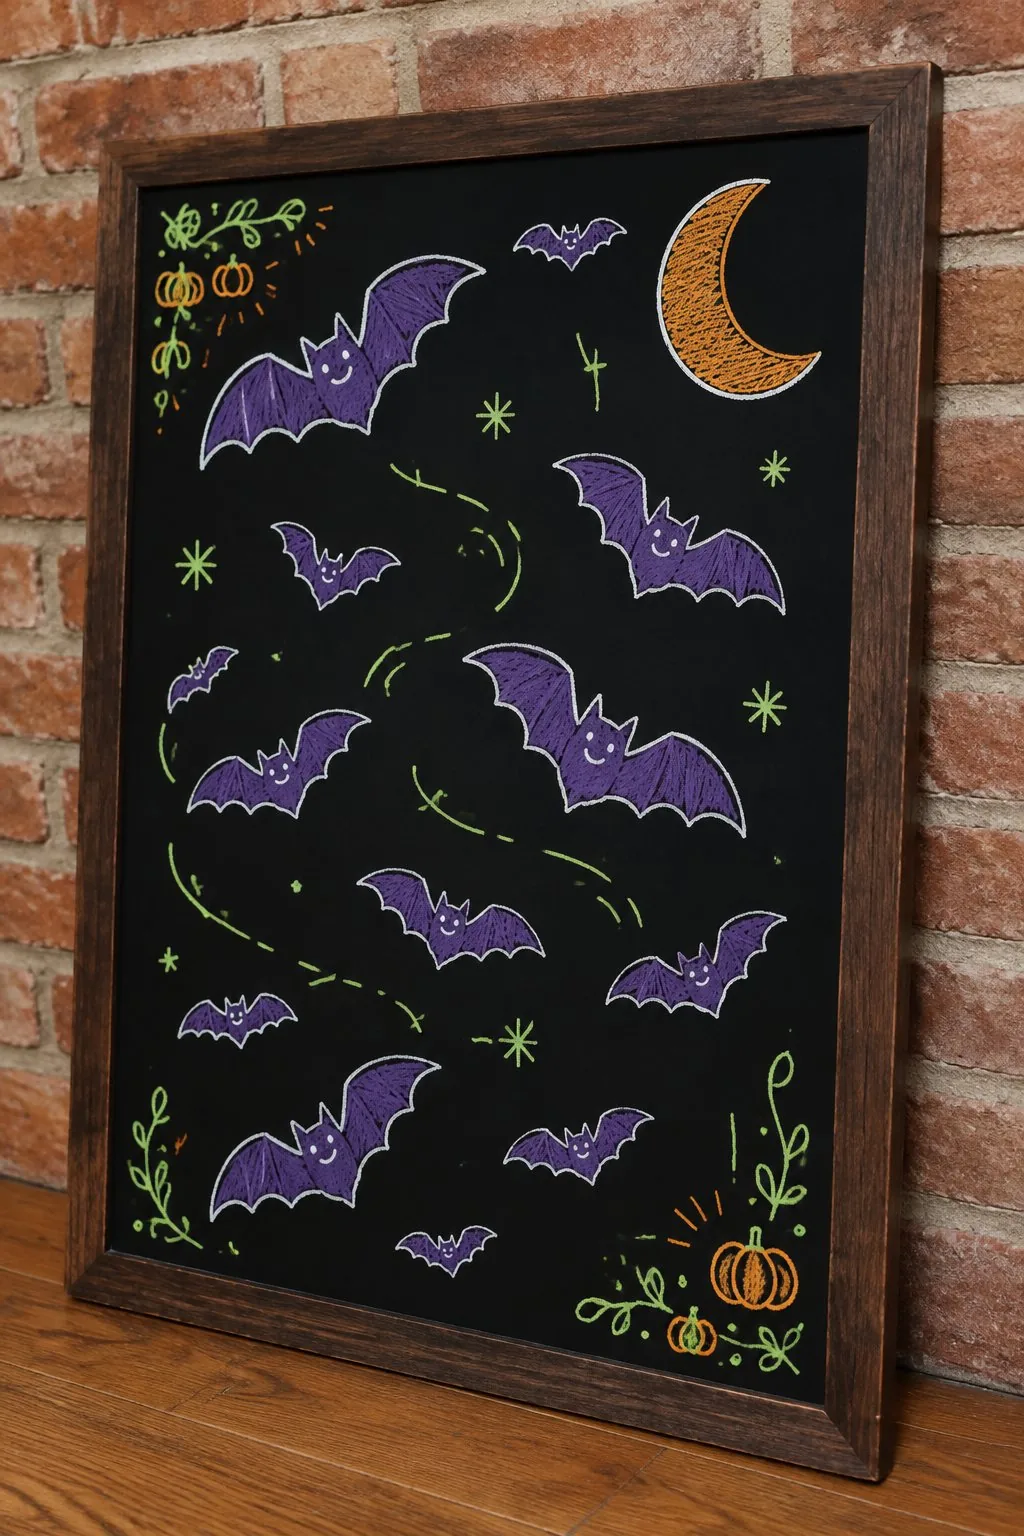 Save
Credit: Living Tickled
Dozens of purple bats with a lime star here and there fly across a dark sky beside a golden moon. There is no lettering at all, so the drawing carries the board.
Repeat one bat shape in a few sizes and let the wings overlap. A brick wall behind it looks especially good.
19. A haunted house on a hill
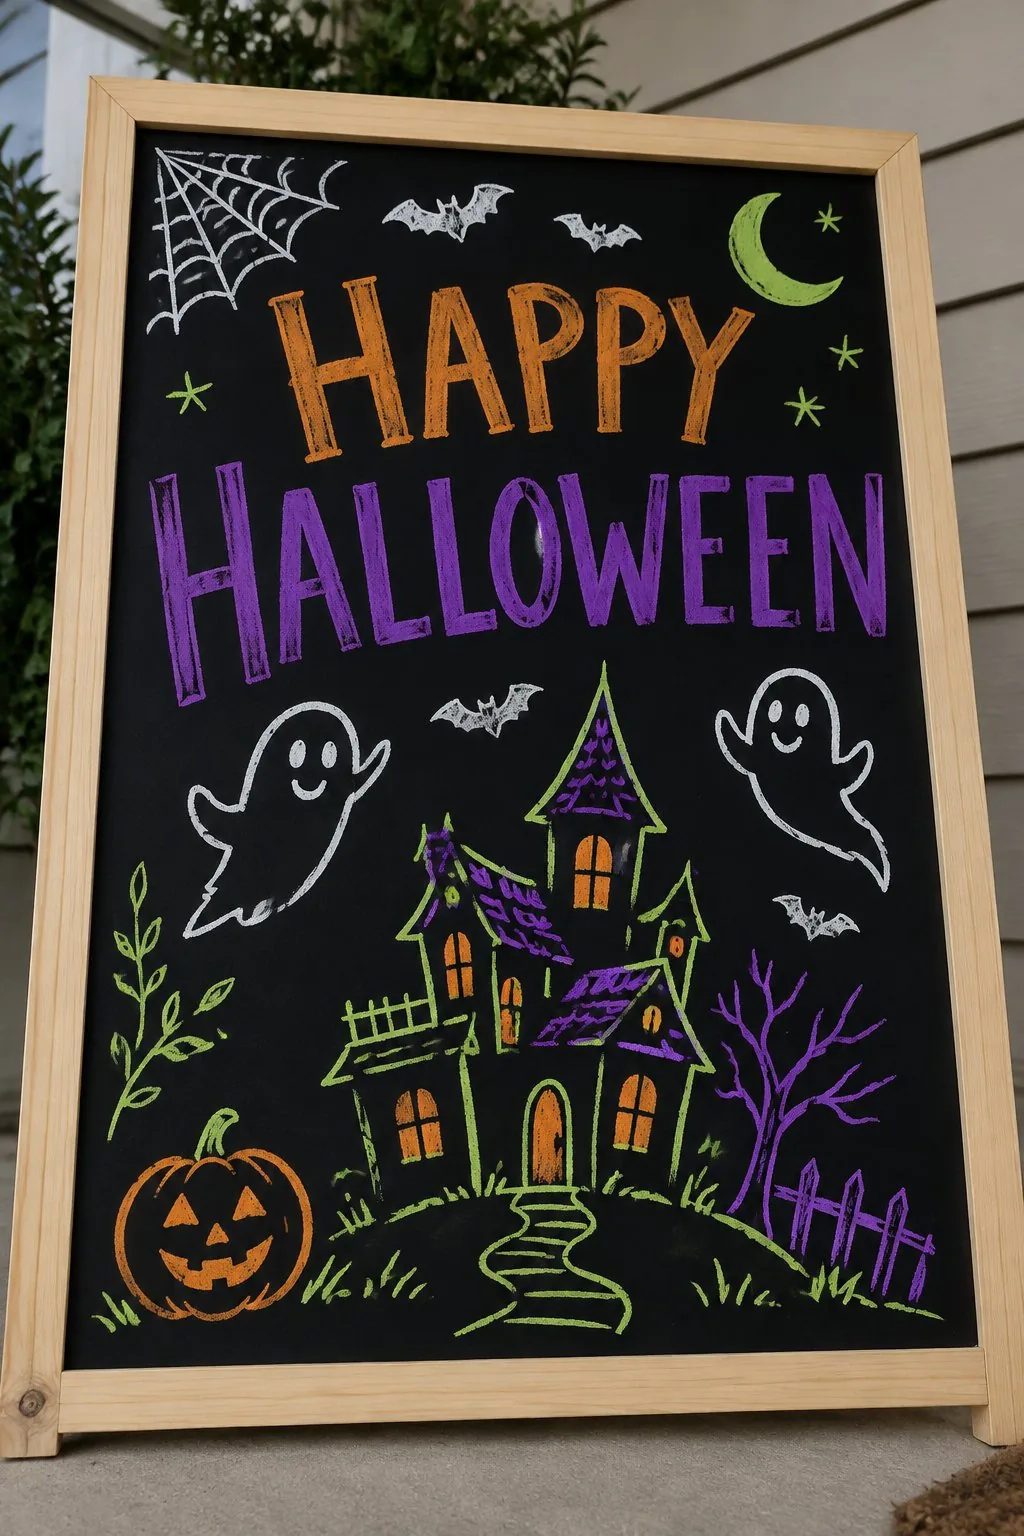 Save
Credit: Living Tickled
A purple house with glowing orange windows sits on a little hill, with two ghosts and a jack-o’-lantern at the bottom. Happy Halloween across the top ties it together.
Draw the house from simple boxes and triangles. Use yellow or orange for the windows so it looks lit from inside.
20. A spooky tree hung with lanterns
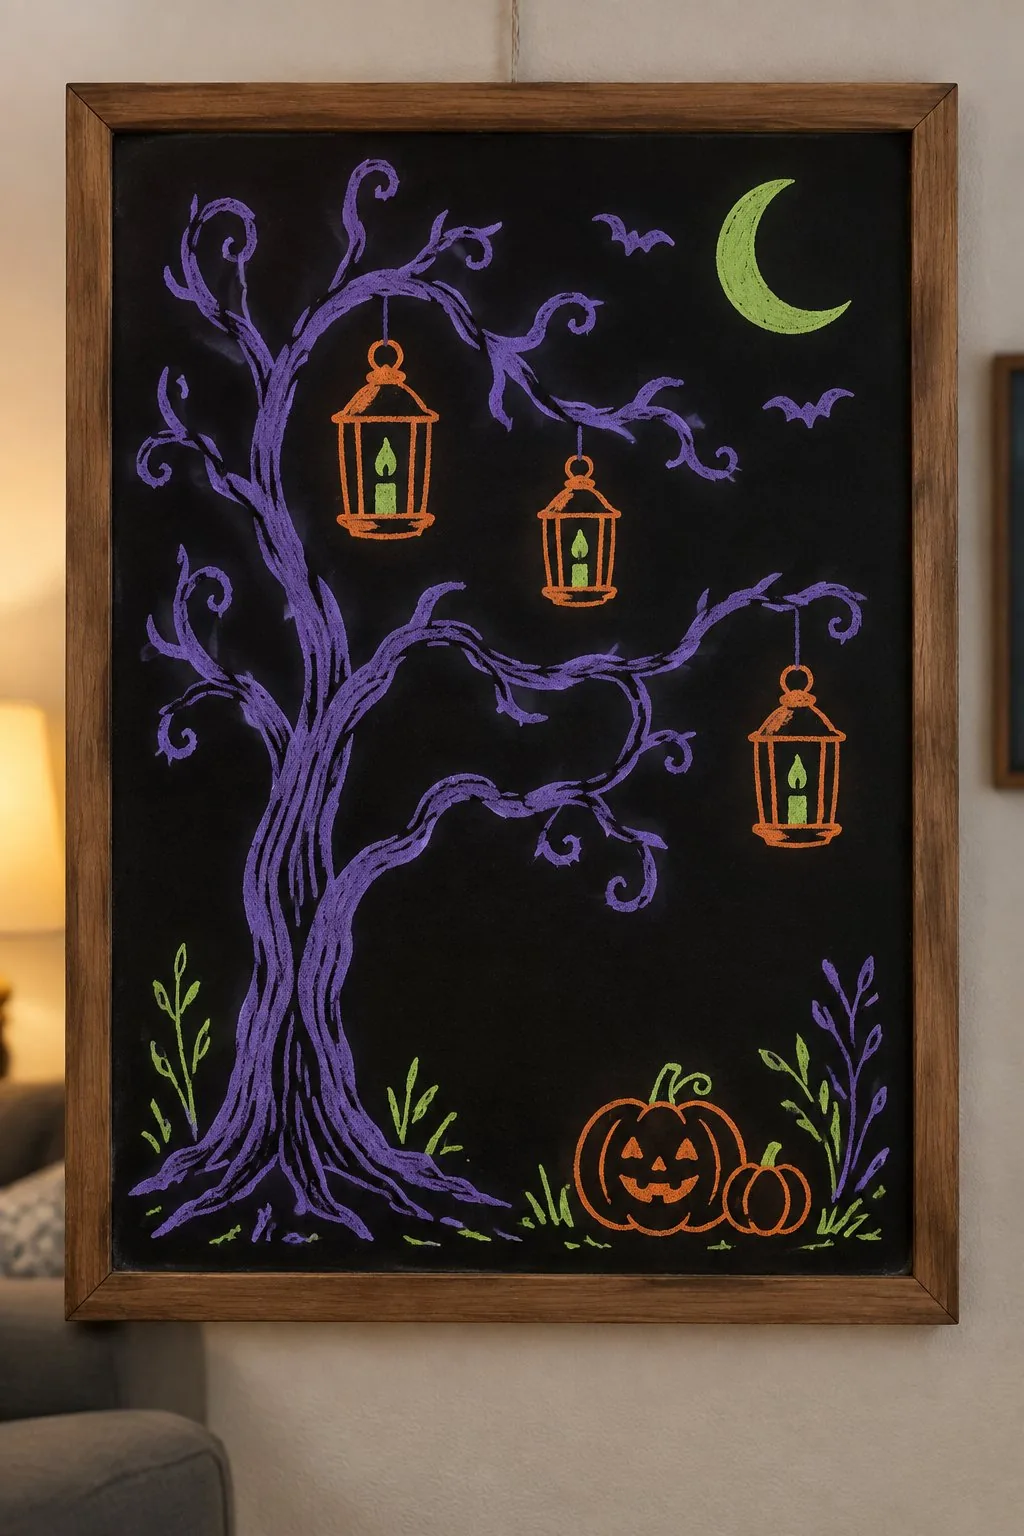 Save
Credit: Living Tickled
A twisty purple tree holds three small lanterns that glow green. A crescent moon and a pumpkin finish the picture.
Make the trunk with a wavy line and add the branches as thin curves. Hang it in a hallway where the glowing colors stand out.
21. A dangling spider on its web
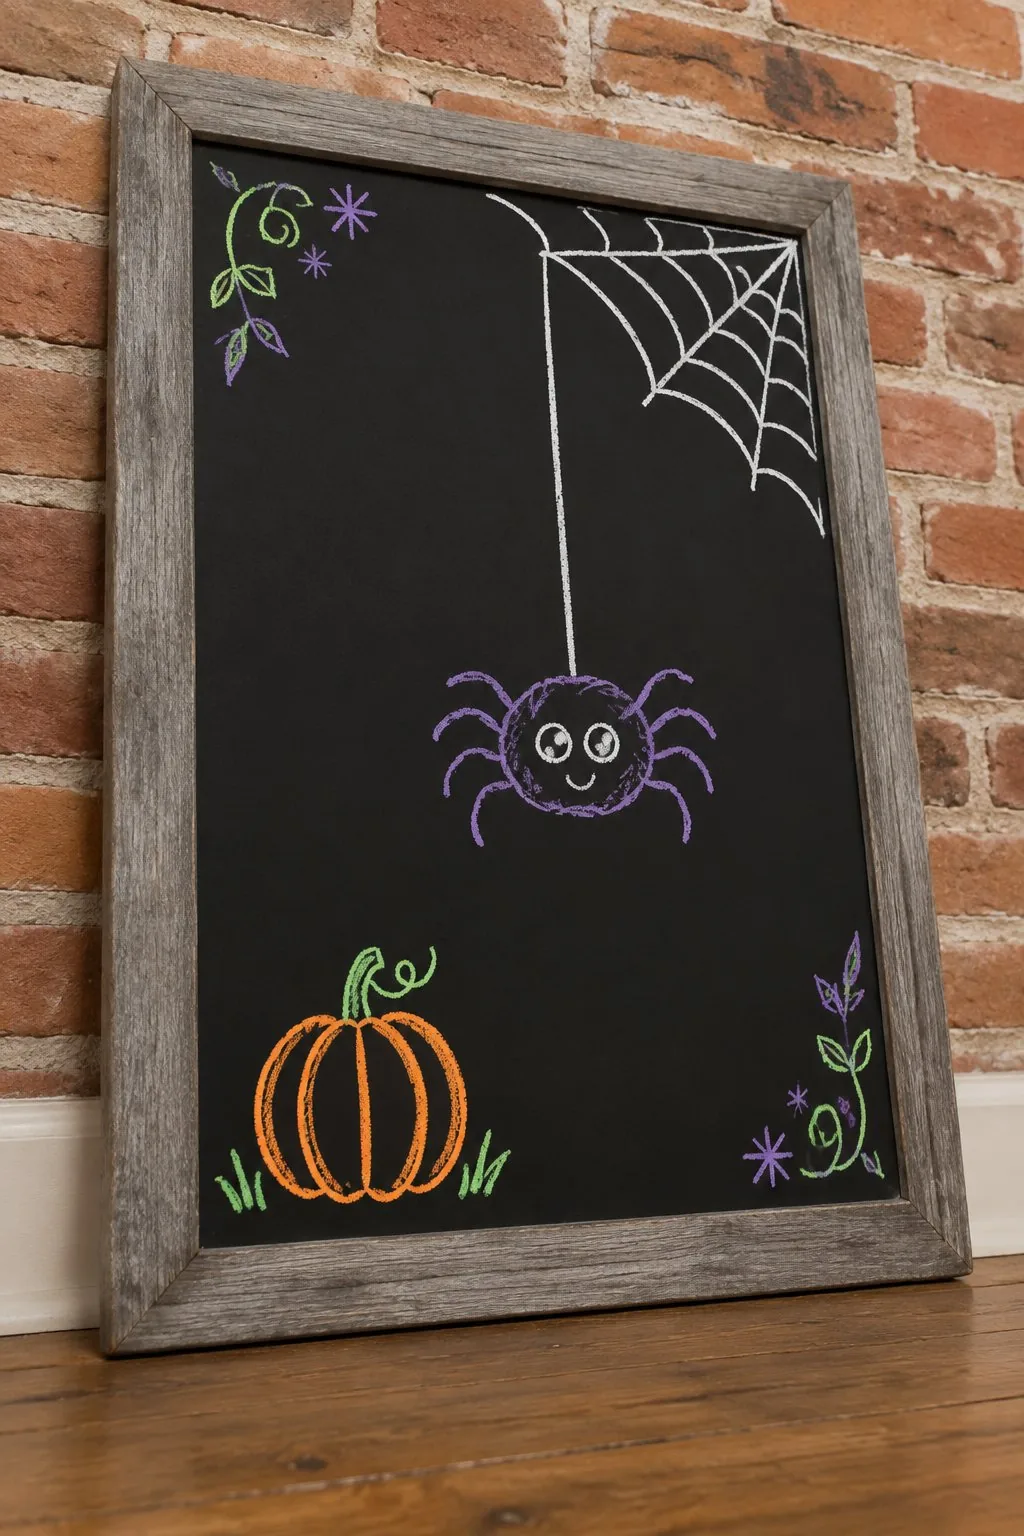 Save
Credit: Living Tickled
One purple spider hangs from a long thread under a corner web, with a single pumpkin at the bottom. The rest of the board is left empty on purpose.
A drawn web and a tiny spider take about two minutes, so this is the fastest idea here. It is great for a front door.
22. A garland of eyeballs
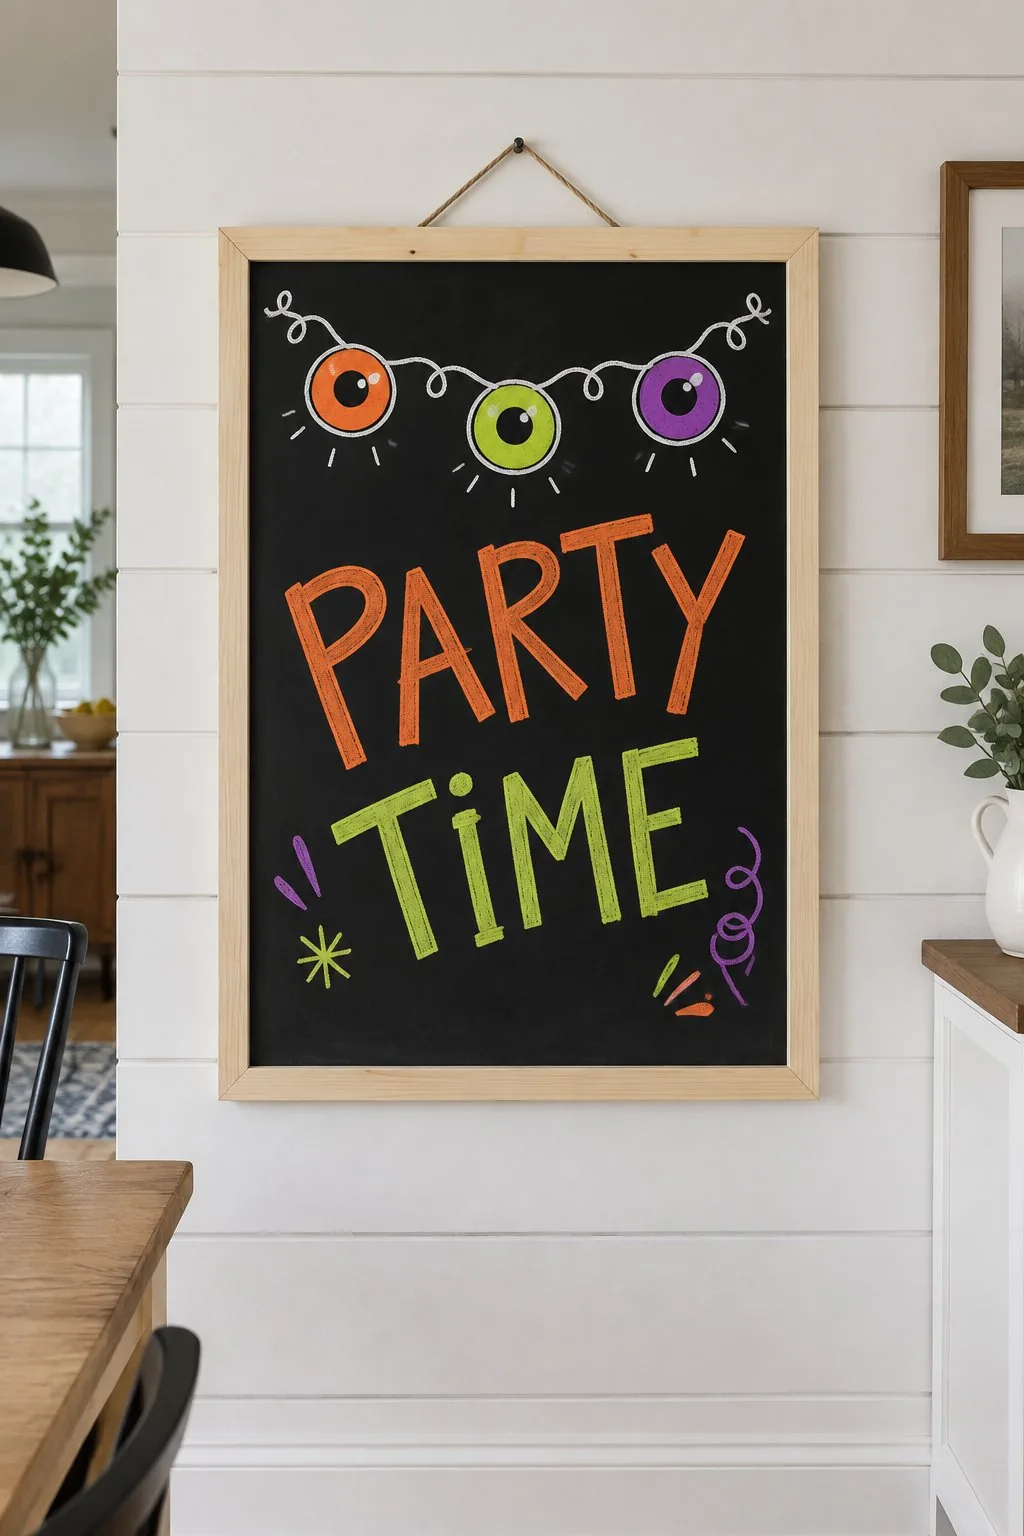 Save
Credit: Living Tickled
A string of colorful eyeballs hangs across the top of the board above big orange and green party time letters. It looks like a party banner.
Draw the garland as a gentle curve first, then add round eyes that hang below it. Use it for a party entry or a drinks table.
23. A dripping BOO
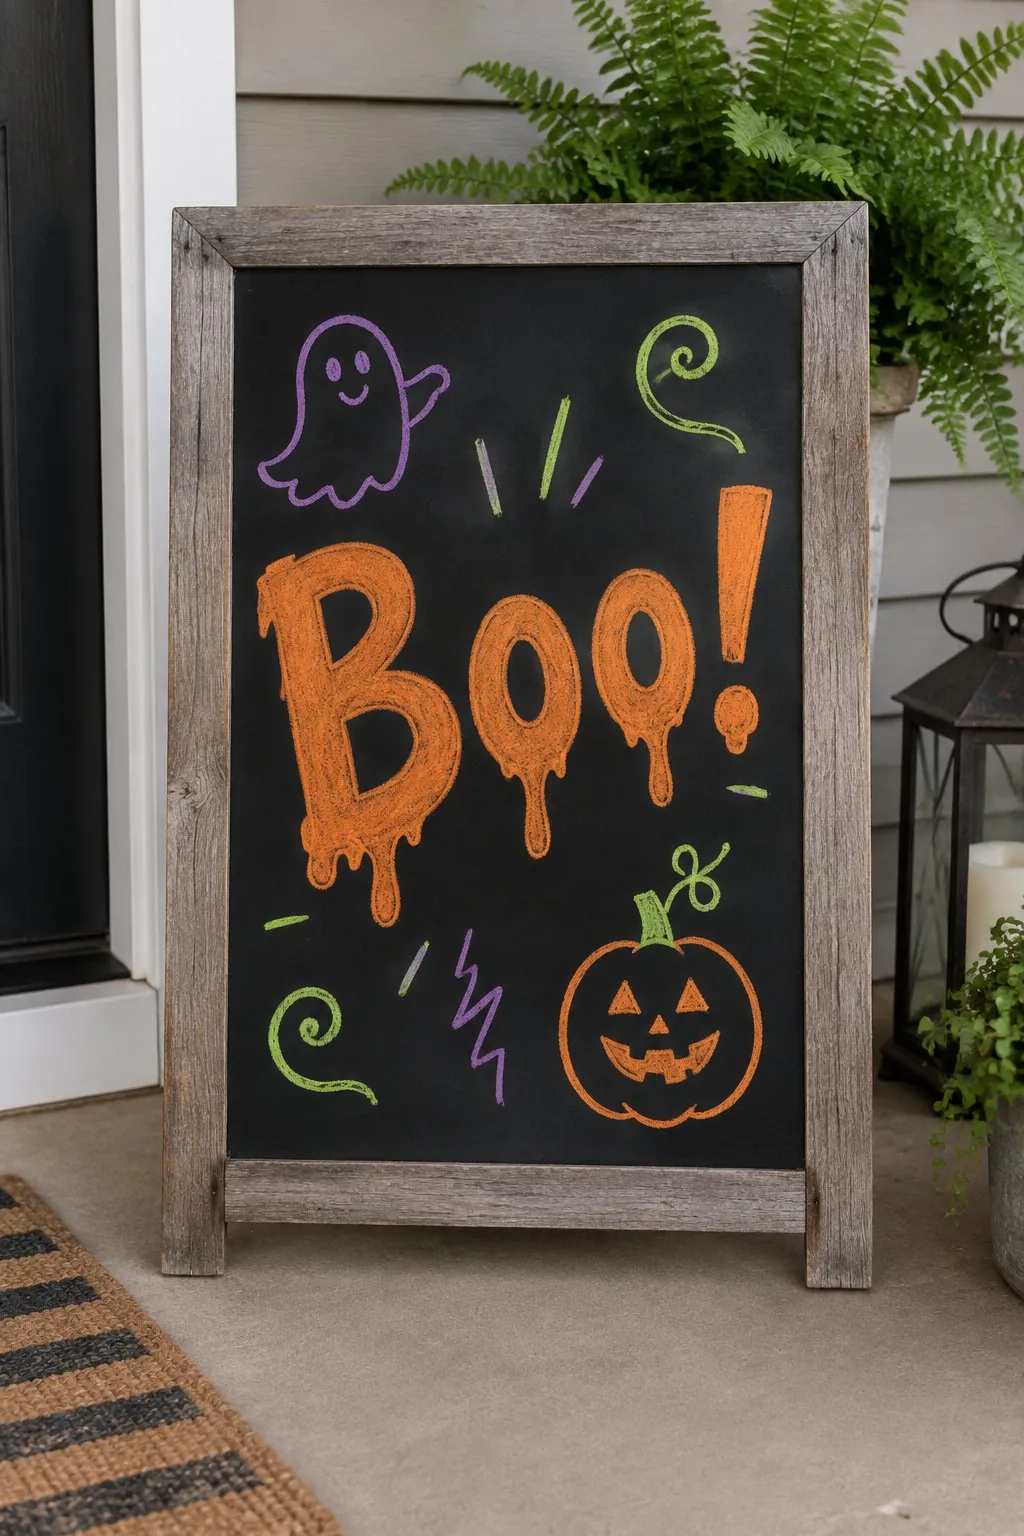 Save
Credit: Living Tickled
An orange BOO with long drips of paint style chalk sits beside a pumpkin and a small purple ghost. It looks dramatic with very little drawing.
Add the drips after the letters by pulling short lines straight down from the bottom edges. Use it as a porch greeter.
24. Witch’s cauldron lettering
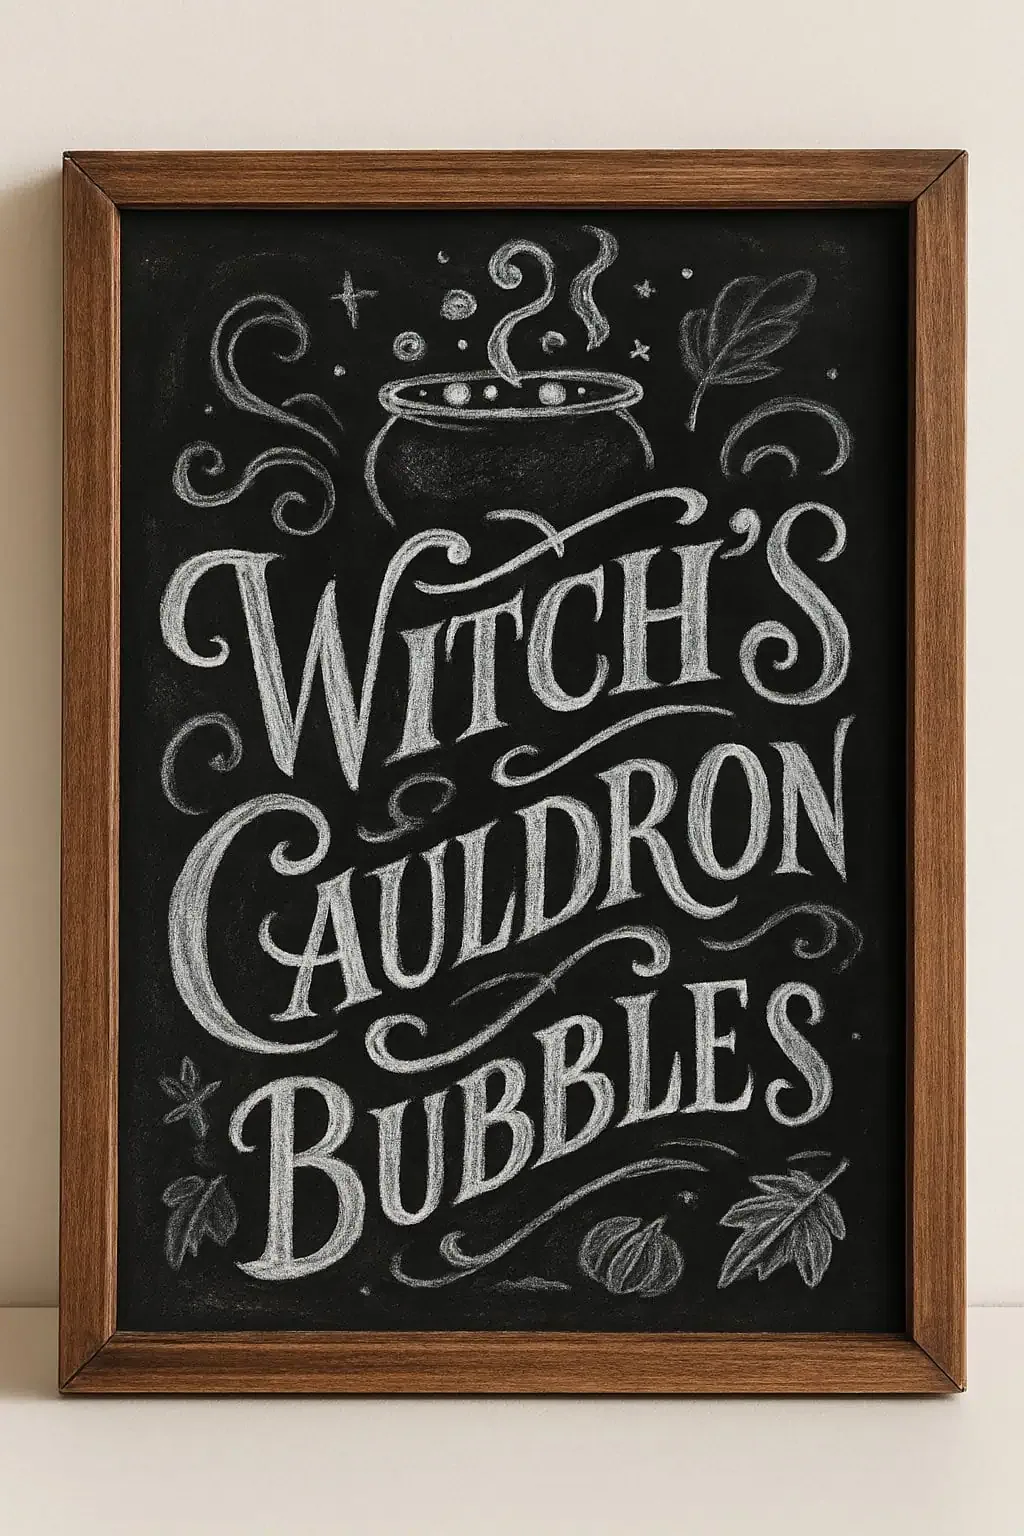 Save
Credit: Living Tickled
Ornate white swirly letters spell out cauldron bubbles, with a small steaming pot above the words. Every letter has a decorative flourish.
Practice the swashes on paper first, then copy them with a white chalk marker. It looks wonderful on a kitchen shelf.
What you need for Halloween chalkboard art
You only need a few things. A chalkboard in any size works, and a thrifted frame, a kitchen board or an A-frame sign all do the job.
Chalk markers give you the brightest colors, and plain white chalk is lovely for outlines. Keep a damp cloth and a few cotton swabs nearby for fixing mistakes.
If your board is brand new, season it first. Rub the side of a piece of chalk over the whole surface, then wipe it off. This stops your first drawing from leaving a ghost image behind.
Five steps for any Halloween chalkboard
- Wipe the board with a damp cloth and let it dry completely.
- Sketch your layout lightly in plain chalk. Mark where the words go, where the picture goes, and the center line.
- Draw the main picture first, then fit the lettering around it.
- Add the small details last, such as stars, cobwebs, leaves and tiny pumpkins in the corners.
- Tidy up with a damp cotton swab, and stand back to check that the board looks balanced.
Chalk marker and lettering tips
Shake the marker and press the tip on scrap paper before you start so the ink flows evenly. Work from the top down and from left to right so your hand never smudges finished work. Keep your letters tall and simple, and leave a little space between words so they read from a distance.
For a glow, use white or a light color next to a darker one, such as orange beside purple. A thin white outline around colored letters makes them stand out against the black. If you want ornate letters, practice a few swashes on paper before you commit to the board.
Where to put your Halloween chalkboard
An A-frame board by the front door welcomes trick or treaters. Smaller boards look cozy on a kitchen counter, a mantel or a bookshelf. In a classroom, hang one by the door or use a big board for a seasonal greeting each morning.
If it will sit outside, tuck it under a porch roof, because rain will wash chalk markers away. If you are styling a whole fall table, our fall basket centerpieces go nicely with a chalk sign, and our Christmas door decorating ideas are handy when it is time to switch the board for the holidays.
Halloween chalkboard art FAQ
Can I use chalk markers on any chalkboard? Use them on a true chalkboard or a chalkboard painted surface. Test a small corner first, because some older boards hold on to the ink.
How do I erase chalk marker? Wipe with a damp cloth. For stubborn spots, use a cotton swab with a little water, and let the board dry before you draw again.
Will my sign survive rain? Chalk markers are not waterproof. Keep outdoor boards under cover, or plan to redraw them.
How far ahead can I draw it? Draw it a day or two before you need it. Move it as little as possible once finished so the colors do not rub off.