A $15 to $25 tote can hold 13 to 18 gallons, while a premium Hungry Bin costs far more without offering a matching jump in capacity. Price alone won’t tell you which worm bin fits your farm.
Here are the best worm bins for vermicomposting, plus one local resource for finding worms and homestead suppliers when you need help nearby.
1. The Easy Homestead
The Easy Homestead isn’t a worm bin. It’s the best local starting point when you need to find worm suppliers, feed stores, garden suppliers, or a homesteader who can point you in the right direction.
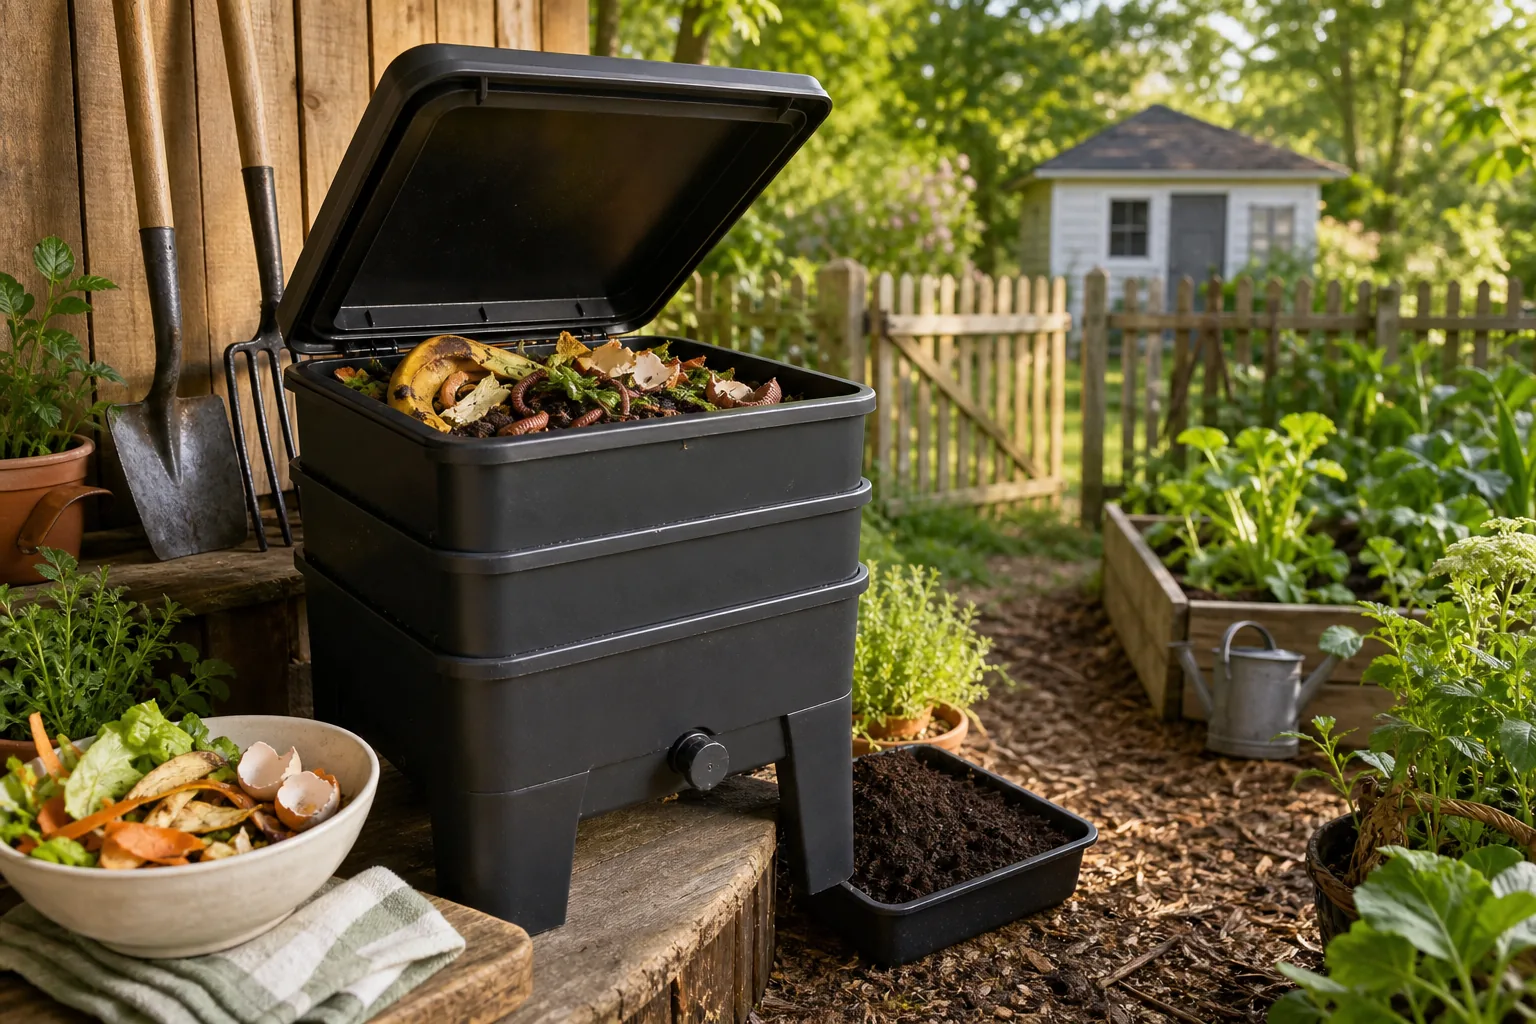
That distinction matters. A bin is only one part of a working vermicompost setup. You also need composting worms, bedding, a place that stays within a safe temperature range, and a plan for handling finished castings. If your local supply chain is thin, sourcing those pieces can take longer than choosing the bin.
We built The Easy Homestead around that problem. You can search by ZIP code or county for verified listings, real reviews, and suppliers that are hard to find through a normal web search. The directory covers farm services, feed and seed suppliers, classes, farm-made goods, and other local needs. Coverage varies by area, so check your county before you count on a listing.
For the bin itself, look for dark plastic, good airflow, and a lid that keeps rain out. Worms need bedding that feels like a wrung-out sponge. Shredded newspaper, cardboard, dry leaves, and rehydrated coir all work as carbon-rich bedding. A garden tool shortlist for working homesteaders can also help when you need a hand shredder, scoop, or compost thermometer.
The Easy Homestead earns the first spot because finding local support can save more time than buying another feature. Use it before you order a bin if you need worms or supplies from someone nearby.
2. Hungry Bin, a high-capacity flow-through design
The Hungry Bin is a large outdoor worm composter with an inverted cone shape and bottom extraction. It suits a homestead that produces steady food waste and wants to harvest castings without emptying the whole bin.
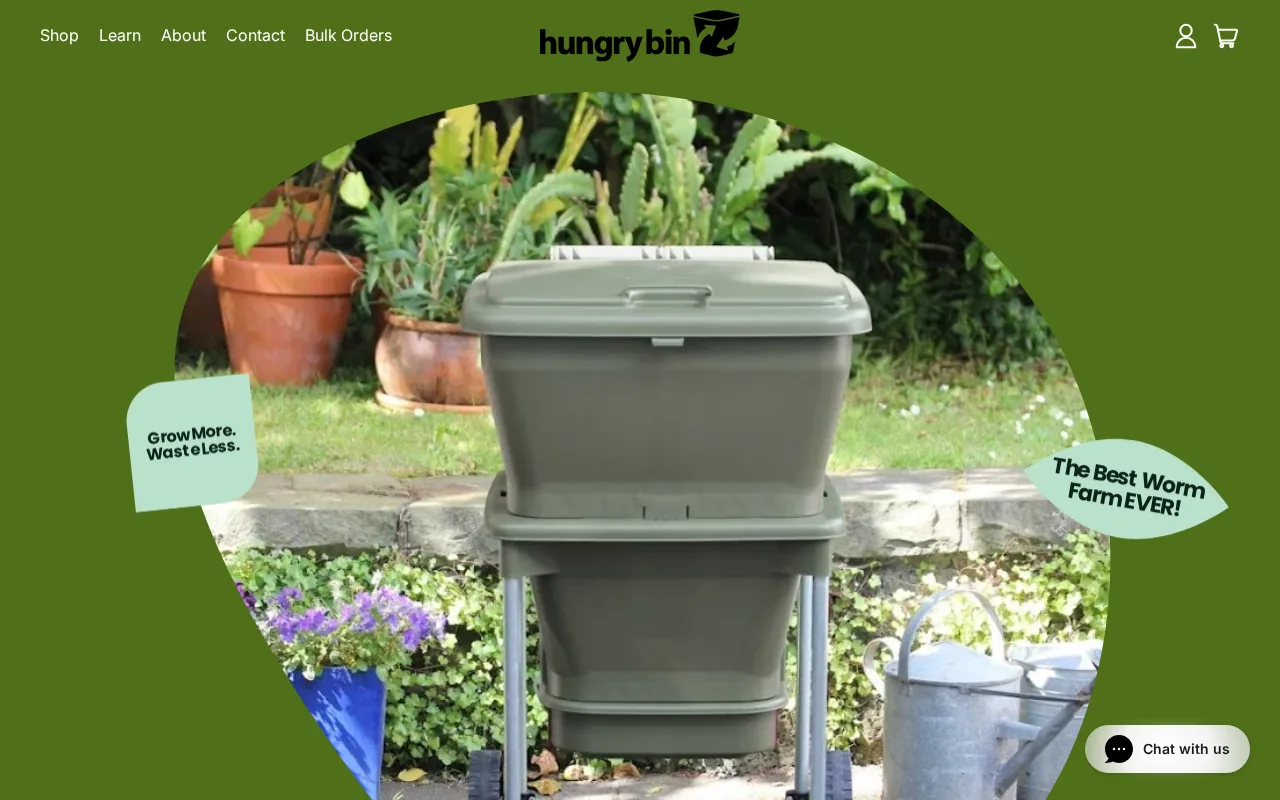
Its flow-through design has no trays. Fresh scraps go in at the top. Older material moves toward the bottom, where you can remove finished vermicompost while the worms stay higher in the bin. That cuts down on the manual sorting that comes with a single tote.
The bin also has wheels, which matters more than it sounds. A full worm bin gets heavy fast. If your winters are cold or your summers are harsh, moving the bin under cover can protect the worms. Red wigglers slow down outside their preferred range, and extreme heat or freezing weather can kill them.
You still need to manage moisture and feeding. No flow-through design fixes a bin that stays soaked or receives more food than its worm population can handle. Read the definition of vermicomposting before comparing capacity claims across different bin types.
Pricing varies by listing, while another listing gives it an 80-litre capacity and a lower starting price in pounds. Treat those figures as market snapshots, not a guaranteed checkout price.
Choose it when regular bottom harvests and outdoor mobility matter more than the purchase price. If your waste stream is modest, the premium may sit idle.
3. Single Rubbermaid tote, the low-cost indoor starting point
A single Rubbermaid tote is the best low-cost worm bin for a kitchen, basement, garage, or sheltered porch. It uses a plastic storage tote with ventilation holes, a removable lid, and drainage holes in the researched setup.
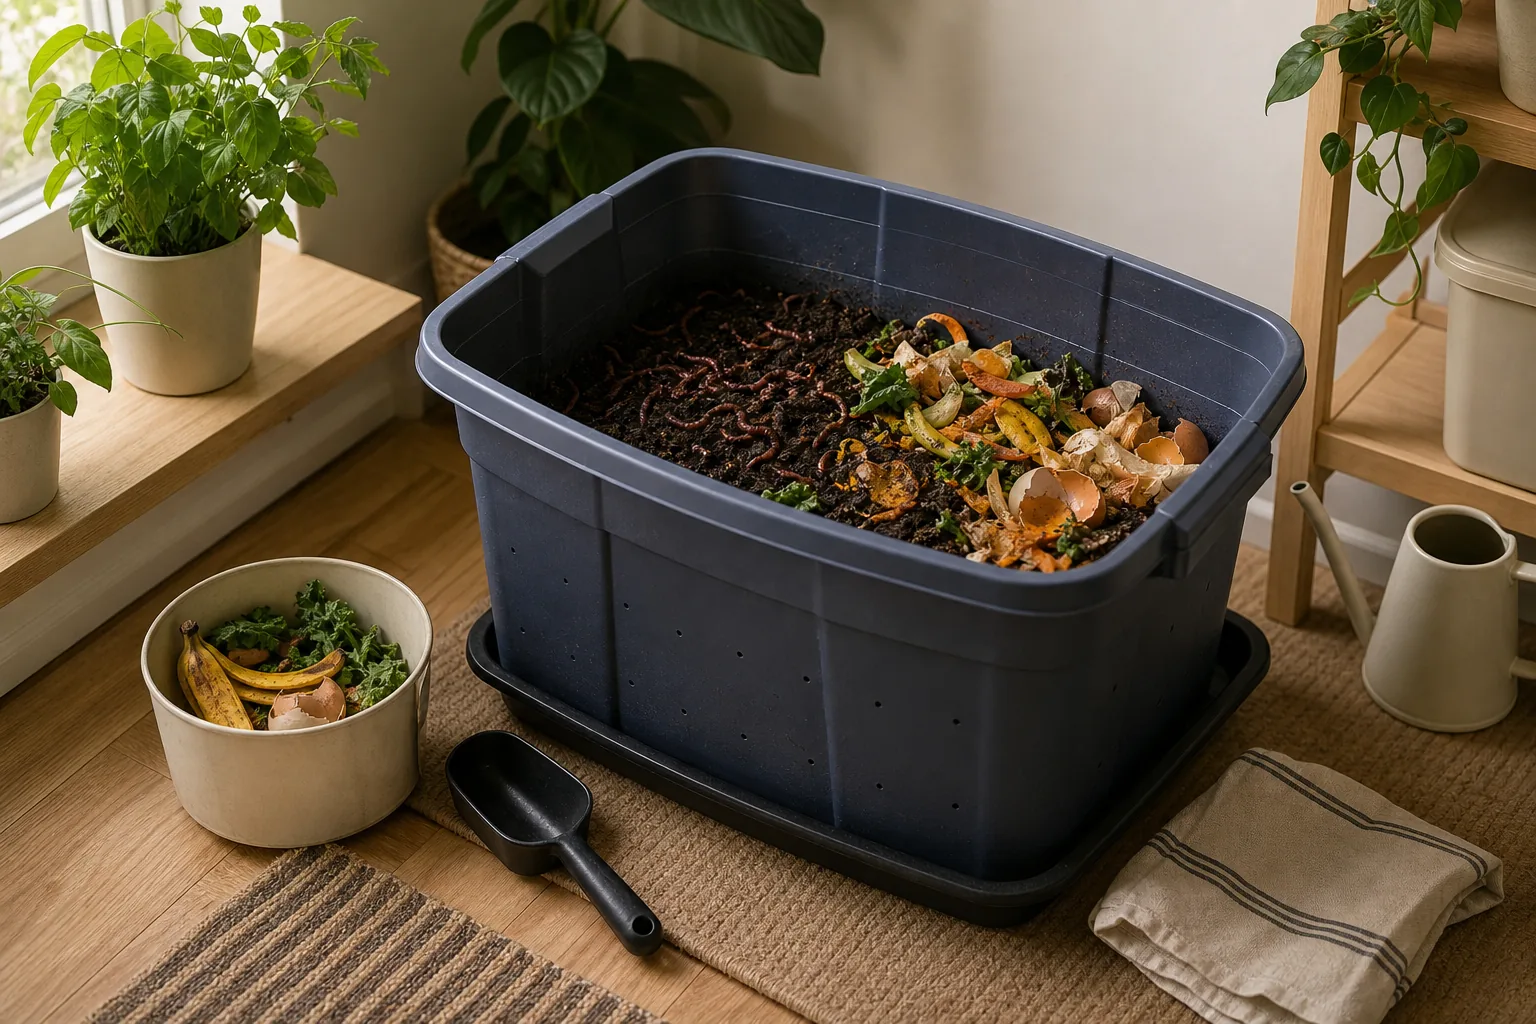
The researched size is 13 to 18 gallons, with a starting cost of $15 to $25. That is enough room for many household food scraps, especially while a new worm population builds. You don’t need a large bin on day one. An oversized bin can make it harder to spot wet pockets or uneaten food.
Build time is short, but hole placement matters. Air holes near the top help fresh air move through the bedding. Drainage holes can release excess liquid, but they also need a catch tray and pest control. One DIY approach uses only side ventilation and manages moisture through the bedding, which prevents worms from escaping through the base.
The trade-off is harvest labor. You must separate worms from finished castings by hand, often every few months. One method spreads the contents under bright light, waits for worms to move downward, then removes the top layer of castings. It works, but it takes time and room.
Use shredded cardboard with newspaper as bedding. Add scraps in small amounts and cover them well. If the bin smells sour, looks glossy with liquid, or attracts flies, stop feeding and add dry bedding.
This is the bin I’d pick for testing your waste volume before spending more. It shows you how much attention your worms need without locking you into a costly system.
4. Worm Factory 360, a household-scale stackable system
The Worm Factory 360 is a plastic tray system for a household that wants easier harvesting than a tote provides. Research places its weekly capacity at 5 to 8 pounds, with a starting price of $110 to $145.
Its trays let you add fresh food above older material. As the food layer changes, worms move upward. You can then remove the lower tray after most of the worms leave it. That migration method reduces hand sorting, which is the main reason to buy a stackable system.
The system also has aeration, tray-to-tray drainage, a vented lid, and a base with a leachate collection spigot. Some versions can expand with more trays. The added parts help with routine work, but they don’t replace moisture control. A clogged spigot or a forgotten collection tray can leave liquid sitting beneath the worms.
The 360 fits a household that produces regular kitchen waste but doesn’t need a farm-scale unit. It also suits a homesteader who wants monthly harvests instead of a full manual separation session. The researched maintenance estimate is 15 to 30 minutes per month once the system is established.
Keep it indoors or in a protected spot. The plastic isn’t listed as UV-stable in the research, so long-term direct sun is a poor choice. In a cold climate, an indoor location may matter more than the number of trays.
For feed-shed and animal care gear, our guide to choosing chicken feeders that cut waste follows the same rule used here: buy for the work you do each week, not for a feature list.
The Worm Factory 360 is the strongest middle ground in this shortlist. It costs more than a tote, but the tray system earns that cost when harvest time is your main pain point.
5. VermiHut Plus 5-Tray, a budget-conscious tray alternative
The VermiHut Plus 5-Tray is a plastic tray system for buyers who want modular harvests without moving to the high price of a large flow-through bin. It has five stacking trays, continuous flow-through operation, and a leachate spigot.
The five trays give you room to spread feeding across layers. That can help when one tray becomes too wet or full. It also gives a growing worm population more space without taking much floor area.
Don’t treat the five-tray count as a waste rating. Worms need time to establish, and a tall stack won’t process food faster than the population and bedding can support.
Spigots deserve a close look before you buy. They can collect liquid, but liquid at the base often points to overwatering. Leachate from a wet, low-air bin isn’t the same as aerated compost tea, so don’t assume that draining it gives you a ready fertilizer.
Tray systems also need a stable, level place to stand. A leaning stack makes feeding awkward and can strain tray edges. Leave room to lift the top tray without bumping a shelf or wall.
If your farm already has plenty of dry bedding on hand, the VermiHut Plus can make sense as a compact upgrade. If you want a known weekly capacity, the Worm Factory 360 has clearer published figures in the research.
Worm bin comparison at a glance
The most useful comparison is not price alone. Match the bin to harvest labor, location, and the waste stream you can measure each week.
| Option | Best fit | Harvest style | Capacity or price data | Main caution |
|---|---|---|---|---|
| The Easy Homestead | Finding local worms and suppliers | N/A | N/A | It isn’t a bin |
| Hungry Bin | High-volume outdoor use | Bottom extraction | About 4 lb daily in research; pricing varies | High purchase cost |
| Single Rubbermaid tote | Low-cost indoor use | Manual separation | 13 to 18 gallons; $15 to $25 | More harvest labor |
| Worm Factory 360 | Household kitchen waste | Tray migration | 5 to 8 lb weekly; $110 to $145 | Needs moisture checks |
| VermiHut Plus 5-Tray | Budget tray users | Flow-through trays | Price and capacity not verified | Don’t infer capacity from tray count |
Key Takeaway: Start with the Rubbermaid tote if cost matters most. Choose the Worm Factory 360 when harvest labor matters more.
FAQ
What is the best worm bin for vermicomposting?
The Worm Factory 360 is the best all-around choice for many households because its tray design makes harvesting easier. A single Rubbermaid tote costs far less and can handle a similar household-scale waste stream, but it takes more hand labor. Pick the Hungry Bin only when outdoor volume and bottom extraction justify its much higher cost.
Are cheap worm bins better than expensive ones?
Cheap worm bins can be better when your waste volume is modest and you don’t mind manual harvests. A researched Rubbermaid tote costs $15 to $25 and holds 13 to 18 gallons. Premium systems add features and convenience, but their price doesn’t always match their capacity. Measure your weekly scraps before you spend more.
Can I keep a worm bin outdoors?
You can keep a worm bin outdoors if you protect it from direct sun, heavy rain, freezing weather, and extreme heat. Red wigglers work best in a moderate temperature range. A sheltered wall, covered porch, or shaded area can work. A wheeled system helps if you need to move the bin during seasonal temperature swings.
What bedding should I use in a worm bin?
Use damp shredded cardboard, newspaper, dry leaves, or rehydrated coconut coir as worm-bin bedding. The mix should feel like a wrung-out sponge, not a wet pile. Add dry bedding when the bin looks dense or wet. Avoid glossy paper and peat moss, which can be too acidic for a stable setup.
How long does it take to harvest worm castings?
Plan on roughly three to six months before a new bin produces its first usable castings. A tote usually needs manual separation, while a tray system lets worms move toward newer food. Don’t rush the first harvest. Let the worm population settle, then increase feeding as the bin shows it can handle more scraps.
Conclusion
For most working homesteads, start with a Rubbermaid tote if you want the lowest cost, or choose the Worm Factory 360 if you want less harvest labor. Before ordering worms or supplies, search your county on The Easy Homestead so you can find nearby sources and build a setup that fits your actual waste stream.