A compost tumbler can save space and make turning a batch less of a chore. But the wrong size or chamber setup will leave you storing scraps, fighting wet clumps, or paying for capacity you won’t use. To choose well, match the tumbler to your feedstock first, then check its build, workflow, footprint, and upkeep.
Step 1: Calculate the material you will compost
Learning how to choose a compost tumbler starts with the material you produce, not the drum size on the product page. Track your kitchen scraps and yard waste for one normal week. Include garden weeds, chicken bedding, leaves, grass, and any other plant waste you plan to add.
Then estimate how that amount changes during your busiest season. A kitchen-heavy household may produce a steady trickle of scraps. A working homestead can add a large load after pulling plants, mowing, or clearing a bed. Those two patterns need different equipment.
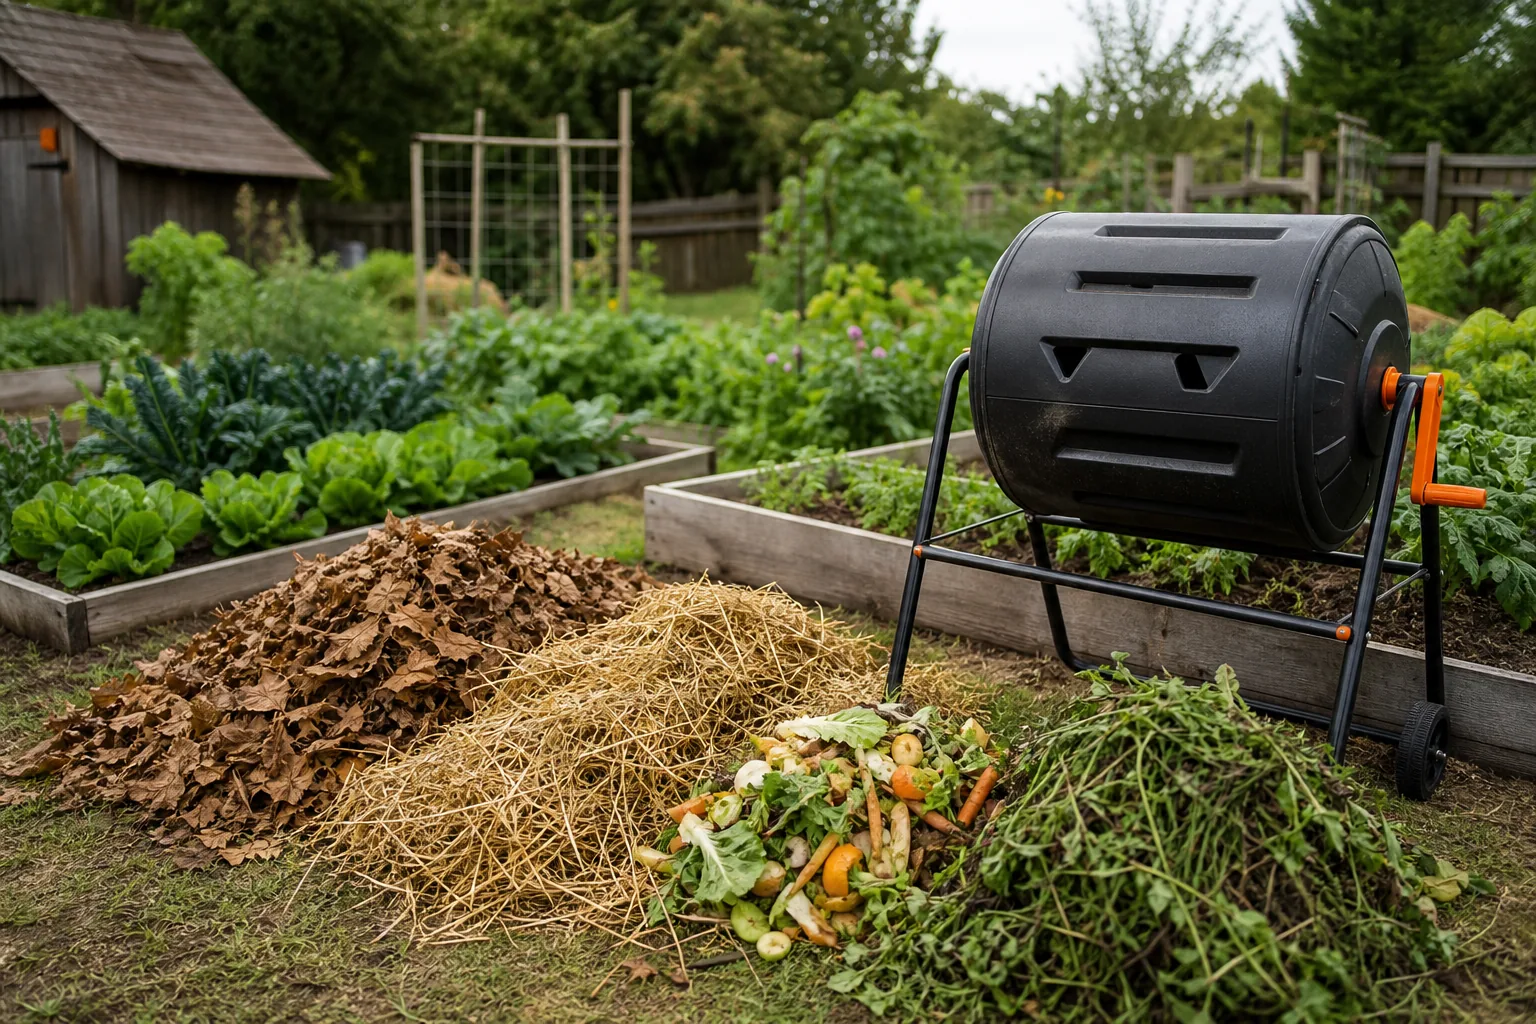
Separate your feedstock into greens and browns. Greens include fresh scraps and grass. Browns include dry leaves, straw, shredded paper, and small wood pieces. Aim to add at least two to three times as much brown material as green material. Keep food scraps under a layer of dry browns.
Size matters because a tumbler needs room for air and movement. A drum packed tight with wet scraps will turn poorly. It can also form dense pockets that smell sour. Cut thick stems and large scraps before loading them. Smaller pieces give microbes more surface area to work on.
Use these questions before you shop:
- Will most of your material come from the kitchen?
- Will you add garden waste in large seasonal batches?
- Do you have a steady supply of dry leaves or straw?
- Do you need finished compost during planting season?
Most options sit between roughly 5 and 12 cubic feet. That range covers many household gardens, but it may not cover a homestead that processes heavy seasonal loads.
For another way to handle small, steady food waste, compare the worm bins for vermicomposting. A worm bin may suit kitchen scraps while the tumbler handles leaves and garden waste.
Key Takeaway: Choose capacity from your busiest realistic input week, not from the amount of waste you produce on a quiet day.
 Save
Step 2: Choose between a single chamber and dual chamber
When you choose a compost tumbler, the chamber layout decides how you handle fresh waste while an older batch breaks down. A single-chamber tumbler works in batches. You fill it, stop adding material, turn it during the cycle, then empty it when the compost is ready.
That system suits someone with modest inputs or a separate place to hold fresh scraps. It also usually has fewer parts. The tradeoff is timing. Once the chamber is full, new scraps have to wait somewhere else.
A dual-chamber tumbler separates those jobs. One side can mature while you load the other. This matters on a homestead where kitchen scraps arrive daily and garden waste arrives in bursts. You get a place for new material without disturbing the older batch.
Dual chambers can also make turning easier. Two smaller loads may be less awkward than one heavy drum filled with wet material. That advantage only helps if the divider is firm and the doors latch well. Inspect the center wall before buying. A weak divider can flex when one side is full.
Watch this short demonstration to see how drum movement and chamber access affect the work involved:
Choose a single chamber when you can batch your materials and you don’t mind waiting between loads. Choose dual chambers when you add waste continuously or want a more regular supply of compost.
Don’t assume two chambers double the working capacity. Manufacturers may divide the listed volume between both sides. Confirm whether the stated capacity applies to the whole tumbler or one chamber. Also check the size of each access door. A narrow opening can make it hard to load leaves or remove finished compost.
Cold weather makes the batch gap more noticeable. Decomposition slows when microbial activity drops, so a single chamber may stay occupied longer. An insulated design can help retain heat, though the product details need to say what insulation the unit uses. If they don’t, ask before you buy.
The most useful choice is the one that matches your routine. A cheaper single chamber that sits half-used is a poor buy. A large dual chamber can also waste money if your inputs stay small.
Step 3: Check the frame, drum, airflow, and turning mechanism
Good compost tumbler selection depends on parts you can inspect, not vague claims about durability. Start with the frame. A full drum is heavy, so look for a frame that keeps the barrel stable while you turn it. Check the feet, axle points, fasteners, and any welds or joints.
Next, inspect the drum material. Steel can provide a firm body, but it needs protection from rust. Plastic can weigh less and resist some weather exposure, but thin panels may flex under a heavy load. Recycled HDPE plastic appears in some composting equipment, while the Joraform JK270 and The Mantis ComposT-Twin are listed with steel construction.
Airflow needs equal attention. Compost microbes need oxygen. Look for vents that allow air to enter without creating large openings for pests. A sealed drum may hold moisture too well. A drum with too much open space may dry out or let material spill during turning.
Then test the turning method on paper. A wheeled rotating design may suit someone who wants to push the drum by hand. A crank and gear system can reduce the force needed to move a heavy load. The Mantis ComposT-Twin lists a crank handle and gear mechanism. That is useful detail because many product pages don’t name the turning system at all.
Turn the mechanism slowly if you can inspect it in person. Listen for grinding. Check whether the handle has play. Look at how the door lines up after the drum rotates. A latch that works while empty may fail when the chamber presses against it.
- Ask what parts can be replaced.
- Check whether bearings or hinges have a listed source.
- Look for a clear assembly guide.
- Inspect the tumbler for cracks, rust, or stuck doors.
Product information is thin across this category. Treat missing specifications as a reason to ask questions, not as proof that the part is good enough.
Step 4: Match capacity and footprint to your available space
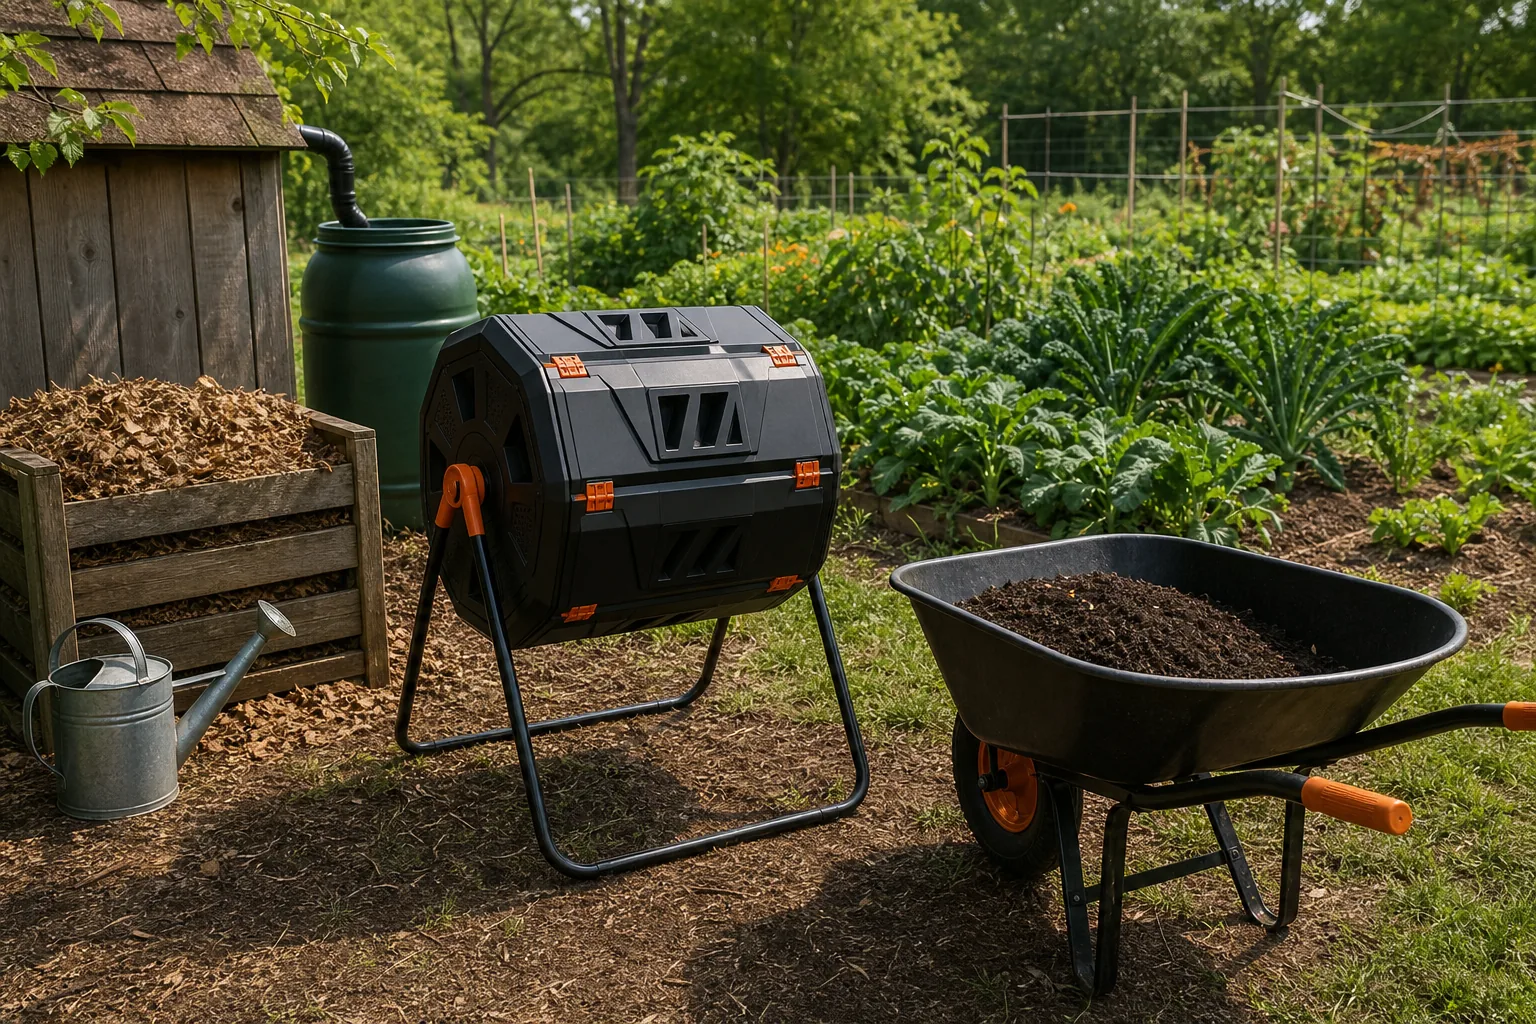
To choose a compost tumbler that fits, measure the space before you compare models. Include the full turning path, the door opening, and the room needed to place a bin or wheelbarrow beside it. A tumbler can fit between two posts and still be unusable if you can’t empty it.
Pick ground that stays fairly level. A compost area benefits from good drainage and year-round access. Leave space around the frame so you can inspect fasteners and clear weeds. Avoid placing the unit hard against a fence, especially if you need to turn a crank or lift a door.
| Input pattern | Useful capacity range | Space check | Best chamber fit |
|---|---|---|---|
| Kitchen scraps with occasional weeds | About 5 cubic feet | Measure for door access and a scrap pail | Single chamber can work |
| Kitchen scraps plus regular garden waste | About 7 to 12 cubic feet | Leave room beside the drum for leaves | Dual chamber is often easier |
| Large seasonal garden cleanups | More than 12 cubic feet | Check ground strength and emptying space | Use a large batch plan or another compost area |
| Continuous high-volume inputs | 20 cubic feet or more | Plan for delivery, loading, and harvest access | Compare premium systems with a bin setup |
The Mantis ComposT-Twin lists 25 cubic feet and a price of $1,049.99. That makes it an outlier beside models in the 5 to 12 cubic foot range. More room may help a large homestead, but it also means more weight, more ground pressure, and a harder harvest.
Don’t buy the biggest drum because the number looks efficient. A tumbler needs enough material to work well, but you also need to turn it. If your normal load stays small, a huge chamber may dry out or fail to build enough heat.
For hand tools used around the same work area, our guide to essential homestead garden tools can help you plan the space around the tumbler.
Step 5: Confirm placement, maintenance, and the return policy
The final step in how to choose a compost tumbler is checking whether you can live with its daily care. Place it close enough to the kitchen and garden that you will use it. Keep a dry supply of leaves, straw, or shredded paper nearby. Composting is an aerobic process, so the unit needs air as well as carbon, nitrogen, and moisture.
Plan a short weekly check. Look for wet clumps, dry edges, bad smells, loose fasteners, and blocked vents. If the mix is wet, add dry browns. If it is dry, add a little water while turning. Aim for material that feels like a wrung-out sponge.
Turn the drum on the schedule the instructions give you. More turning is not always better if the chamber is overloaded or the mechanism is weak. Stop and inspect the unit if the drum binds. Forcing a crank can damage gears, handles, or axle points.
Ask what the manufacturer excludes from the warranty. Some policies cover the frame but not moving parts. Others require assembly by a specific method. Confirm the return window, restocking rules, and who pays shipping for a large item. Photograph the box and parts before assembly in case something arrives damaged.
Also check the feedstock rules. Many home systems are intended for plant scraps, leaves, and similar material. Meat, dairy, fatty food, and pet waste may attract pests or fail to break down in a backyard tumbler. Follow the product instructions and local rules.
For broader homestead sourcing, The Easy Homestead helps working households search local suppliers by ZIP code or county. That can be useful when you need feed, seed, fencing help, or another local service after the tumbler is installed.
 Save
Pro Tip: Before ordering, sketch the tumbler footprint on the ground with stakes or a hose. Mark the door and turning side too. This catches access problems before a heavy frame arrives.
Frequently asked questions
What size compost tumbler do I need?
You need a tumbler sized for your busiest normal input, not your average quiet week. Small garden systems often sit near 5 cubic feet, while regular garden waste may call for 7 to 12 cubic feet. If you produce more than that, compare a larger tumbler with a stationary bin before paying for premium capacity.
Is a single or dual compost tumbler better?
A dual compost tumbler is better when you add scraps often and want one batch to mature while another receives fresh material. A single chamber works when you can batch your waste and wait. Check the capacity of each chamber because the advertised volume may cover both sides together.
Do compost tumblers need airflow?
Yes, compost tumblers need airflow because aerobic microbes use oxygen while breaking down organic matter. Look for vents that allow air into the drum without leaving large openings. Turning also mixes the material and adds air. If the contents smell sour, check moisture, browns, and blocked vents.
Where should I place a compost tumbler?
Place a compost tumbler on level ground with good drainage and enough room to turn it. Keep it close to the kitchen or garden, but leave space beside the door for a bucket or wheelbarrow. Avoid tight corners and fence lines that block access to the frame or turning mechanism.
How do I know if a compost tumbler is well made?
A well-made compost tumbler has a stable frame, a firm drum, secure latches, useful vents, and a turning system that matches the loaded weight. Ask about replacement bearings, hinges, handles, and gear parts. If a listing hides every material and mechanism detail, treat that lack of information as a buying risk.
Conclusion
For most working homesteads, a dual-chamber tumbler in the 7 to 12 cubic foot range is the sensible starting point, provided the frame and turning parts are clearly described. Measure your space, track your busiest waste flow, and confirm the return policy before ordering. When you need other local homestead suppliers or services, search The Easy Homestead by ZIP code or county. Find who you need. Trust what you find.