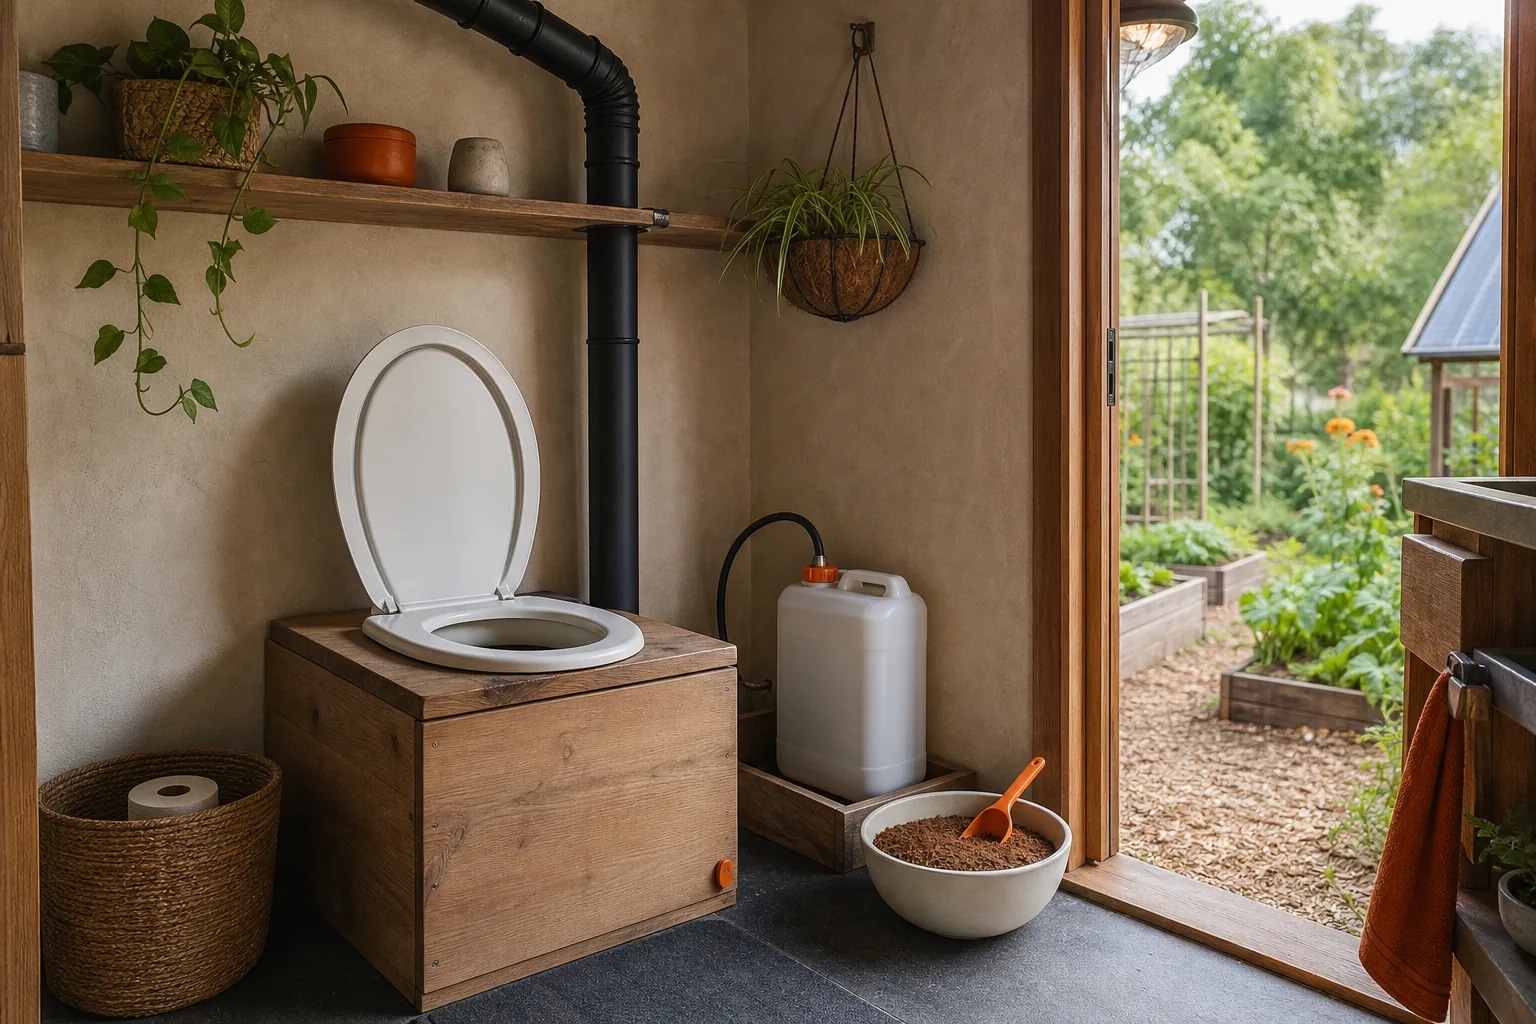
The cleaning product you use can kill the microbes that make a composting toilet work. That mistake causes odor and slow breakdown, even when the toilet itself is installed well. To set up a composting toilet on a homestead, plan the waste route first, choose a system that fits your household, then protect airflow and the compost bed.
We compared published specifications for 5 composting toilet systems: Nature’s Head, Separett Villa 9215, Sun-Mar Excel, Air Head, and C-Head. The Nature’s Head ships with a 4-foot vent hose, while the Separett Villa 9215 allows a 20-foot run with three elbows. Fan draw ranged from 0.07 amps on the Nature’s Head to 35 watts on the electric Sun-Mar Excel, while the C-Head needs no fan. Vent length and power needs vary by model, so the manufacturer’s own limits decide the room layout, not a single generic rule.
Step 1: Check local rules and choose the installation location
Before you set up a composting toilet on a homestead, confirm how your county handles human waste, greywater, urine, and composting toilets. Rules can differ for a main home, cabin, barn, outhouse, or guest space. Ask the local building or environmental health office what permits apply.
Do not assume that a waterless toilet is exempt from local rules. You may still need an approved plan for liquid drainage, a sealed storage container, or final disposal. If you plan to use finished material around food crops, ask about that use before installation.
Pick a spot with a solid floor and enough room to remove the solids container. Leave access behind or beside the unit for the vent hose and liquid line. A location near an outside wall usually cuts down on bends in the vent route.
Manufacturer instructions can set limits that affect your room choice. Some composting-toilet installation guides allow ventilation through a wall, floor, or ceiling, while also specifying a route with limited bends. Installation guidance may also describe the need to route urine away from the toilet.
Walk the space with a tape measure before you buy anything. Mark the toilet footprint, the service path, the wall opening, and the place where a liquid container will sit. If you need a local installer or farm contractor, The Easy Homestead can help you use a homestead service directory to search by county.
Key Takeaway: Choose the location around service access and waste handling, not only around the seat.
Step 2: Choose the right composting toilet system for your homestead
The right toilet depends on how many people use it, how often the space is occupied, and where urine will go. A seasonal cabin has different needs than a full-time farmhouse with several daily users.
First, decide whether you want a self-contained unit or a urine-diverting model. A self-contained toilet keeps waste in a bin below the seat. A urine-diverting system sends liquid to a bottle, tank, soakaway, or approved drainage setup. That choice affects plumbing, emptying work, and local compliance.
| Use case | System trait to look for | Tradeoff to plan for |
|---|---|---|
| Seasonal cabin | Self-contained bin with direct floor placement | You may need extra capacity during long visits |
| Full-time household | Separate liquid handling or a spare solids container | More planning for storage and final disposal |
| Remote barn or shed | Low-power fan or a carbon filter setup | Cold weather can slow composting |
| Small bathroom | Compact footprint and a short vent route | Service access may limit placement |
A floor-standing system can avoid work below the floor. Some systems use a second container so a full bin can rest while another is in service, giving a full-time household more flexibility.
Capacity alone does not settle the choice. Look at the emptying method. A wheeled bin may suit a detached outhouse, while a compact bottle system may suit a tight bathroom. Read the manufacturer’s limits for vent length, power type, liquid routing, and cover material before you commit.
Plan for winter, too. Freezing temperatures can pause composting even when the toilet remains usable. In a cold region, a spare container can give the first batch more time to rest before you need the space again.
We also suggest pricing the whole setup, not only the toilet. Include vent parts, mounting hardware, a power adapter if needed, containers, cover medium, and any work needed to cut the floor or wall. Keep those receipts in the same project file. A small farm may find AI tools for small business budgeting useful when comparing project costs with other farm expenses.
Step 3: Prepare the floor, vent route, power, and drainage
Preparation is where most of the careful work happens. Before you set up the toilet, place the unit on its intended footprint and trace every opening from the manufacturer’s template.
Use the right cutting tool. A standard drill will not cut a clean, large floor or wall opening by itself. Depending on the opening, you may need an electric jigsaw or a circular hole saw. Cut slowly, check the measurement twice, and protect wires or pipes hidden behind the surface.
Mount the toilet to a sound floor. Use fasteners suited to wood, concrete, or a framed platform. On concrete, a finished plywood platform may make future service easier than drilling the unit directly into the slab. Keep the toilet removable if the solids bin or fan needs repair.
Next, map the vent route. Keep it as short and straight as the model allows. Each bend adds resistance, and a long route can reduce airflow. Model choice affects venting, fan power, mounting, and liquid routing.
Choose the fan power before you close the wall. Some systems connect to 12V DC. Others need an adapter for a household outlet. If your building already has a reliable 12V system, plan the wire route so it stays dry and can be serviced.
Some setups can use a carbon filter instead of an external vent. That option may suit a barn or shed where cutting through the wall is hard. Do not assume every toilet supports it. Follow the instructions for the exact model.
Handle liquid with the same care as solids. Route urine to a sealed container or an approved soakaway. Never let it pool beneath the toilet or run freely across the ground. A blocked liquid line can bring odor back into the room.
Before you drill, make a full-size cardboard template if the manufacturer does not provide one. Set the template on the floor and test the vent, liquid, and power paths. It is far cheaper to move cardboard than to patch a finished floor.
Step 4: Install the composting toilet and test the airflow
Once the floor and routes are ready, install the toilet in the order shown by its manual. Keep every hose and wire loose enough for service, but secure enough that movement cannot pull a fitting apart.
Start by fastening the base. Then connect the vent hose and check each joint. Seal the wall or roof penetration against rain and insects. A vent that leaks inside the wall can send odor into the building instead of outside.
Connect the liquid hose or bottle. Check its slope if the system uses gravity. Avoid sharp kinks. A hose that looks fine when empty may flatten when the toilet is pushed against the wall.
Connect the fan to the correct power source. Turn it on before loading the toilet. Hold a thin strip of tissue near the seat opening or vent intake. You should feel air moving toward the vent, not blowing back into the room.
Run the fan long enough to spot problems. Listen for scraping, rattling, or a weak hum. Check the outside termination for airflow. If air does not move, inspect the power connection first. Then check for a crushed hose, blocked screen, or excess bends.
Do not fill the toilet until the airflow test passes. A strong vent path handles moisture and helps keep room air fresh. The toilet still needs correct use, but good airflow gives the system a fair start.
Prepare the composting medium before first use. Slightly wet coconut coir works for many systems. Use only the medium listed in your manual. Avoid garden soil or products with fertilizer because they can add dust or unwanted chemicals.
Pro Tip: Take photos of the open wall, wire path, hose route, and mounting points before you close anything. Those photos can save time during the first service visit.
By now, the toilet should be fixed in place, vented outside or fitted with its approved filter, powered, and tested for airflow. Only then should you add the starter medium and put the seat into service.
Step 5: Operate, empty, and maintain the composting toilet safely
Daily use is simple only when you follow the same routine each time. Add a small scoop of coconut coir after solid waste enters the bin. This covers the waste, adds carbon, and helps prevent wet clumps.
If your model has an agitator, turn the handle a few times after adding the medium. Do not force it. The goal is to spread the material, not grind the contents into a paste.
Keep the toilet limited to human waste, toilet paper, and the approved cover medium. Do not add kitchen scraps, wipes, paper towels, medication, or cleaning rags. Those items can upset the compost bed or jam the mechanism. A worm bin for vermicomposting is a separate system for food scraps and plant material, not a destination for human waste.
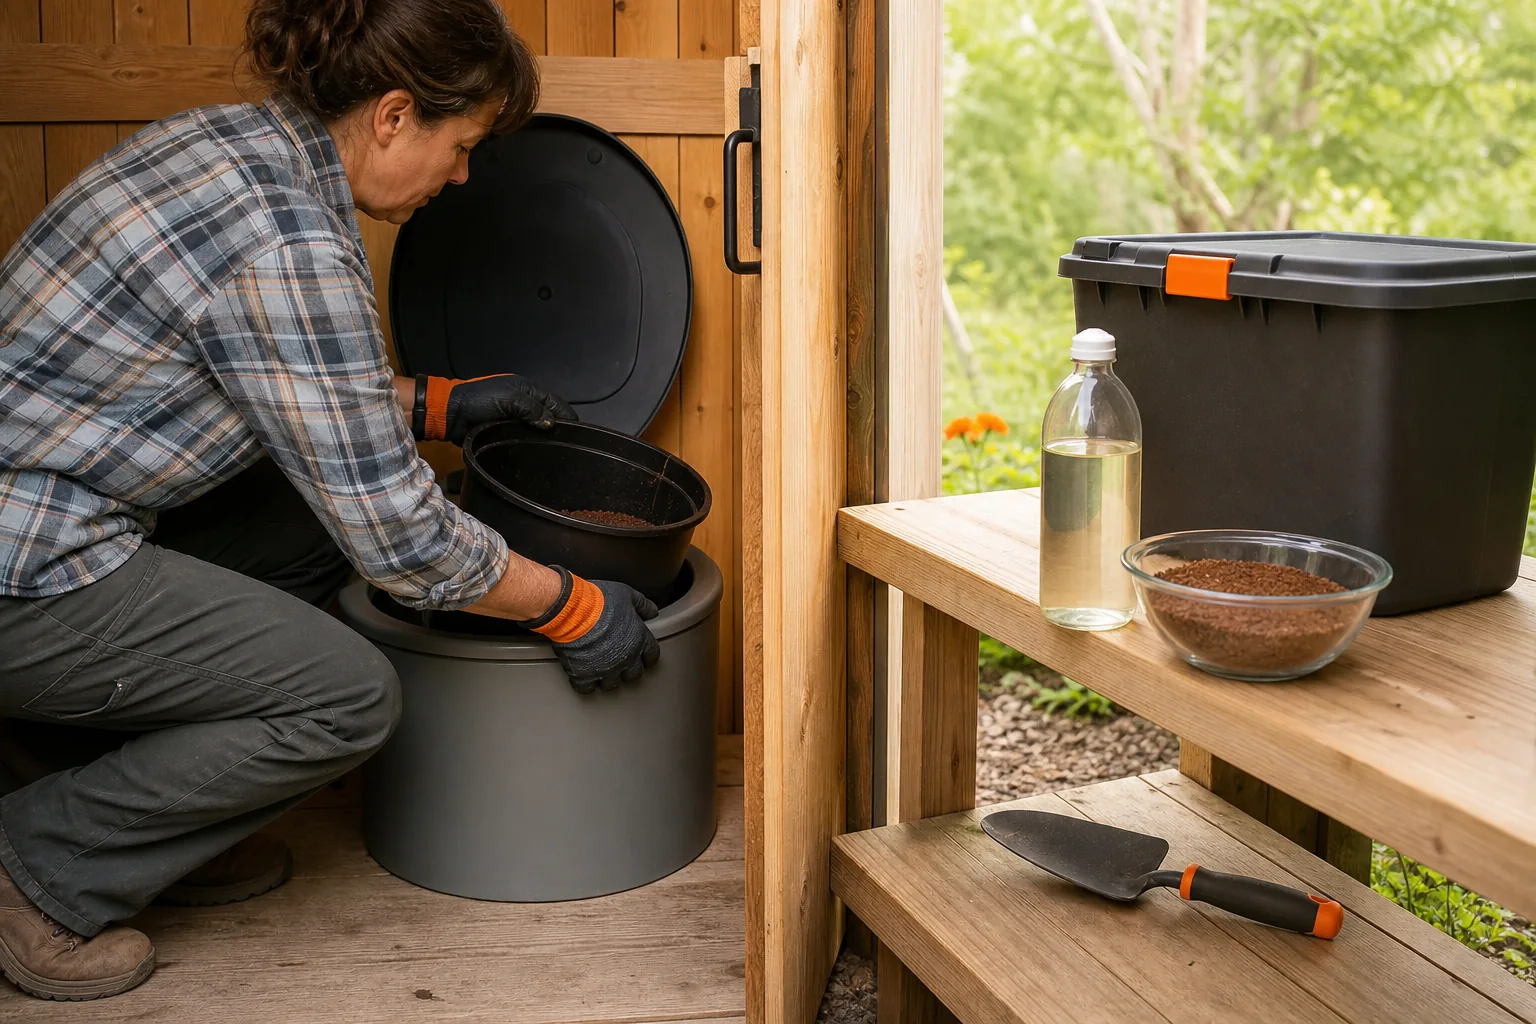
Check the liquid container before it fills. Empty it on the schedule allowed by local rules and the manufacturer’s instructions. Rinse the bottle with diluted white vinegar or citric acid every few empties. That helps control mineral buildup.
Never clean the inside of the solids chamber with bleach or harsh chemicals. They can kill the microbes that break down the waste. Vinegar or citric acid is the safer choice for the liquid bottle, but follow the toilet manual if it gives a different instruction for a specific part.
Use gloves when you empty a bin or handle a liquid container. Wash your hands after service. Keep stored material in a sealed, covered container that blocks rain, insects, and animals.
 Save
Emptying the bin does not mean the contents are ready for garden use. Human waste needs a separate resting period under the conditions required by local rules and your system’s instructions. Keep fresh material away from edible crops unless the approved treatment process says otherwise.
Write the service date on a plain log kept near the toilet. Record when you emptied solids, rinsed the liquid container, checked the vent, and replaced the cover medium. If you track farm costs, keep installation and maintenance expenses separate from other homestead spending.
Smell is a warning sign, not a normal feature. Check the fan first. Then inspect the liquid route, the vent outlet, the cover medium, and the seal around the unit. Fix the cause instead of masking it with scented cleaners.
Our team at The Easy Homestead focuses on helping working homesteaders find local help when a project needs more than a hand tool. Search by county when you need a contractor for a platform, a vent opening, or another farm building repair.
FAQ
Can a composting toilet be installed anywhere on my homestead?
You can install one in many spaces, but local rules still control the waste and liquid plan. Check requirements before cutting the floor or wall. The room also needs a solid base, service access, a safe vent route, and a legal method for handling urine and finished material.
Does a composting toilet need a vent?
Most composting toilet systems need controlled airflow through a vent and fan. Some models allow a carbon filter instead of an outside duct. Check the exact manual before choosing that route. A blocked or weak vent can cause moisture and odor problems even when the toilet is used correctly.
What do you put in a composting toilet?
Use human waste, toilet paper, and the approved dry cover medium. Coconut coir is a common choice for startup and daily use. Add a small scoop after solid waste, then turn the agitator if your model has one. Do not add bleach, kitchen waste, wipes, or fertilizer products.
How do you clean a composting toilet?
Clean the seat and outside surfaces with the product approved by the manufacturer. Rinse the liquid bottle with diluted white vinegar or citric acid when mineral buildup starts. Do not use bleach inside the solids chamber because harsh chemicals can harm the microbes that support decomposition.
How long does composting toilet waste need to sit?
Freshly emptied material is not finished compost. The needed rest period depends on the system, temperature, local rules, and how the material will be used. Keep it sealed and protected while it rests. Follow your local health guidance before applying any treated material to soil.
Conclusion
Choose the toilet around your household’s use pattern, then spend your care on airflow, cover medium, and safe chemical choices. Before you buy, confirm local rules and mark every vent and liquid opening. When you need local help with the building work, find a verified provider through The Easy Homestead. Find who you need. Trust what you find.