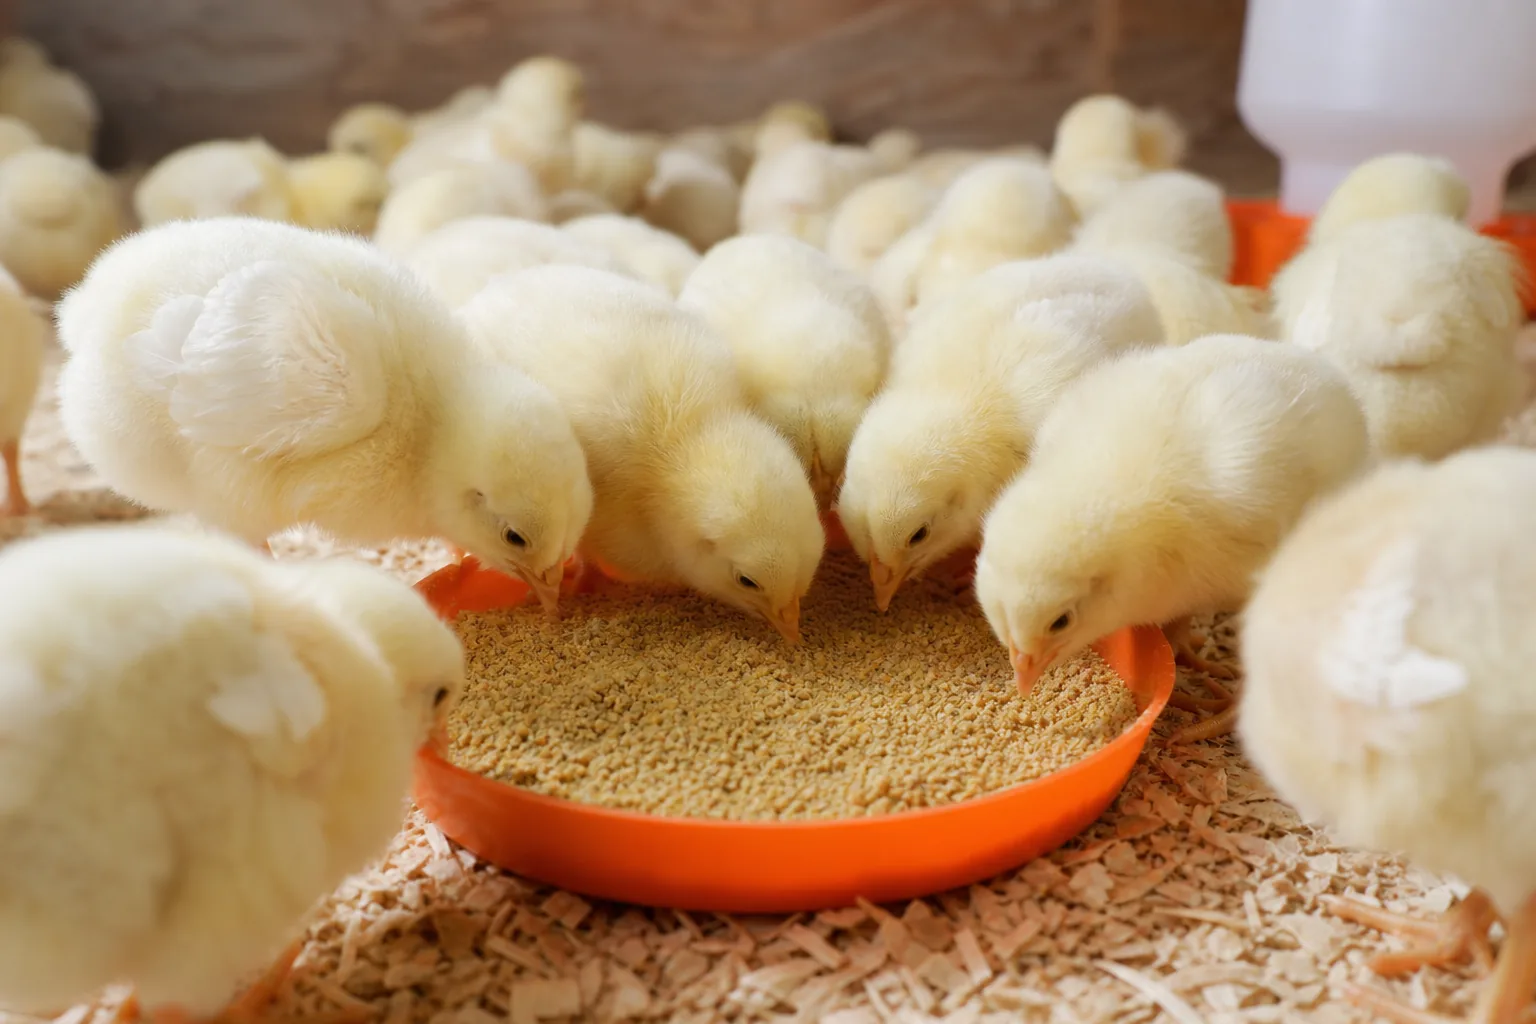
Baby chicks need one main food: a feed formulated for young poultry. Fresh water comes next. Treats, grains, and scraps can wait until the chicks eat starter well, and those extras need grit.
Use the steps below to manage feed from hatch through the first eight weeks. We’ll also cover different starter-feed options, safe treats, feed changes, and foods that belong nowhere near the brooder.
Step 1: Start with starter feed for young poultry
For the first weeks, what to feed baby chicks is fairly clear: use a formulated starter ration made for young poultry. It gives growing chicks the protein, energy, vitamins, and minerals they need without asking you to balance each nutrient by hand.
Choose a starter labeled for chicks, then follow the age range on the bag. Starter feed is commonly used from hatch until about six weeks. Most chick starters are formulated for young chicks. Starter feed for meat birds is often formulated differently, so don’t use it for young layer chicks unless your feed plan calls for it.
Feed form matters less than freshness and access. Crumble is often the easiest form for small beaks. Mash can work, though chicks may scatter it. Pellets are usually too large for newly hatched chicks unless you break them down first.
Put feed in a low, clean feeder as soon as the chicks reach the brooder. During the first day, you can place a small amount on clean paper or an egg flat. This helps the chicks find food. Remove that temporary surface once they use the feeder, since paper and flats can collect droppings.
Keep starter available during the day. You don’t need to measure each chick’s intake when feed is clean and the flock can reach it. Instead, watch the birds. Active chicks should visit the feeder often, with no bird pushed away each time it tries to eat.
Manufactured feeds are formulated as complete diets for a set age and purpose. The difference between starter, grower, and layer feeds matters more than a fancy ingredient list on the front of the bag.
Different starter formulations are separate choices. Some may contain medication intended to help limit the growth of coccidia, parasites that damage the gut. That medication does not make a dirty brooder safe, and it cannot prevent every outbreak.
Ask the hatchery whether your chicks received a coccidiosis vaccine before choosing a starter formulation with medication. Read the feed label, especially any warnings about medication. If you’re unsure, ask a poultry veterinarian or extension agent who knows your local disease pressure.
 Save
Don’t mix corn, scratch, kitchen scraps, or supplements into the starter at this stage. Those foods dilute a carefully made ration. If you’re raising meat birds, our guide to feed for meat chickens by growth stage gives a separate plan because broilers have different growth targets.
Key Takeaway: Keep starter feed in front of the flock until about six weeks, unless the feed label or a poultry professional gives you a different plan.
Step 2: Set up clean water and the right feeder
Clean water is part of what to feed baby chicks, even though it isn’t feed. Chicks need water as soon as they enter the brooder, and a dirty waterer can cause trouble faster than a minor feed mistake.
Fill the waterer before the chicks arrive. Dip the beak of a few chicks into the water, then watch to make sure they swallow and return to it. Don’t dunk the whole head. That can chill a small bird.
Use a water container with a shallow drinking channel. Open bowls and deep dishes create a drowning risk. If you must use a temporary dish, add clean marbles or large smooth stones that block the open water while leaving room for drinking. Replace the temporary setup with a suitable water setup as soon as possible.
Set the waterer on a firm surface that stays level. Raise it slightly as the chicks grow, but keep the rim easy to reach. Pine shavings in the water are a sign that the setup sits too low or the chicks can perch on it.
Inspect water several times each day during the first week. Empty it when bedding, feed, or manure gets in. Scrub the waterer daily, rinse away all soap, and refill it with fresh water. Keep feed and water clean because contaminated sources can spread disease through a young flock.
Choose a feeder that keeps chicks from standing in the feed. A narrow trough or chick feeder with a guard reduces waste and limits droppings in the ration. Keep the feeder near the heat zone, but not directly under the heat source where water or damp feed could create wet bedding.
Use enough feeder space for the whole group. Small chicks won’t cross a large brooder to find food, especially if they are cold. Arrange feed and water so every chick can reach both without being blocked by stronger birds.
| Setup choice | Use it when | Watch for |
|---|---|---|
| Low feeder setup | Day-old chicks are learning to eat | Feed scattered into bedding |
| Guarded feeder setup | Chicks climb into open feeders | Birds still need room to eat together |
| Shallow water setup | All brooder stages | Wet litter or blocked drinking channels |
| Open water container | Only as a short emergency measure | Drowning, manure, and soaked chicks |
| Raised water setup | Chicks begin scratching bedding into water | Rim becomes too high for small birds |
Keep feed dry. If starter gets wet, clumps, smells sour, or shows mold, throw it out. Store the sack in a dry, sealed container that keeps out rodents and insects. Buy an amount you can use while it is still fresh instead of storing more feed than your flock needs.
When you need a nearby mill or feed shop, The Easy Homestead can help you search local suppliers by ZIP code or county. That can save a long drive when chicks arrive and your usual feed is out of stock.
For more feeder ideas, to choosing a chicken feeder that cuts waste. The right feeder won’t fix poor sanitation, but it can keep less feed underfoot and more feed in the chicks.
Pro Tip: Check the waterer before you check social media or chores each morning. A tipped waterer can leave a brooder wet before you notice a problem.
Step 3: Add treats only after chicks are eating starter well
Safe treats belong after chicks eat starter feed with confidence. If a chick still struggles to find the feeder, skip every extra food and fix access to starter first.
Wait until the flock is settled and eating well. Then introduce one small treat at a time. Good choices include finely chopped leafy greens, soft vegetables, small pieces of fruit, or a few insects. Keep pieces tiny enough for a chick to peck and swallow.
High-protein extras such as insect treats can work as occasional treats, but they should not replace starter. The same rule applies to other protein foods, cooked egg, and similar additions. A growing chick needs a balanced ration, not a pile of one nutrient.
Keep treats below about 10% of the daily diet. You don’t need a kitchen scale. Put out a small amount that disappears quickly, then remove leftovers before they spoil or attract flies.
Never give moldy food. Avoid salty scraps, heavily seasoned foods, raw dried beans, chocolate, alcohol, and anything with unknown chemicals. Don’t feed chicks spoiled meat or food that has sat warm for hours.
Fresh scraps need clean handling. Cut them with a clean knife, offer only what the chicks can finish, and remove wet leftovers the same day. Store unused scraps in the refrigerator rather than leaving them beside the brooder.
Some foods need extra care. Avocado skin and pit should stay out of the brooder. Large, stringy pieces of celery can be hard for a small chick to manage. Tough stems, whole grapes, and large chunks of raw vegetables also need to be cut or skipped.
Watch the flock after each new treat. Loose droppings, a full crop that does not empty, or a chick that stops eating starter means you should stop the new food and seek poultry advice if signs continue.
A chick that fills up on treats may look satisfied while missing key nutrients. That is why treats stay small and infrequent during the brooder stage. Starter remains the meal. Treats are a test of variety.
Step 4: Provide grit when chicks eat anything besides starter
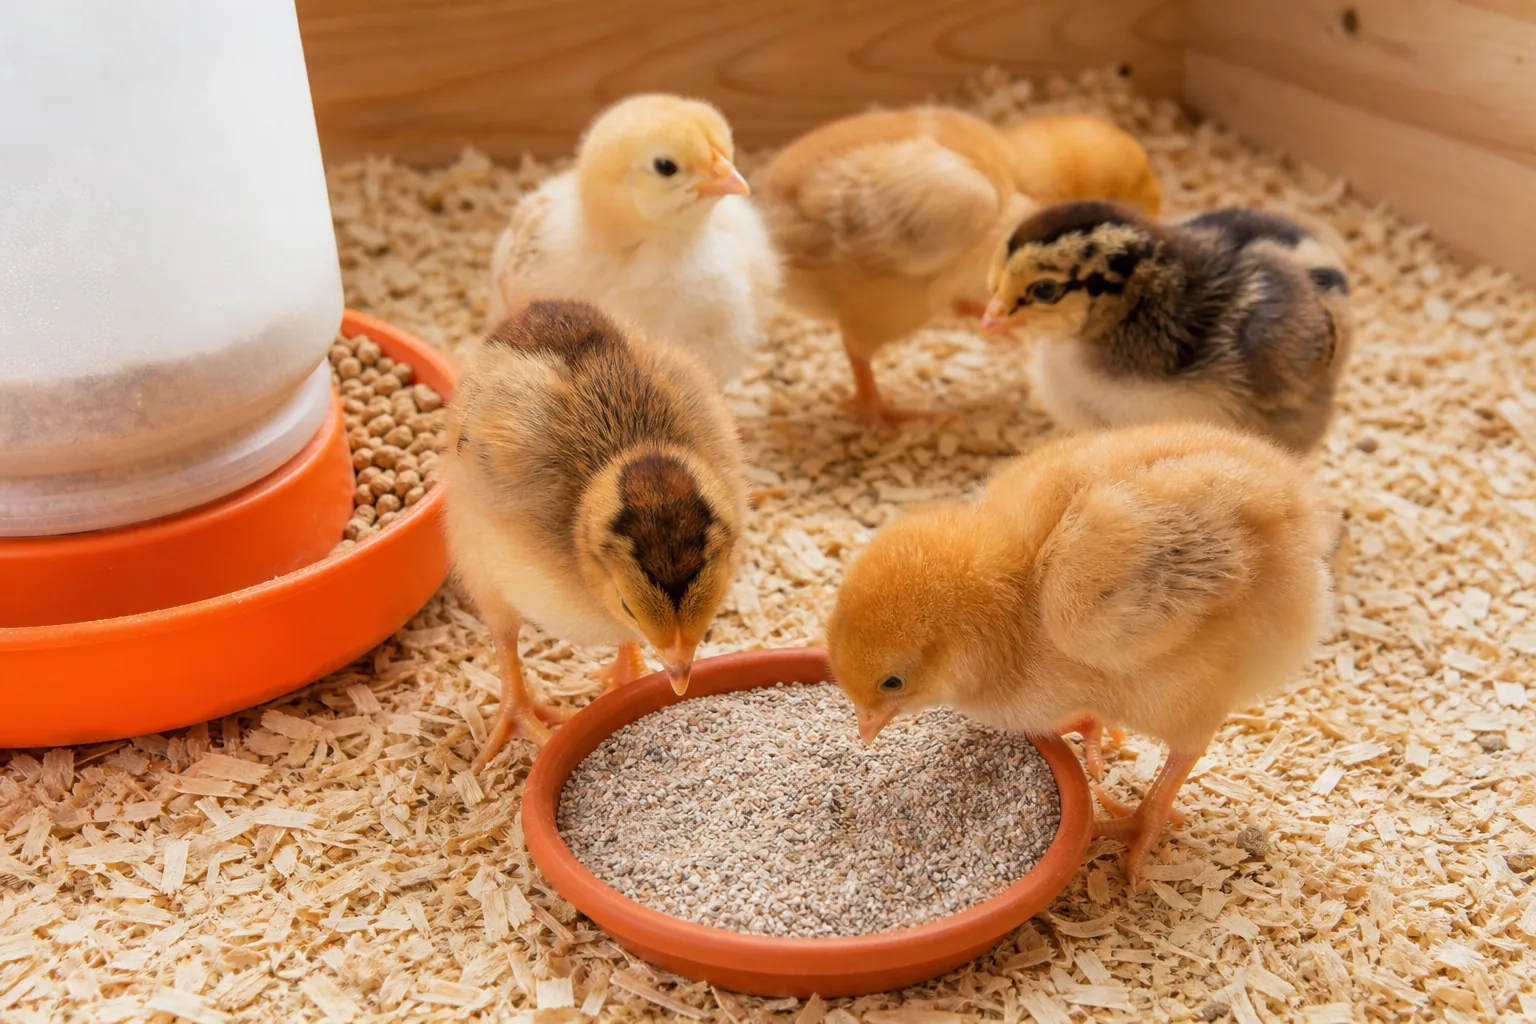
Grit becomes part of what to feed baby chicks once they eat grains, greens, insects, grass, or scraps. Chicks have no teeth, so small hard particles sit in the gizzard and help grind foods that starter crumble does not need help with.
Chicks eating only finely ground commercial starter usually do not need extra grit. Add appropriately sized insoluble grit when you add other foods. Look for grit made for young poultry, since adult grit can be too large for small birds.
Insoluble grit is usually made from hard stone such as granite or flint. It is different from oyster shell. Oyster shell supplies calcium for laying hens, while insoluble grit helps grind food. One cannot replace the other.
Offer grit in a small separate dish rather than mixing a large amount into the starter. A separate dish lets the chicks take what they need without changing the balance of their main ration.
If the chicks have access to clean ground, they may find tiny stones on their own. Don’t assume that loose bedding, sand, or a concrete brooder provides the right kind. Supply grit suitable for young poultry when you feed extras, especially if the flock stays indoors.
Chickens rely on grit to grind grains and treats in the gizzard. Treats should stay below 10% of the diet. Read the feeding guidance for the connection between grit, treats, clean feed, and flock health.
 Save
Keep the grit dish dry and free of manure. Refill it when it gets low. If the chicks ignore it at first, scatter a few grains of grit near the dish, but don’t force grit into their beaks.
Grit does not treat crop problems or replace veterinary care. If a chick has a swollen crop, stops eating, loses weight, or shows ongoing diarrhea, remove treats and contact a poultry veterinarian. Feeding more grit is not a cure for an unknown illness.
Use this decision rule: starter alone means no added grit is usually needed. Starter plus anything else means provide grit suitable for young poultry.
Step 5: Change feed as chicks grow and avoid dangerous foods
Feed changes should follow growth, not a guess about what looks cheap. For most layer-type chicks, keep a starter ration through about six weeks, then shift to grower or later-stage feed.
Make the change over several days if the chicks resist a new texture. Start by blending a small amount of grower into the starter. Increase the grower while reducing starter. If the birds stop eating, slow the change and inspect the new feed for stale odor, mold, or poor storage.
Grower feed usually has less protein than starter. A later-stage ration may be used later, often around 14 weeks, until the pullets approach laying age.
Do not switch pullets to layer feed because they reach a certain size. Layer feed contains extra calcium for egg production. Too much calcium is not the right choice for young birds that are still growing. Start layer feed around 18 to 20 weeks, or when the first egg appears, following the label and your flock’s development.
Meat birds follow a different plan. Their feed stages match faster growth, so use the directions for the strain and production goal. Our guide to feed choices for meat chickens can help you compare stages without applying a layer flock’s schedule to broilers.
Keep these foods out of the brooder:
- Moldy feed, bread, fruit, or scraps.
- Chocolate, alcohol, and strongly salted foods.
- Raw dried beans and foods with unknown pesticides or chemicals.
- Large bones, hard chunks, and food that can choke a small chick.
- Anything that smells sour or rotten.
Read feed labels before buying. Animal feed should be safe, properly labeled, and made under sanitary conditions. For additional information, see this animal food regulation page.
Store every feed type in a dry, sealed bin. Label the bin with the bird group and feed stage, especially when you keep layers, broilers, ducks, or goats at the same farm. A mix-up at the feed room can put the wrong calcium level in front of the wrong animal.
If your local supplier has a feed gap, search The Easy Homestead by county before ordering a long-distance replacement. We’re building a directory that helps working homesteaders find feed suppliers and other poultry resources without relying on a noisy group post.
FAQ
What is the best food for baby chicks?
The best food for baby chicks is an age-appropriate starter feed made for their age. It supplies the protein, vitamins, minerals, and energy they need during rapid growth. Keep it available in a clean feeder from hatch until about six weeks, then follow the label’s plan for moving to grower feed.
Can baby chicks eat treats?
Baby chicks can eat small treats after they reliably eat starter feed. Offer tiny pieces of safe greens, vegetables, fruit, or insects. Keep treats below about 10% of the diet, remove leftovers before they spoil, and provide chick grit whenever the chicks eat foods besides commercial starter.
Do baby chicks need grit?
Baby chicks eating only finely ground starter usually don’t need added grit. They do need appropriately sized insoluble grit when they eat grains, grass, insects, vegetables, or scraps. Keep grit in a separate dish. Oyster shell is calcium for laying hens, so it cannot replace insoluble grit.
How long should chicks eat starter feed?
Most chicks eat starter feed until about six weeks. At that point, layer pullets usually move to grower feed, while meat birds follow a grower and finisher plan. Check the bag because feed formulas differ, and change feed slowly if the flock resists the new texture.
What foods should baby chicks avoid?
Baby chicks should avoid moldy food, chocolate, alcohol, salty scraps, raw dried beans, spoiled meat, and food with unknown chemicals. Large chunks can also cause choking. Keep wet scraps chilled until use, offer small portions, and remove anything left in the brooder the same day.
Conclusion
Keep an appropriate starter ration and clean water in front of the flock, then add treats and chick grit only when the birds are ready. Before your next hatch, find a dependable local feed supplier through The Easy Homestead so a missing bag doesn’t turn into a farm-wide scramble.